
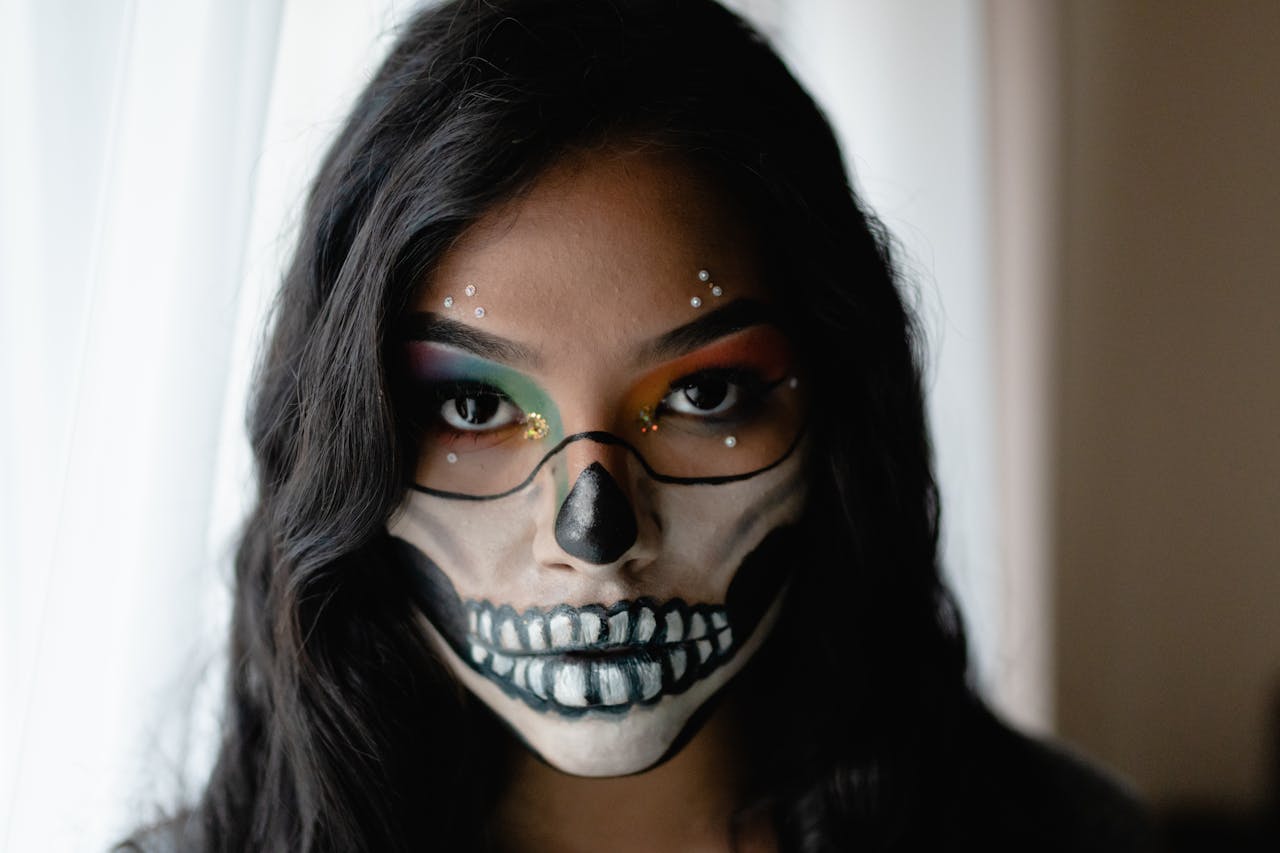
Nail Your Halloween Look With Pro Lighting Secrets
Halloween Makeup Lighting Tricks That Pros Actually Use
Costume makeup lives or dies by light. The right setup shows true colour, reveals texture, and exposes edges that need softening. The wrong one hides streaks, shifts undertones, and turns careful work into guesswork. Below, you will find practical lighting moves that working artists use to keep looks crisp and photo-ready… even when you are getting ready at 6 pm before a party.
1) Start with daylight-neutral tone and high CRI
For colour-true blending, aim for neutral white that mimics midday daylight. Many pros work around 5000–5500K because it balances warm and cool tones. Pair that with CRI 90+ so reds, purples, and greens read correctly on skin. Ambient lighting changes perceived skin colour, so standardising tone and quality matters for consistency. See practical guidance on Kelvin and CRI from The Makeup Light, a concise CRI explainer from Photography Life, and an overview of how lighting quality affects colour rendering from the Illuminating Engineering Society.
⚡ PRO INSIGHT: Matching foundation for photos or low-light venues, begin in neutral daylight, then take a brief warm-light look… it helps you catch over-cooling along the jaw that appears indoors.
Quick reference: tone and CRI
| Use Case | Recommended Kelvin | CRI Target | Why it helps |
|---|---|---|---|
| Base, contour, SFX colour placement | 5000–5500K | 90+ | Neutral spectrum reduces shifts, high CRI preserves undertone detail. |
| Final indoor party check | 3000–3500K | 90+ | Simulates warm venues, reveals grey cast or over-cool highlights. |
| Outdoor queue or photos | 5000–6500K | 90+ | Matches daylight look, prevents surprises in pictures. |
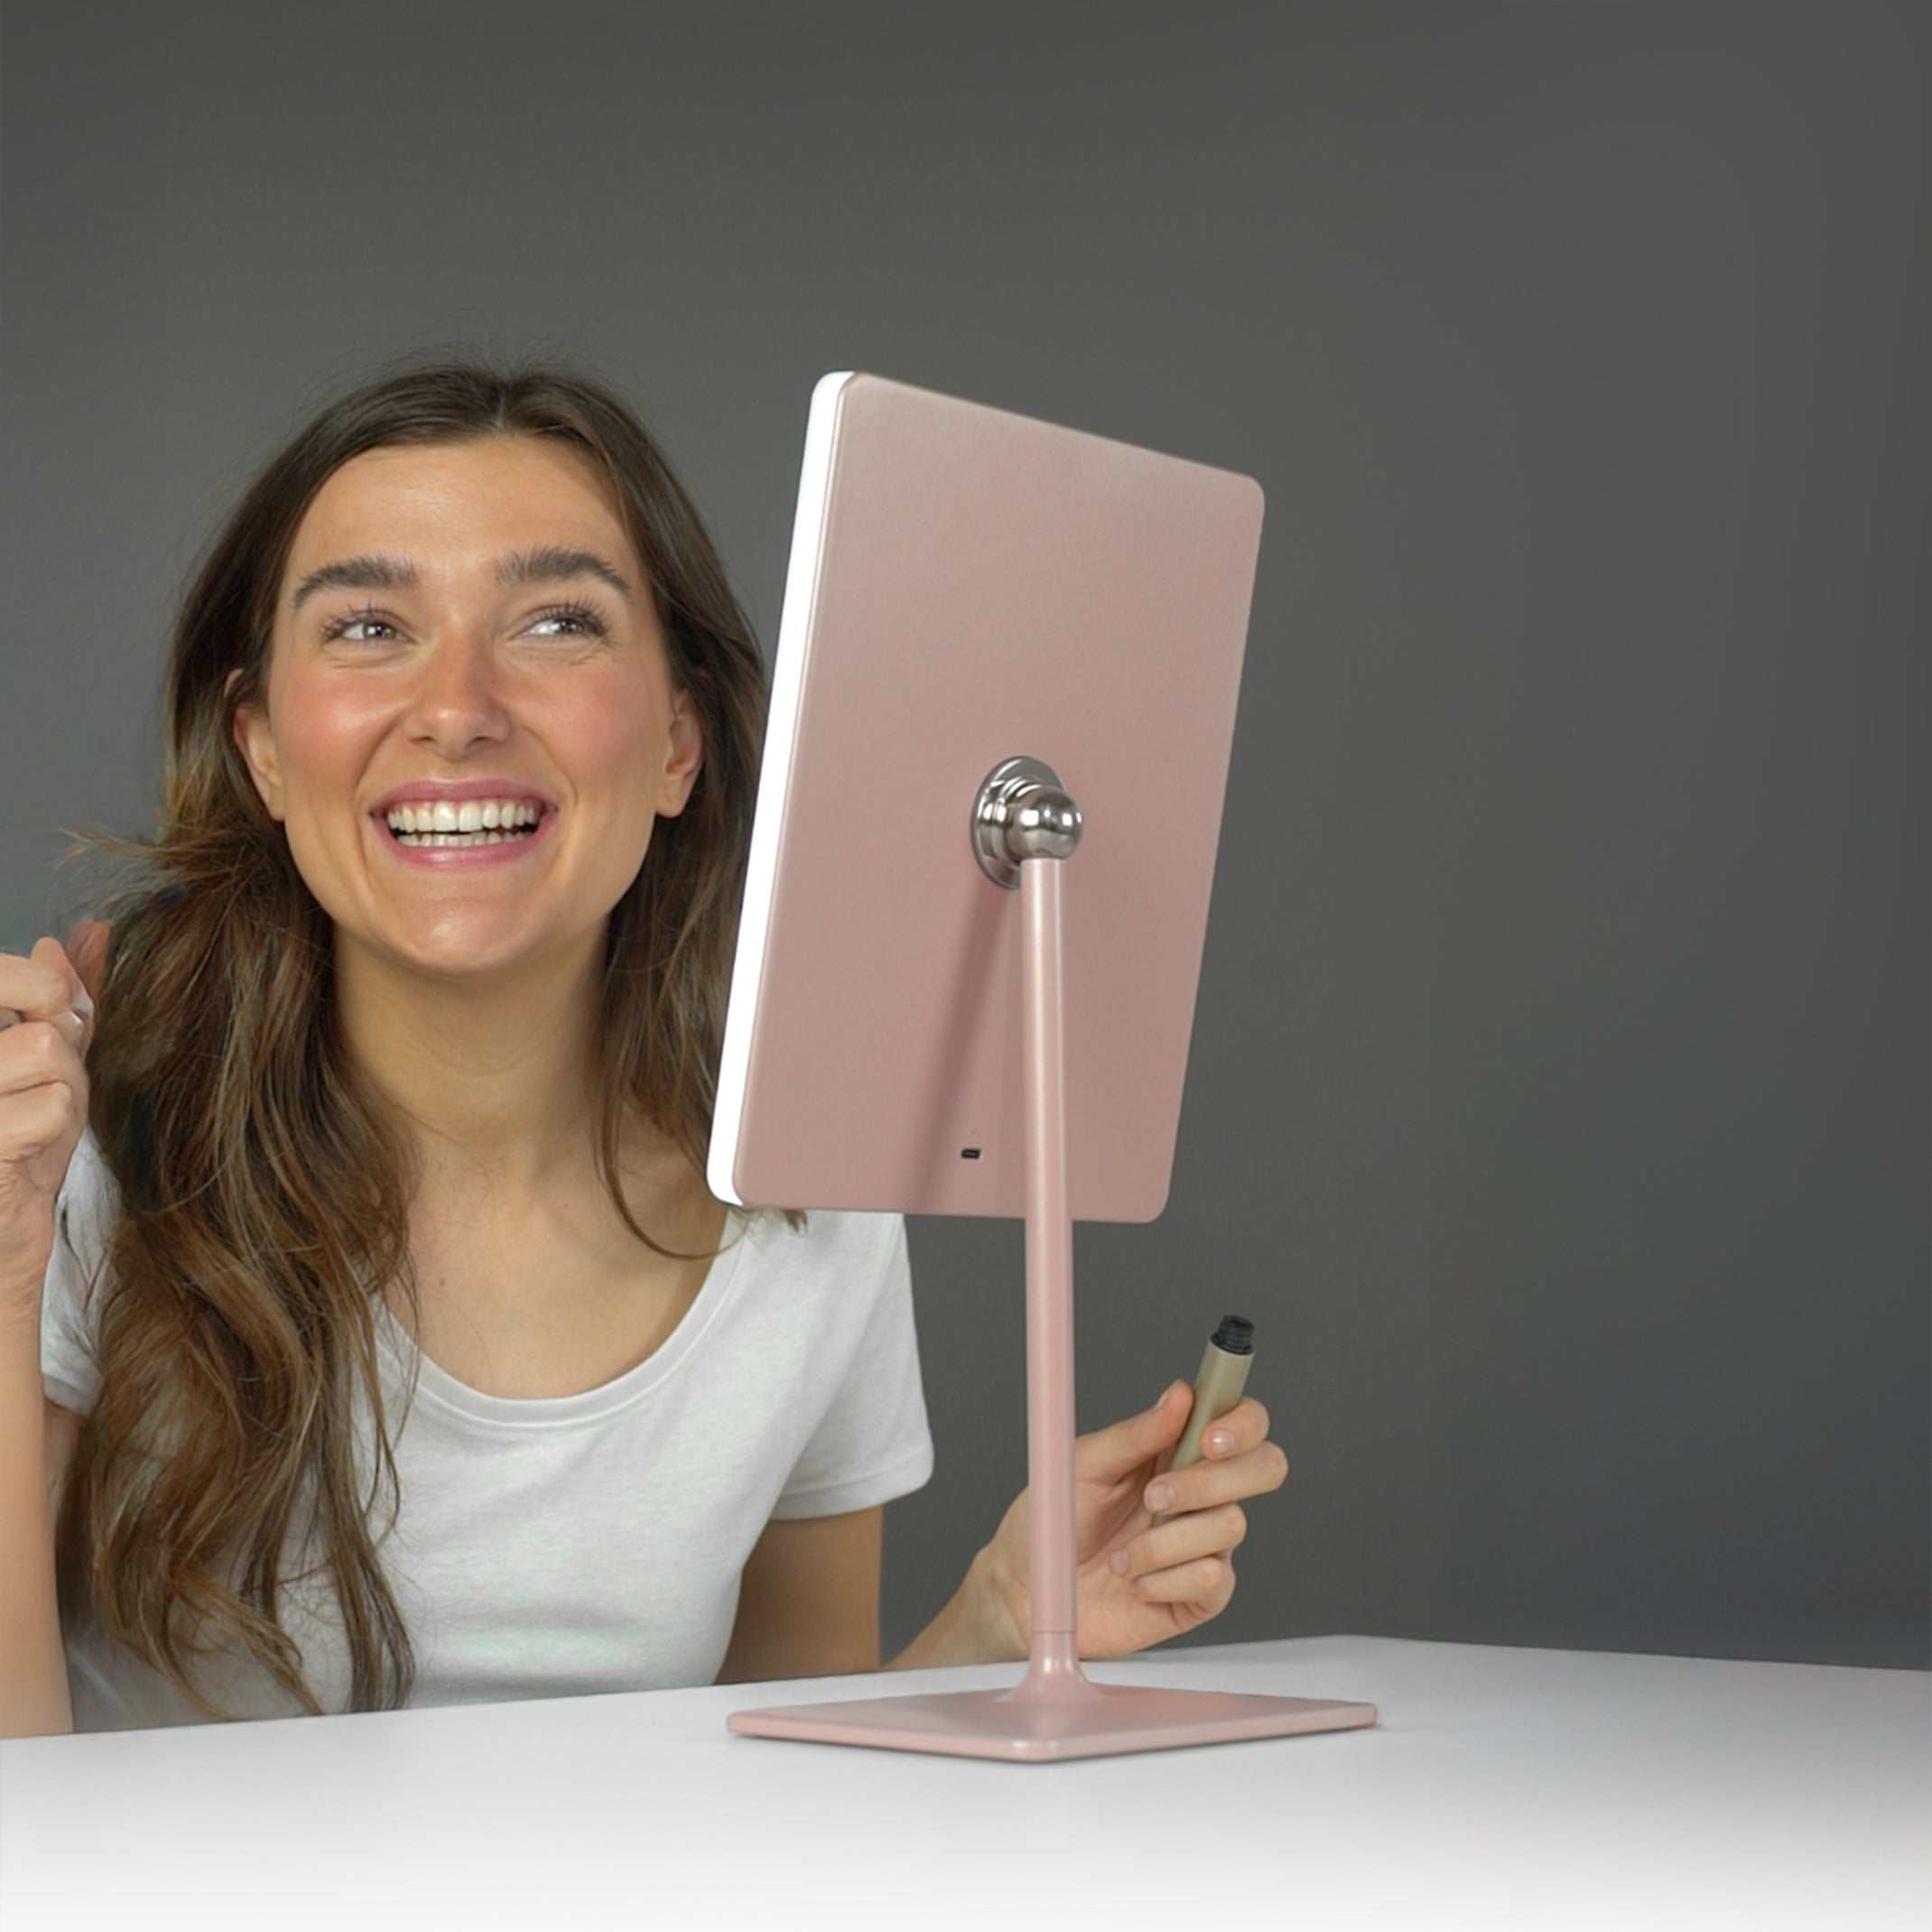
Using an LED ECLIPSE mirror keeps tone stable and repeatable. Its face-height light path avoids the overhead shadows that make blending harder.
2) Light from face level, not the ceiling
Overhead light throws shadows under eyes and cheekbones, which tempts heavy correction. Place the light at eye height, slightly wider than your face, so both sides receive even illumination. Avoid single top lights, aim for gentle cross-illumination for balance. Practical mirror-placement guides from lighting tutorials reach the same conclusion.
⚡ PRO INSIGHT: Sit 30–45 cm from the mirror… then lean in only for detail work. If you get too close, you amplify pores and over-correct texture that nobody else will notice.
3) Day vs Night… how to test your look in 60 seconds
- Blend in neutral daylight first: complete base, contour, eyes, and edges under 5000–5500K.
- Warm-light preview: switch your LED mirror to a warmer preset or stand near a warm lamp for ten seconds to check bronzer and blush saturation.
- Photo check: take a quick selfie, no heavy filter… colour shifts are easier to spot on camera when ambient light changes. A 2024 skin-tone study in digital medicine reinforces that ambient light alters perceived colour; adjusting for it improves consistency.
4) Fix common Halloween lighting mistakes
| Mistake | What you see | Fast fix | Why it happens |
|---|---|---|---|
| Overhead-only light | Hollow under-eyes, harsh nose shadow | Bring light to eye level, angle slightly inward | Top light creates down-facing shadows, cross-illumination evens them |
| Warm-only application | Foundation reads too yellow in daylight | Match under neutral daylight first, then do a warm check | Ambient light shifts perceived skin colour, neutral first is safer |
| Low CRI source | Muddy reds, dull greens, off-tone purple | Switch to CRI 90+ LED | High CRI preserves hue fidelity for colour-critical makeup |
| Single bright ring at close range | Specular hotspots, washed texture | Step back slightly, lower brightness, add side fill if available | Balanced spread reduces glare and false highlights |
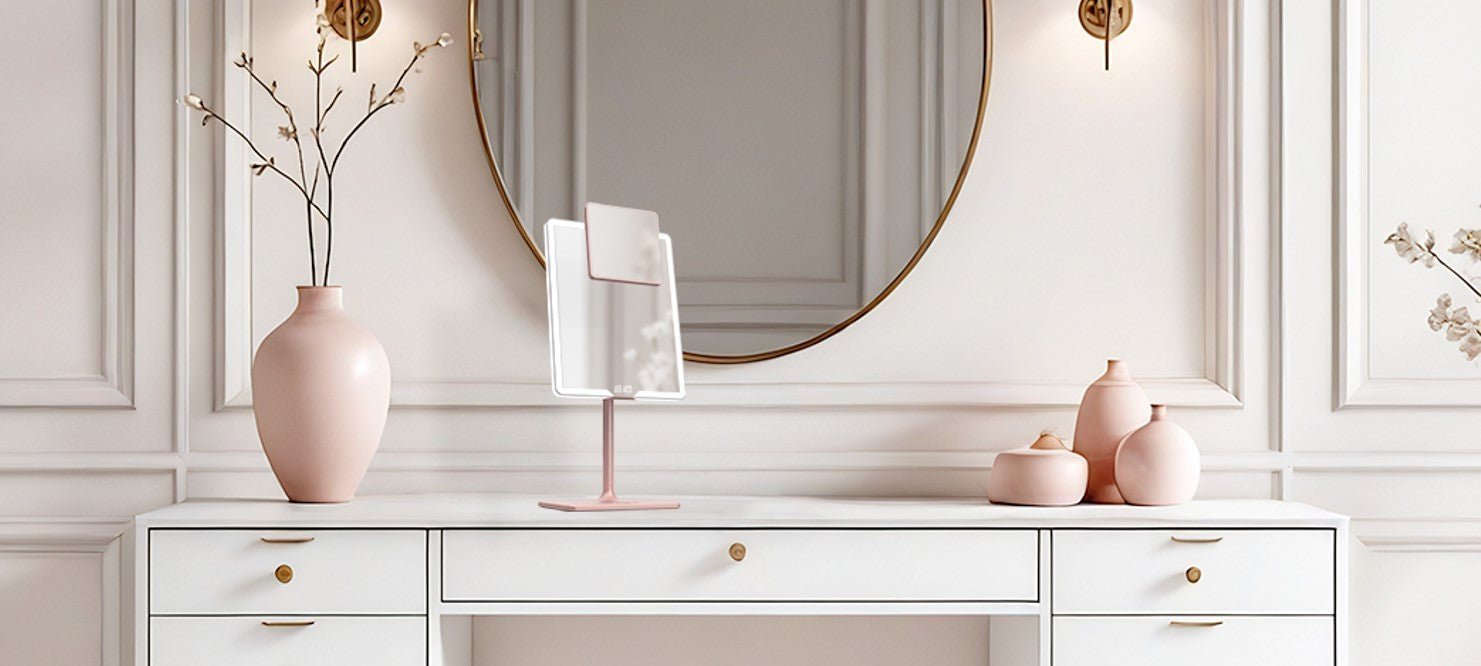
5) Choose the right mirror for your look and venue
Different Halloween looks benefit from different setups. Here is a quick chooser with a clear favourite pick for each situation.
| Scenario | Lighting priority | Here’s Our Favourite | Why |
|---|---|---|---|
| Precision SFX at home, detailed edges | Face-level, high CRI, neutral tone | ECLIPSE | Even spread at face height promotes consistent blending and faster edge checks |
| Full-face glam in a dressing area | Wide field, flattering brightness control | ORBIT | Broad view, stable colour, ideal for even contour across the frame |
| Touch-ups in the venue queue | Portable, quick warm-light preview | COMPACT 2.0 | Pocket-friendly, lets you sanity-check under venue-like warmth |
6) A scientist’s note on why this works
Recent research reminds us that ambient lighting shifts how skin colour is perceived. Even trained assessors see tones differently as light changes. Standardising light, then sanity-checking in a second environment, reduces that bias for human observers… which is exactly what good makeup practice needs. For a plain-English overview of CRI and colour accuracy, start with Photography Life’s CRI guide, then explore the IES perspective on quality metrics beyond CRI via TM-30 discussions.
“For makeup, I treat light like a colour-calibration tool. Neutral tone first for accuracy, then a brief warm preview if the client is headed indoors. It prevents surprise shifts in undertone on camera.”
— Industry guidance on daylight-range Kelvin and CRI for colour-critical work, see The Makeup Light and IES.
Want more lighting-led tutorials, gift guides, and mirror comparisons… browse our Blog Hub for seasonal ideas.

Let Your Colours Stay Honest Under Any Light
With its face-level glow and adjustable warmth, ECLIPSE keeps makeup balanced from daylight prep to evening events. A simple way to make every shade look true this Halloween.
Discover ECLIPSE lighting →FAQs
What Kelvin is best for Halloween makeup?
Work under neutral daylight around 5000–5500K, then do a quick warm-light preview if your venue is cosy and indoors.
Why does CRI matter for bold colours and SFX?
High CRI preserves hue fidelity so reds look red, purples stay vivid, and undertones remain stable when you switch environments.
How should I position my mirror to avoid harsh shadows?
Place the light source at face height, slightly wider than your face for cross-illumination. Avoid ceiling-only light that exaggerates hollows.
Related Links
- LUNA London Blog Hub
- The best mirror for eyebrow tweezing, according to beauty experts
- ECLIPSE
- ORBIT
- COMPACT 2.0
Leave a comment
This site is protected by hCaptcha and the hCaptcha Privacy Policy and Terms of Service apply.