

Last updated: 6 February 2026

Summary: A mirror health check is a quick weekly scan for changes in redness, texture, pigment and healing. Keep it consistent (same time of day, same lighting, same distance) and treat it as a “track changes” routine, not self-diagnosis. If you notice a spot changing, bleeding, itching, crusting, or not settling after a few weeks, it’s worth getting checked.
Your Weekly Skin Check, Made Simple
Most of us look in the mirror every day, but we rarely look consistently. One day it’s warm bathroom light, the next it’s a bright window, then it’s your phone torch at midnight. That’s how you end up reacting to “new problems” that are mostly just lighting.
This refresh turns the original idea into a repeatable routine: a short, sceptical check for changes that are real, trackable, and worth action. If you want to go deeper on lighting (because most “skin issues” are actually lighting issues), start with light up mirrors vs LED mirrors and whether cosmetic light mirrors really make a difference.
⚡ PRO INSIGHT: Your goal is not “perfect skin”. Your goal is a reliable baseline. Same mirror, same brightness, same distance, same day each week. That’s what makes changes meaningful.
Before you start: make the check reliable
- Pick a consistent time: ideally after cleansing, before actives, and before make-up.
- Use neutral light: daylight-balanced lighting helps you judge redness and pigment more accurately.
- Keep distance consistent: roughly arm’s length for overall scan, then closer for specific areas.
- Track changes, not single-day fluctuations: hormones, sleep, shaving, alcohol and stress can all distort a one-off read.
If you’re building a full routine around this, our guide to skincare with LED mirrors (and the products that work best) pairs well with a weekly check. For evenings, the night-time skincare mirror routine is a good “low effort, repeatable” template.
The 7 skin signals to watch for
These are deliberately broad. Skin can’t be “diagnosed” in a blog post, and if a mirror makes you hypervigilant, that’s not a win. The point is to notice changes you can verify over time, then act proportionately.
| Skin signal | Common, non-alarming explanations | What to do next |
|---|---|---|
| 1) Redness that sticks around | Over-exfoliation, irritation from actives, weather changes, shaving friction, sensitivity. | Pause irritants for 7–10 days, simplify to cleanser + moisturiser + SPF. If flushing is frequent or worsening, consider discussing rosacea triggers with a clinician. |
| 2) Texture shift (rough, bumpy, sandpapery) | Dehydration, barrier stress, comedones, seasonal dryness. | Increase moisturising, reduce harsh actives, and watch for improvement over 2–4 weeks. If patches are scaly or persistent, get it checked. |
| 3) Pigment changes (new dark spots or patches) | Sun exposure, post-inflammatory marks after spots, hormonal changes. | Treat SPF as non-negotiable. If a spot changes shape/colour rapidly or looks unusual, don’t “wait it out”. |
| 4) Under-eye darkness and shadowing | Sleep debt, hydration, allergies, natural anatomy (tear trough shadow). | Check in neutral light, not warm overheads. If sudden swelling or pain appears, get medical advice. |
| 5) Breakouts that follow a pattern | Hormonal cycle, stress, occlusive products, dirty pillowcases, shaving. | Track location + timing for 3–4 weeks. If acne is persistent or scarring, consider professional guidance. |
| 6) Healing speed (marks that linger) | Barrier damage, picking, repeated irritation, sun exposure. | If something doesn’t settle after a few weeks, or a sore doesn’t heal, it’s worth getting assessed. |
| 7) New or changing spots (moles, freckles, patches) | Benign changes happen, especially with sun exposure and ageing. | Use an ABCDE-style check as a prompt to act: if a spot is changing, itchy, bleeding, crusting, or looks different from others, get it checked. |
Expert quote
“Those at higher risk of skin cancer should have annual professional screenings.”
Quick reference: the lighting settings that stop you overreacting
| Setting | Use it for | Avoid when |
|---|---|---|
| Neutral / daylight-balanced | Comparing redness, pigment, and overall tone week to week. | Judging “glow” or warmth, it can look cooler than warm bulbs. |
| Warm light | Checking how make-up will read in restaurants or evening settings. | Assessing redness and texture, it can mask both. |
| Brighter, direct light | Spotting flaking, dryness, and raised texture. | If you’re prone to spiralling, it can exaggerate “flaws”. |
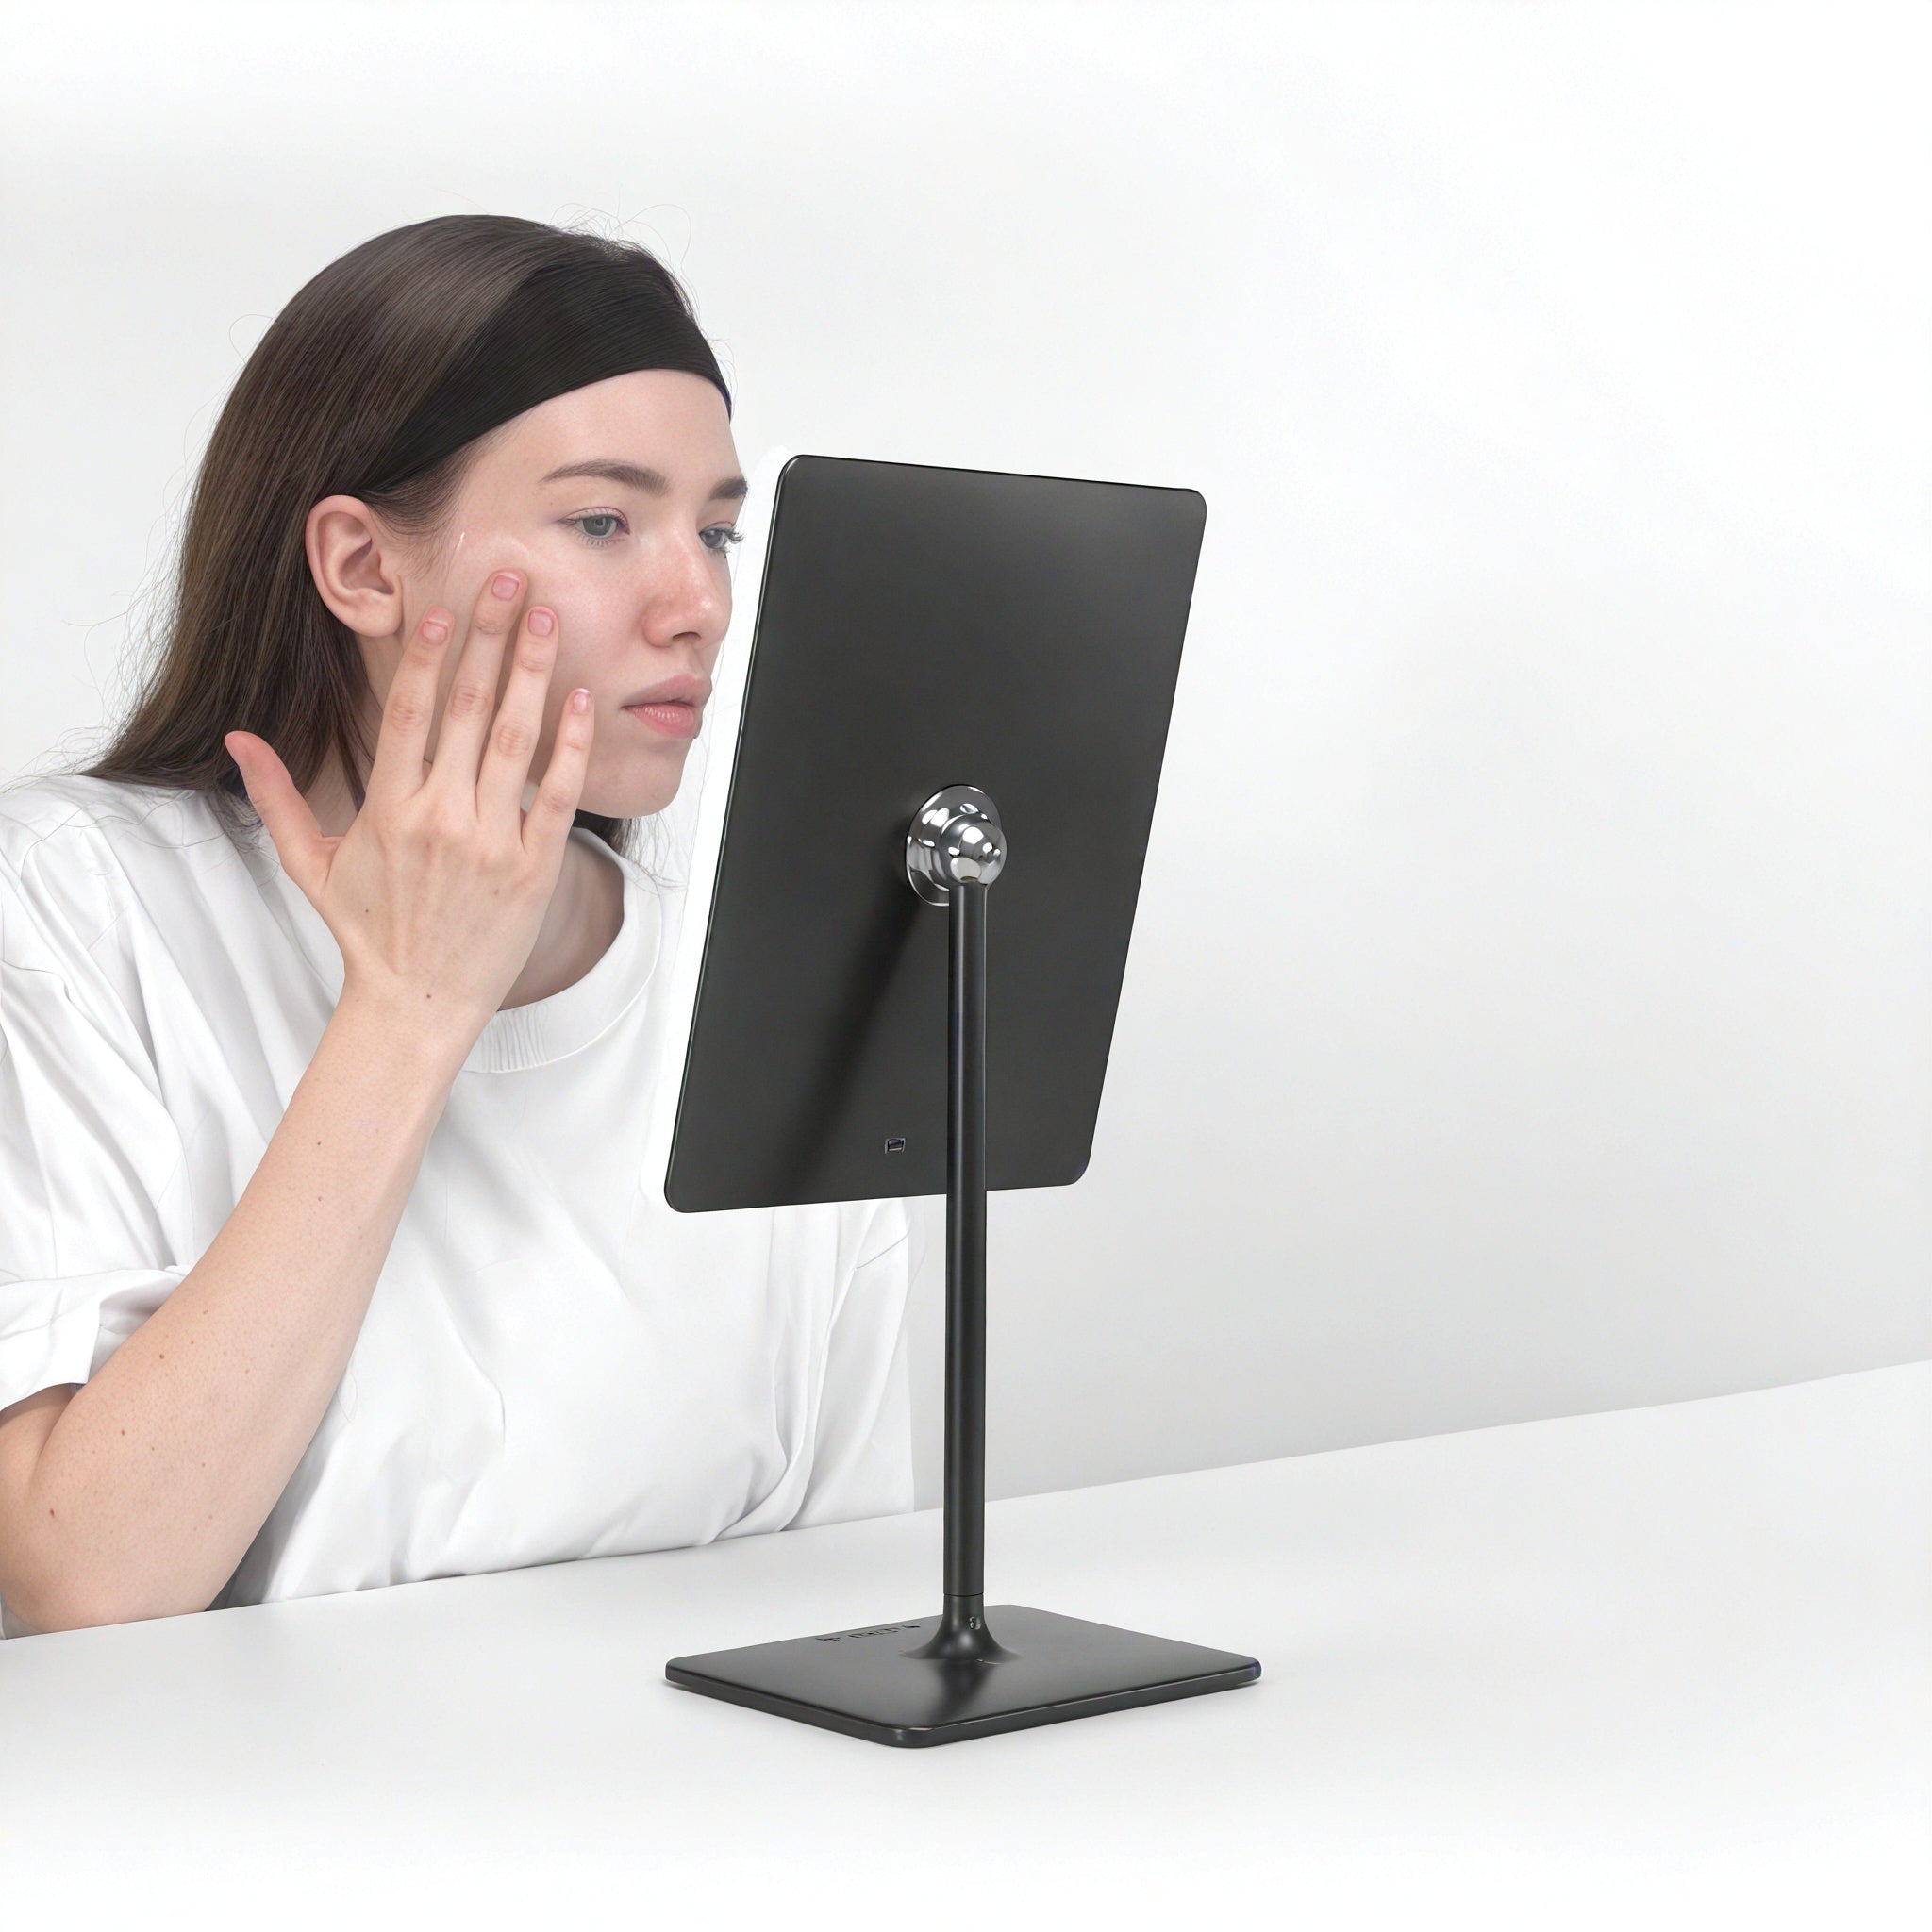
The 5-minute weekly mirror health check (do this every Sunday)
- Cleanse and pat dry. No actives yet.
- Set neutral lighting. Same brightness each week.
- Scan in zones: forehead, cheeks, nose, chin, neck. Then under-eyes and hairline.
- Pick one “trackable” focus. Example: redness around nose, pigment on cheek, or healing speed of marks.
- Make one note. “Same / better / worse” plus one detail. If you want photos, keep the angle identical.
⚡ PRO INSIGHT: Magnification is useful for precision (especially around brows, shaving lines, or a single spot), but it’s also where people overinterpret. Use it briefly, then step back to confirm what’s actually visible at normal distance.
If you’re doing this as part of a broader “feel better” routine, it’s worth reading our piece on LED mirrors and wellness (including headaches). It’s easy to underestimate how much harsh overhead lighting affects how you feel while you’re getting ready.
When to stop observing and start acting
A mirror health check should reduce uncertainty, not increase it. If something is changing, bleeding, itching, crusting, painful, or not going away after a few weeks, treat that as a prompt to get professional advice rather than “research harder”.
- Changing moles or new unusual marks should be assessed.
- Non-healing sores are worth checking.
- Sudden, unexplained changes (especially if widespread) deserve a clinician’s view.
Note: This article is general information only and not a substitute for medical advice.
A calmer way to check what’s changed
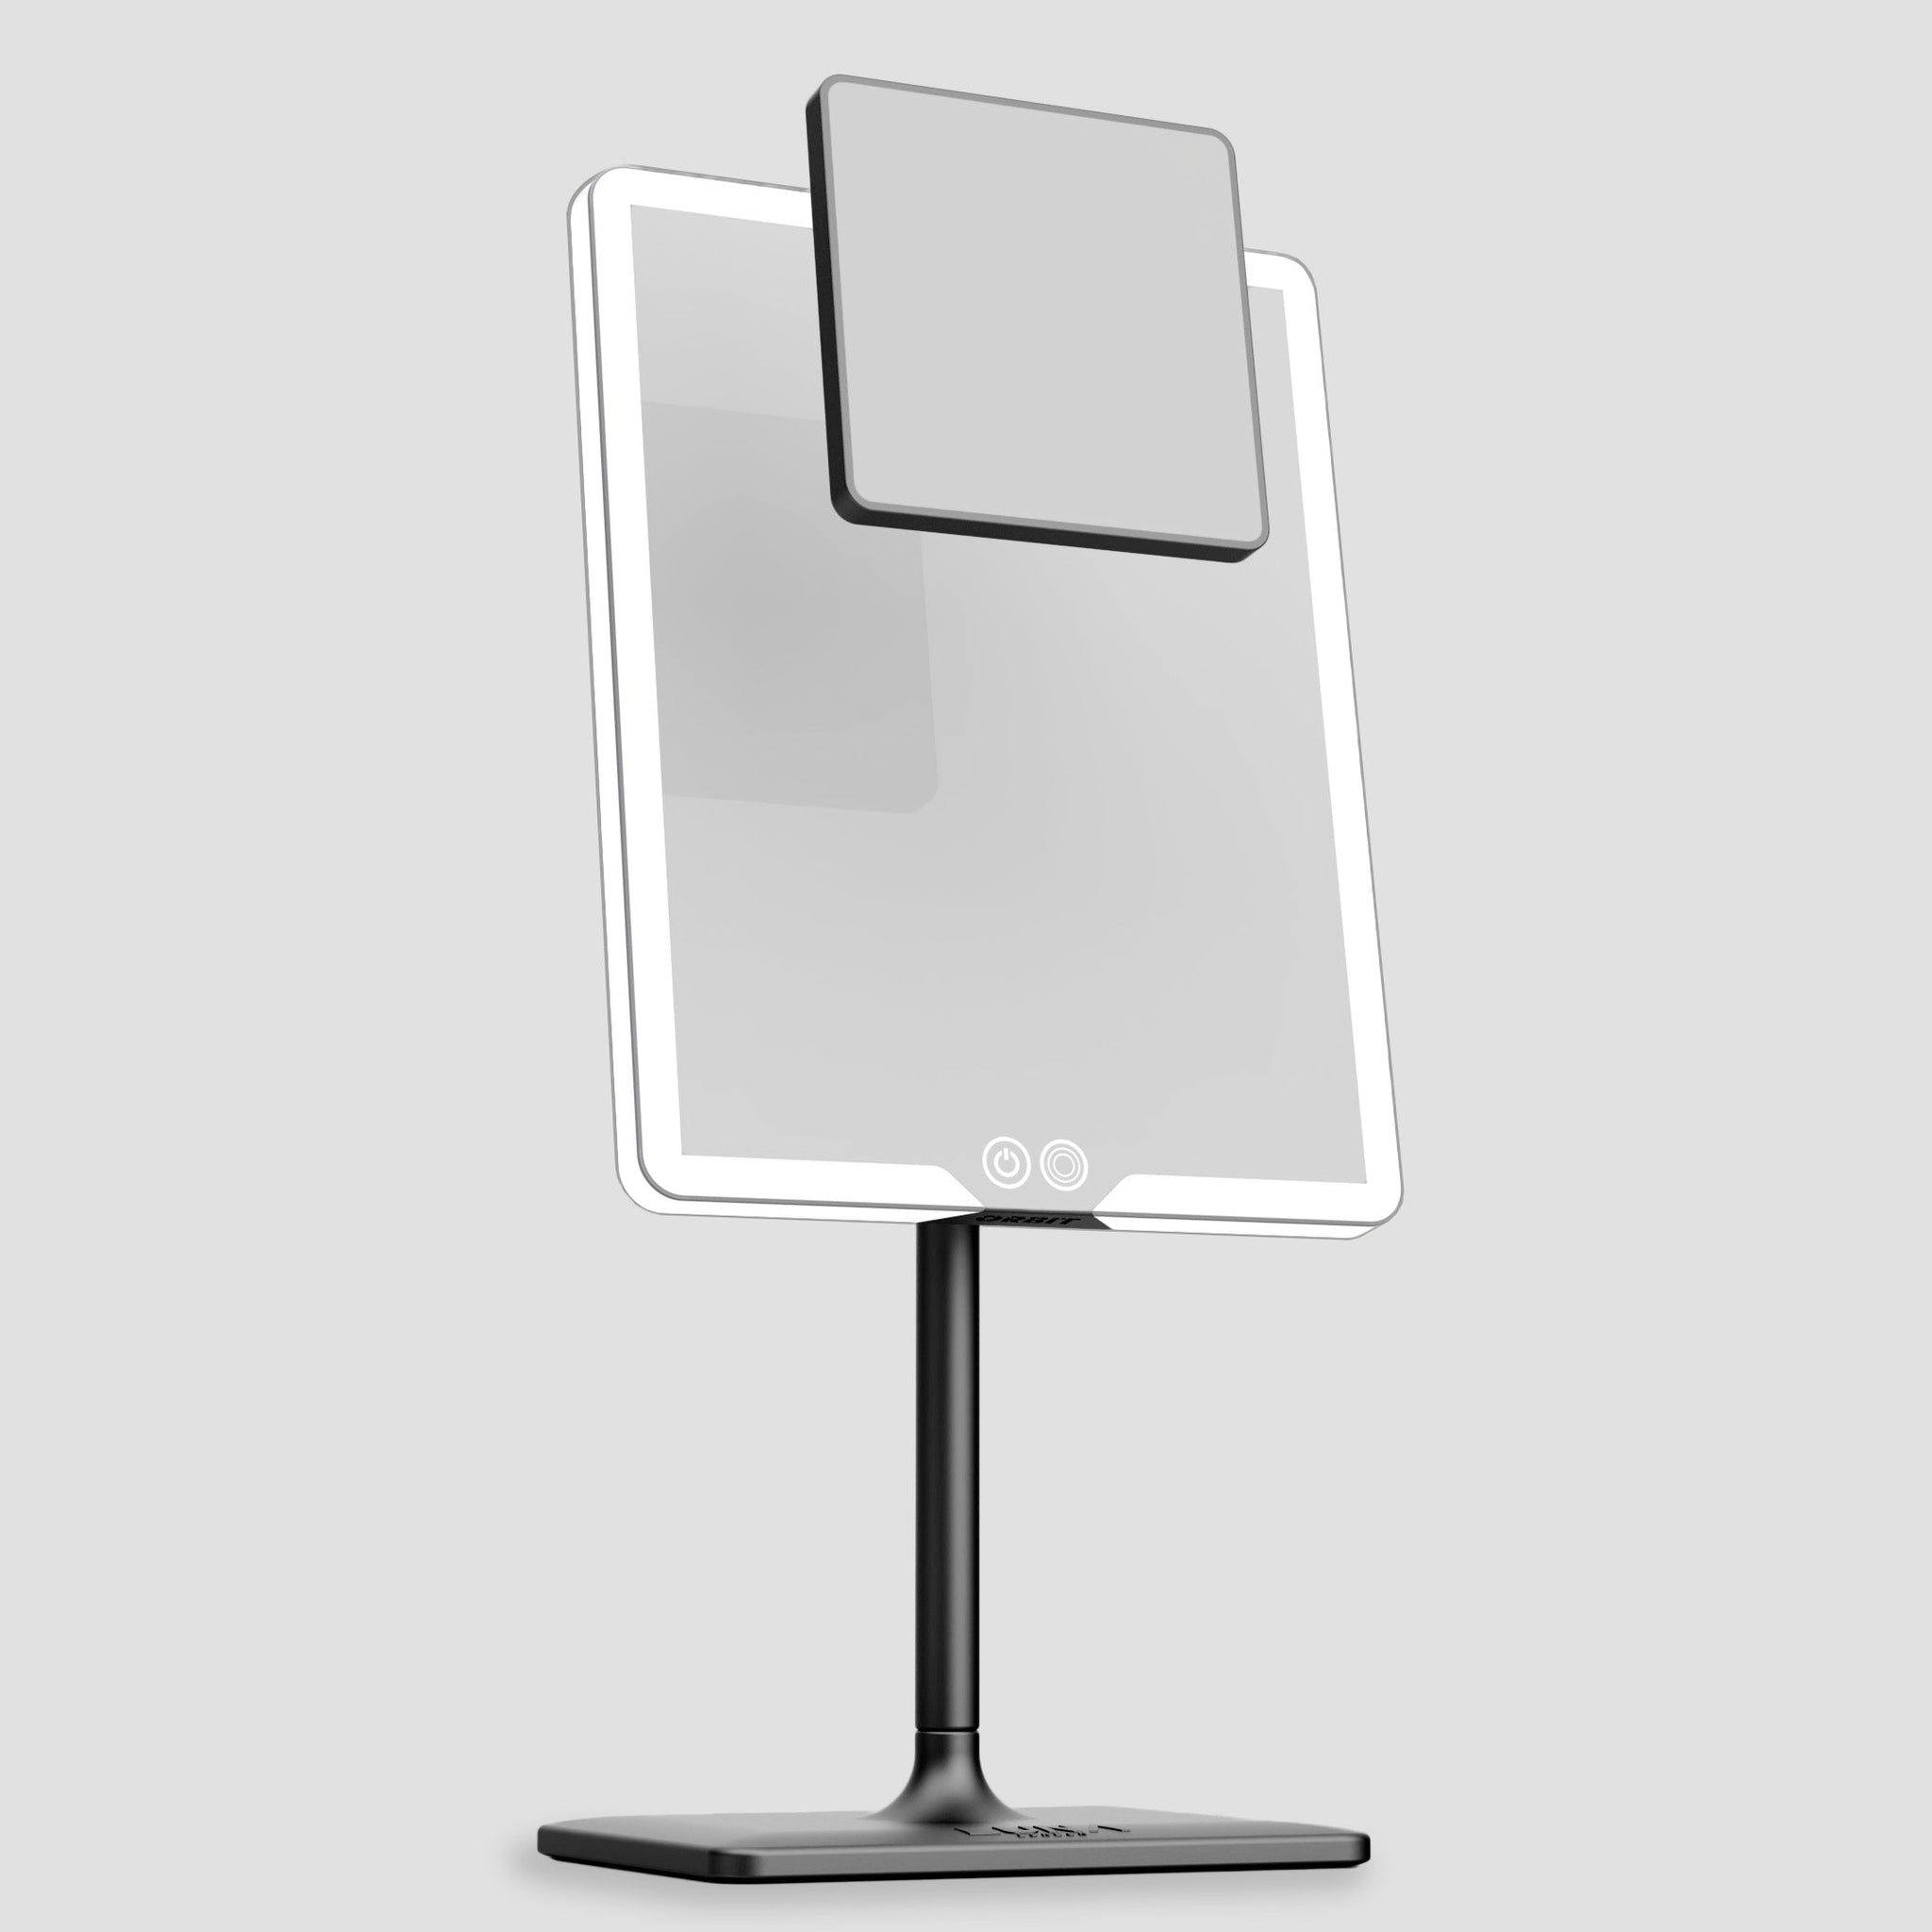
A weekly mirror health check only works if your lighting is consistent and neutral. ORBIT’s daylight-balanced LEDs help you compare like-for-like, and the optional 7x detail view is handy for targeted checks without leaning on your phone torch.
FAQs
How often should I do a mirror health check?
Weekly is enough for most people. Daily checks tend to create noise and overreaction. Consistency matters more than frequency.
Should I use magnification for a skin check?
Use it briefly for detail (a single spot, shaving line, or brow area), then confirm at normal distance. Magnification can exaggerate texture and trigger false alarms.
What lighting is best for spotting redness and pigment?
Neutral, daylight-balanced lighting is usually the most reliable baseline. Warm bulbs can hide redness, while harsh overheads can exaggerate shadows and texture.
What should I do if I notice a new spot or a mole changing?
Treat “changing, itchy, bleeding, crusting, or not settling” as a reason to get professional advice. Don’t rely on a mirror or internet comparisons for reassurance.
Can dry skin and redness just be the weather or barrier stress?
Yes, very often. If you’ve introduced new actives, changed shaving habits, or it’s colder/drier than usual, simplify for 7–10 days and see if your baseline returns.
Related links
- Light up mirrors vs LED mirrors: what’s the difference?
- Skincare with LED mirrors: 5 products that work best
- Night-time skincare routine: why your mirror matters
- Cosmetic light mirrors: do they really make a difference?
- ORBIT, ECLIPSE, COMPACT 2.0
Leave a comment
This site is protected by hCaptcha and the hCaptcha Privacy Policy and Terms of Service apply.