Your Glow-Up Mirror Routine: 4 Steps to Radiant Summer Skin
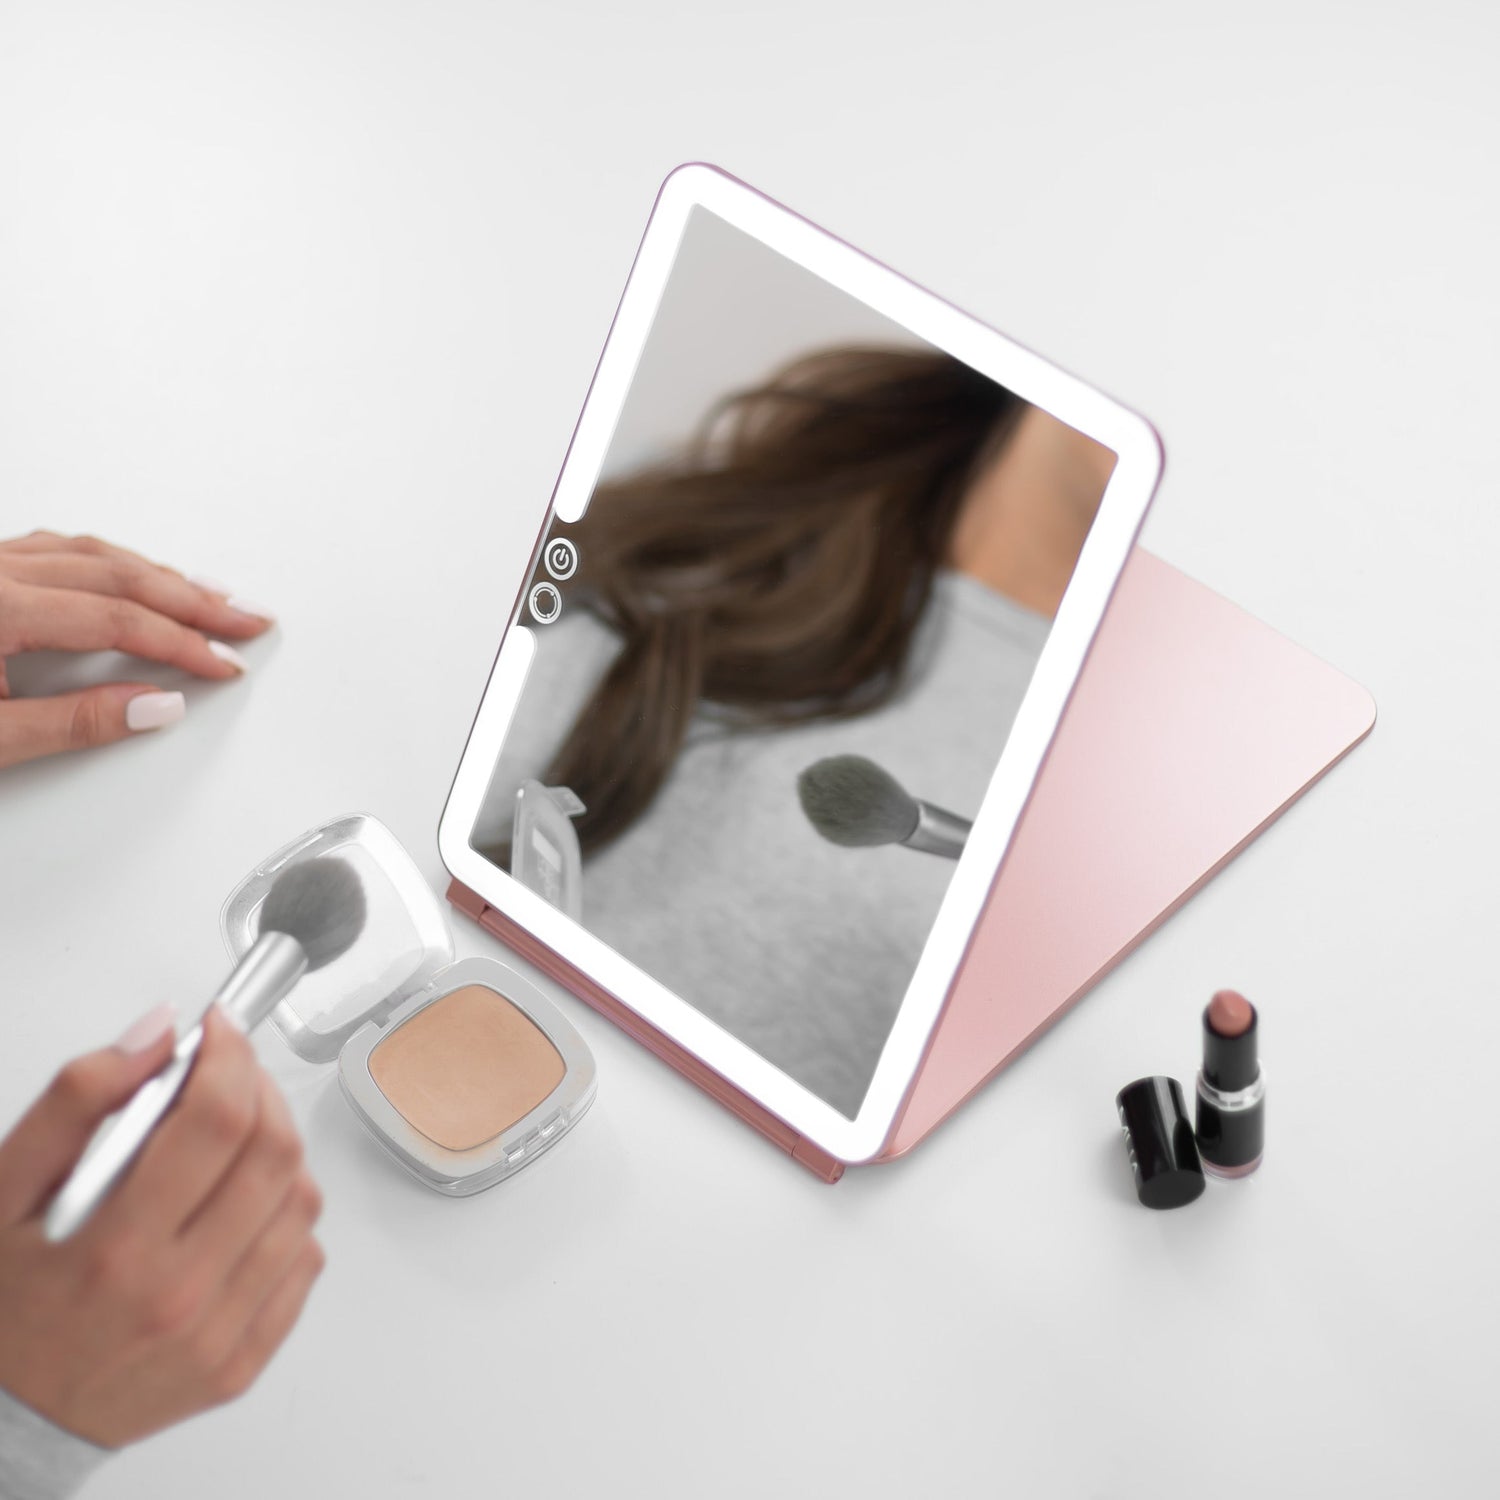
Summer is here, and with it the promise of sun-kissed days and warm evenings. But for all its perks, hot weather can leave skin looking dull, oily and uneven. The secret to a true glow-up isn’t piling on products—it’s better lighting. A makeup mirror with light becomes your guide, revealing exactly where to cleanse, treat, hydrate and illuminate for unstoppable summer radiance.
Why a mirror matters more than you think
Most of us apply skincare under poor bathroom lights that blur imperfections. You think your skin is clear, only to step into daylight and see clogged pores or uneven tone. A quality mirror with LED lighting mimics natural light (around 5 000 K), so you treat real issues, not guesses. Even better, a lighted magnifying mirror gives 5×–7× zoom to catch micro-problems before they become full-blown concerns.
Step 1: Precision cleanse under neutral LEDs
Begin with an oil-to-milk cleanser. Under warm bulbs, makeup and sunscreen can hide in plain sight. Switch your mirror to neutral white (4 000 K) and you’ll spot residue around the hairline, lash line and jaw. Use circular motions to lift debris, rinse thoroughly, then pat dry. This foundational step prevents breakouts and creates a truly clean canvas.
Step 2: Targeted treatment with magnification
Skip blanket slathering of acids or retinoids. Flip to the magnifier insert on your mirror and tilt your chin gently upward. You’ll likely see micro-flaking around the nose, redness on cheeks or small bumps along the forehead. Apply a BHA product only to those exact areas to exfoliate dead skin without irritating smooth zones. For brightening, press vitamin C onto dark spots you see under daylight mode, not across your entire face.
Step 3: Hydrate and balance glow
Nothing kills a glow like an oil slick. Under cool white (5 500 K) LEDs, oil and texture pop. Use a lightweight gel or hydrating mist on areas that appear tight, then mix a drop of hyaluronic serum into your cream on drier cheeks. If your T-zone gleams, press a pea-size mattifying balm there only. This mix-and-match method, guided by your mirror’s lighting, delivers balanced dew without midday blotting.
Step 4: Illuminate strategically for photo-ready skin
A liquid highlighter applied under ambient lighting can look mis-matched under flash. Under your mirror’s daylight setting, dab highlighter on the high points—cheekbones, brow bones and the bridge of the nose—then buff edges. The result is a seamless lit-from-within glow that plays well in selfies and sunset photos alike.
Bonus: Midday mini-check with a portable mirror
Carry a compact travel mirror like the Compact 2.0. A quick blot under bright LEDs helps you remove any stray shine and add a tiny dot of powder on hotspot zones. You’ll maintain that fresh glow without over-matte flattening.
Mini case study – Lucy’s 4-week transformation
“I struggled with random summer breakouts and uneven tone,” says Lucy, Brighton. “After following this mirror routine, I stopped slathering retinol everywhere. Instead, I treated only the spots I saw under 7× zoom. My skin evened out in two weeks and stayed clear, even on hot days.”
Ingredient spotlight: why placement matters
- Niacinamide – apply only on red patches you see under LED; it soothes those zones without over-treating already calm areas.
- Peptides – dab on fine lines revealed by warm light at night, not in bright daylight, to maximise collagen-boosting where it counts.
Science corner – lighting temperature cheat-sheet
| Light temp | Reveals | Ideal for |
|---|---|---|
| Cool white (5 500 K) | Oil & texture | Morning cleanse, shine checks |
| Neutral (4 000 K) | True colour | Serum layering, makeup prep |
| Warm (3 000 K) | Fine lines & dryness | Night routines, retinol |
Quick FAQ
Do I really need magnification?
Yes—5×–7× inserts expose micro-issues that guide smarter product placement, saving time and minimising irritation.
How often should I use this routine?
Daily for steps 1–3, then illumination in the morning or before photos. Night routines can focus on warm LED for fine-line care.
Bottom line
Great skincare deserves great lighting. Make your makeup mirror with light the first tool in every routine and watch your summer complexion transform from guesswork to glow-work.


Leave a comment
This site is protected by hCaptcha and the hCaptcha Privacy Policy and Terms of Service apply.