
Painless Eyebrow Tweezing Starts With Lighting and Preparation
Most people assume tweezing hurts because of the hairs themselves, but in reality it is usually a lighting and technique issue. Poor lighting forces you to lean in, tug harder, and grab at the wrong angle. According to guidance from the American Academy of Dermatology, clear visibility and a clean grip reduce irritation significantly, especially in delicate areas like the brow bone.
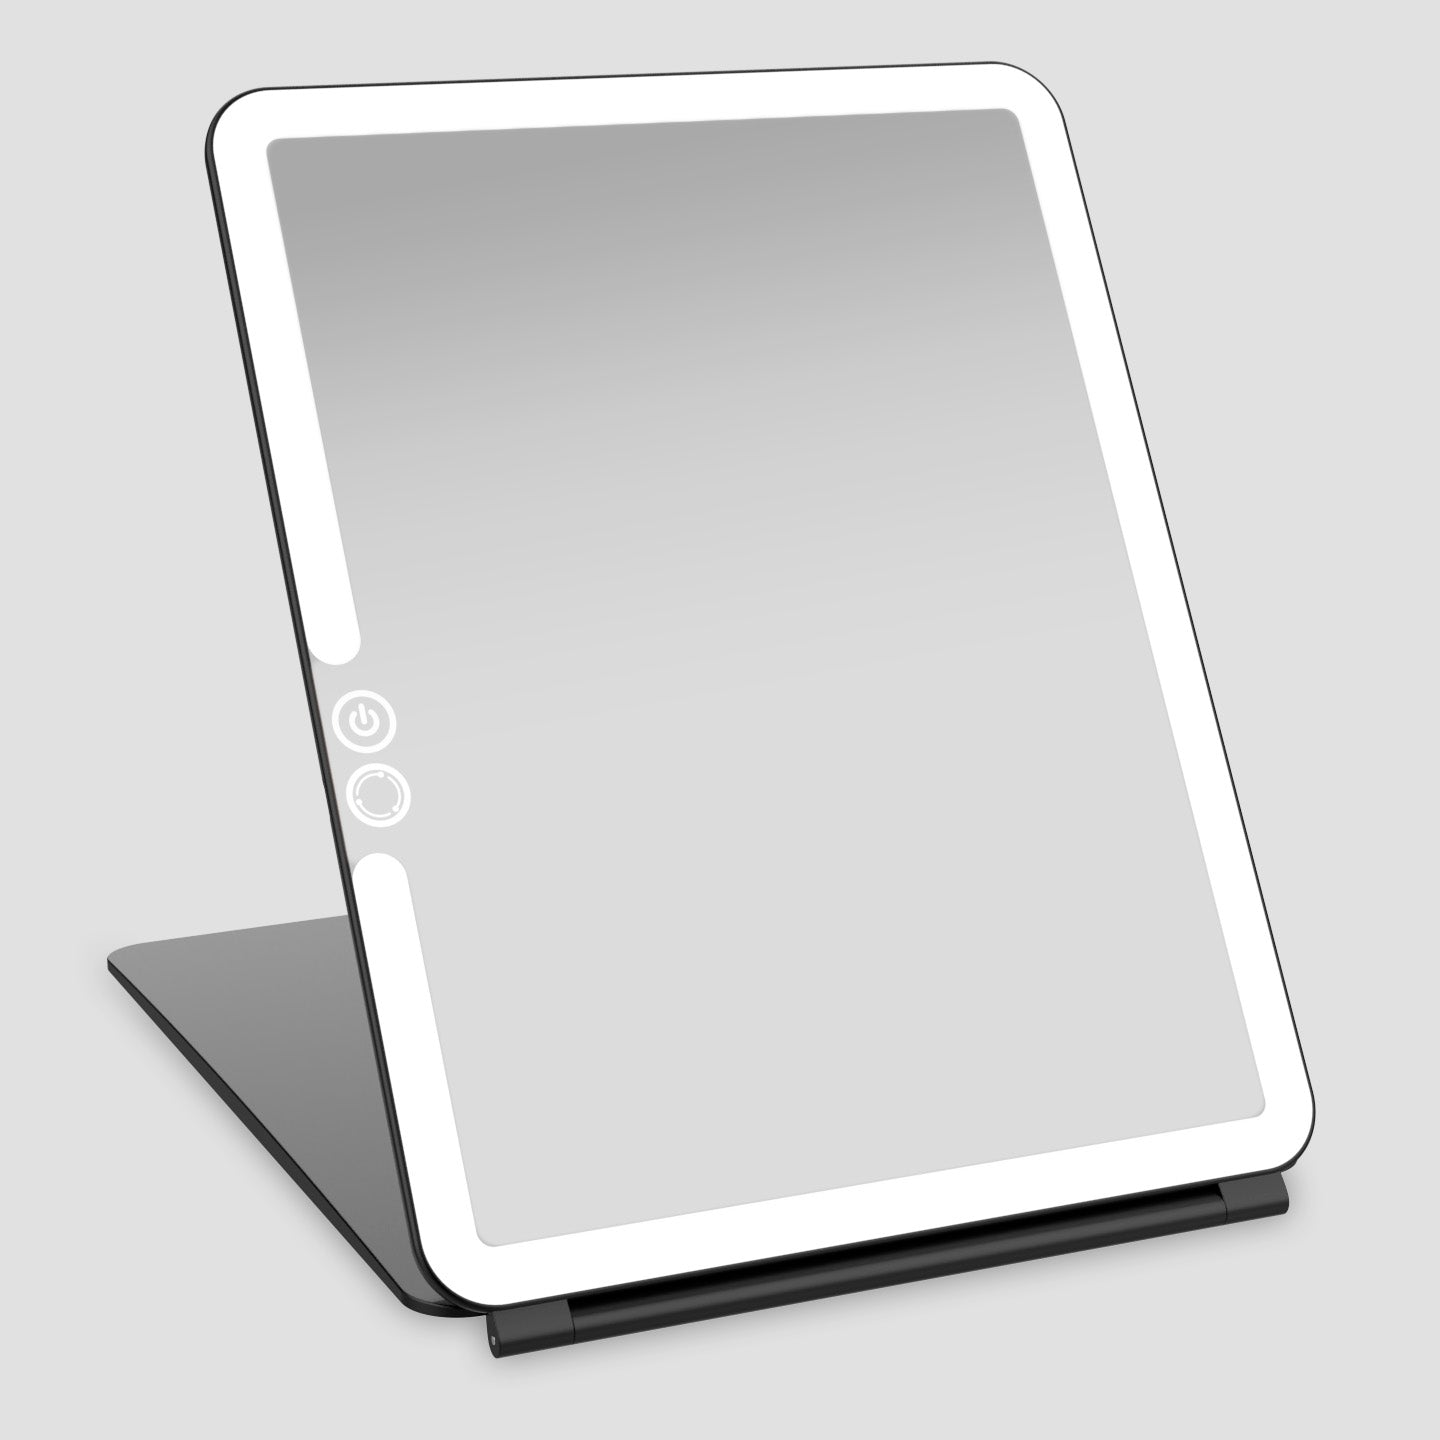
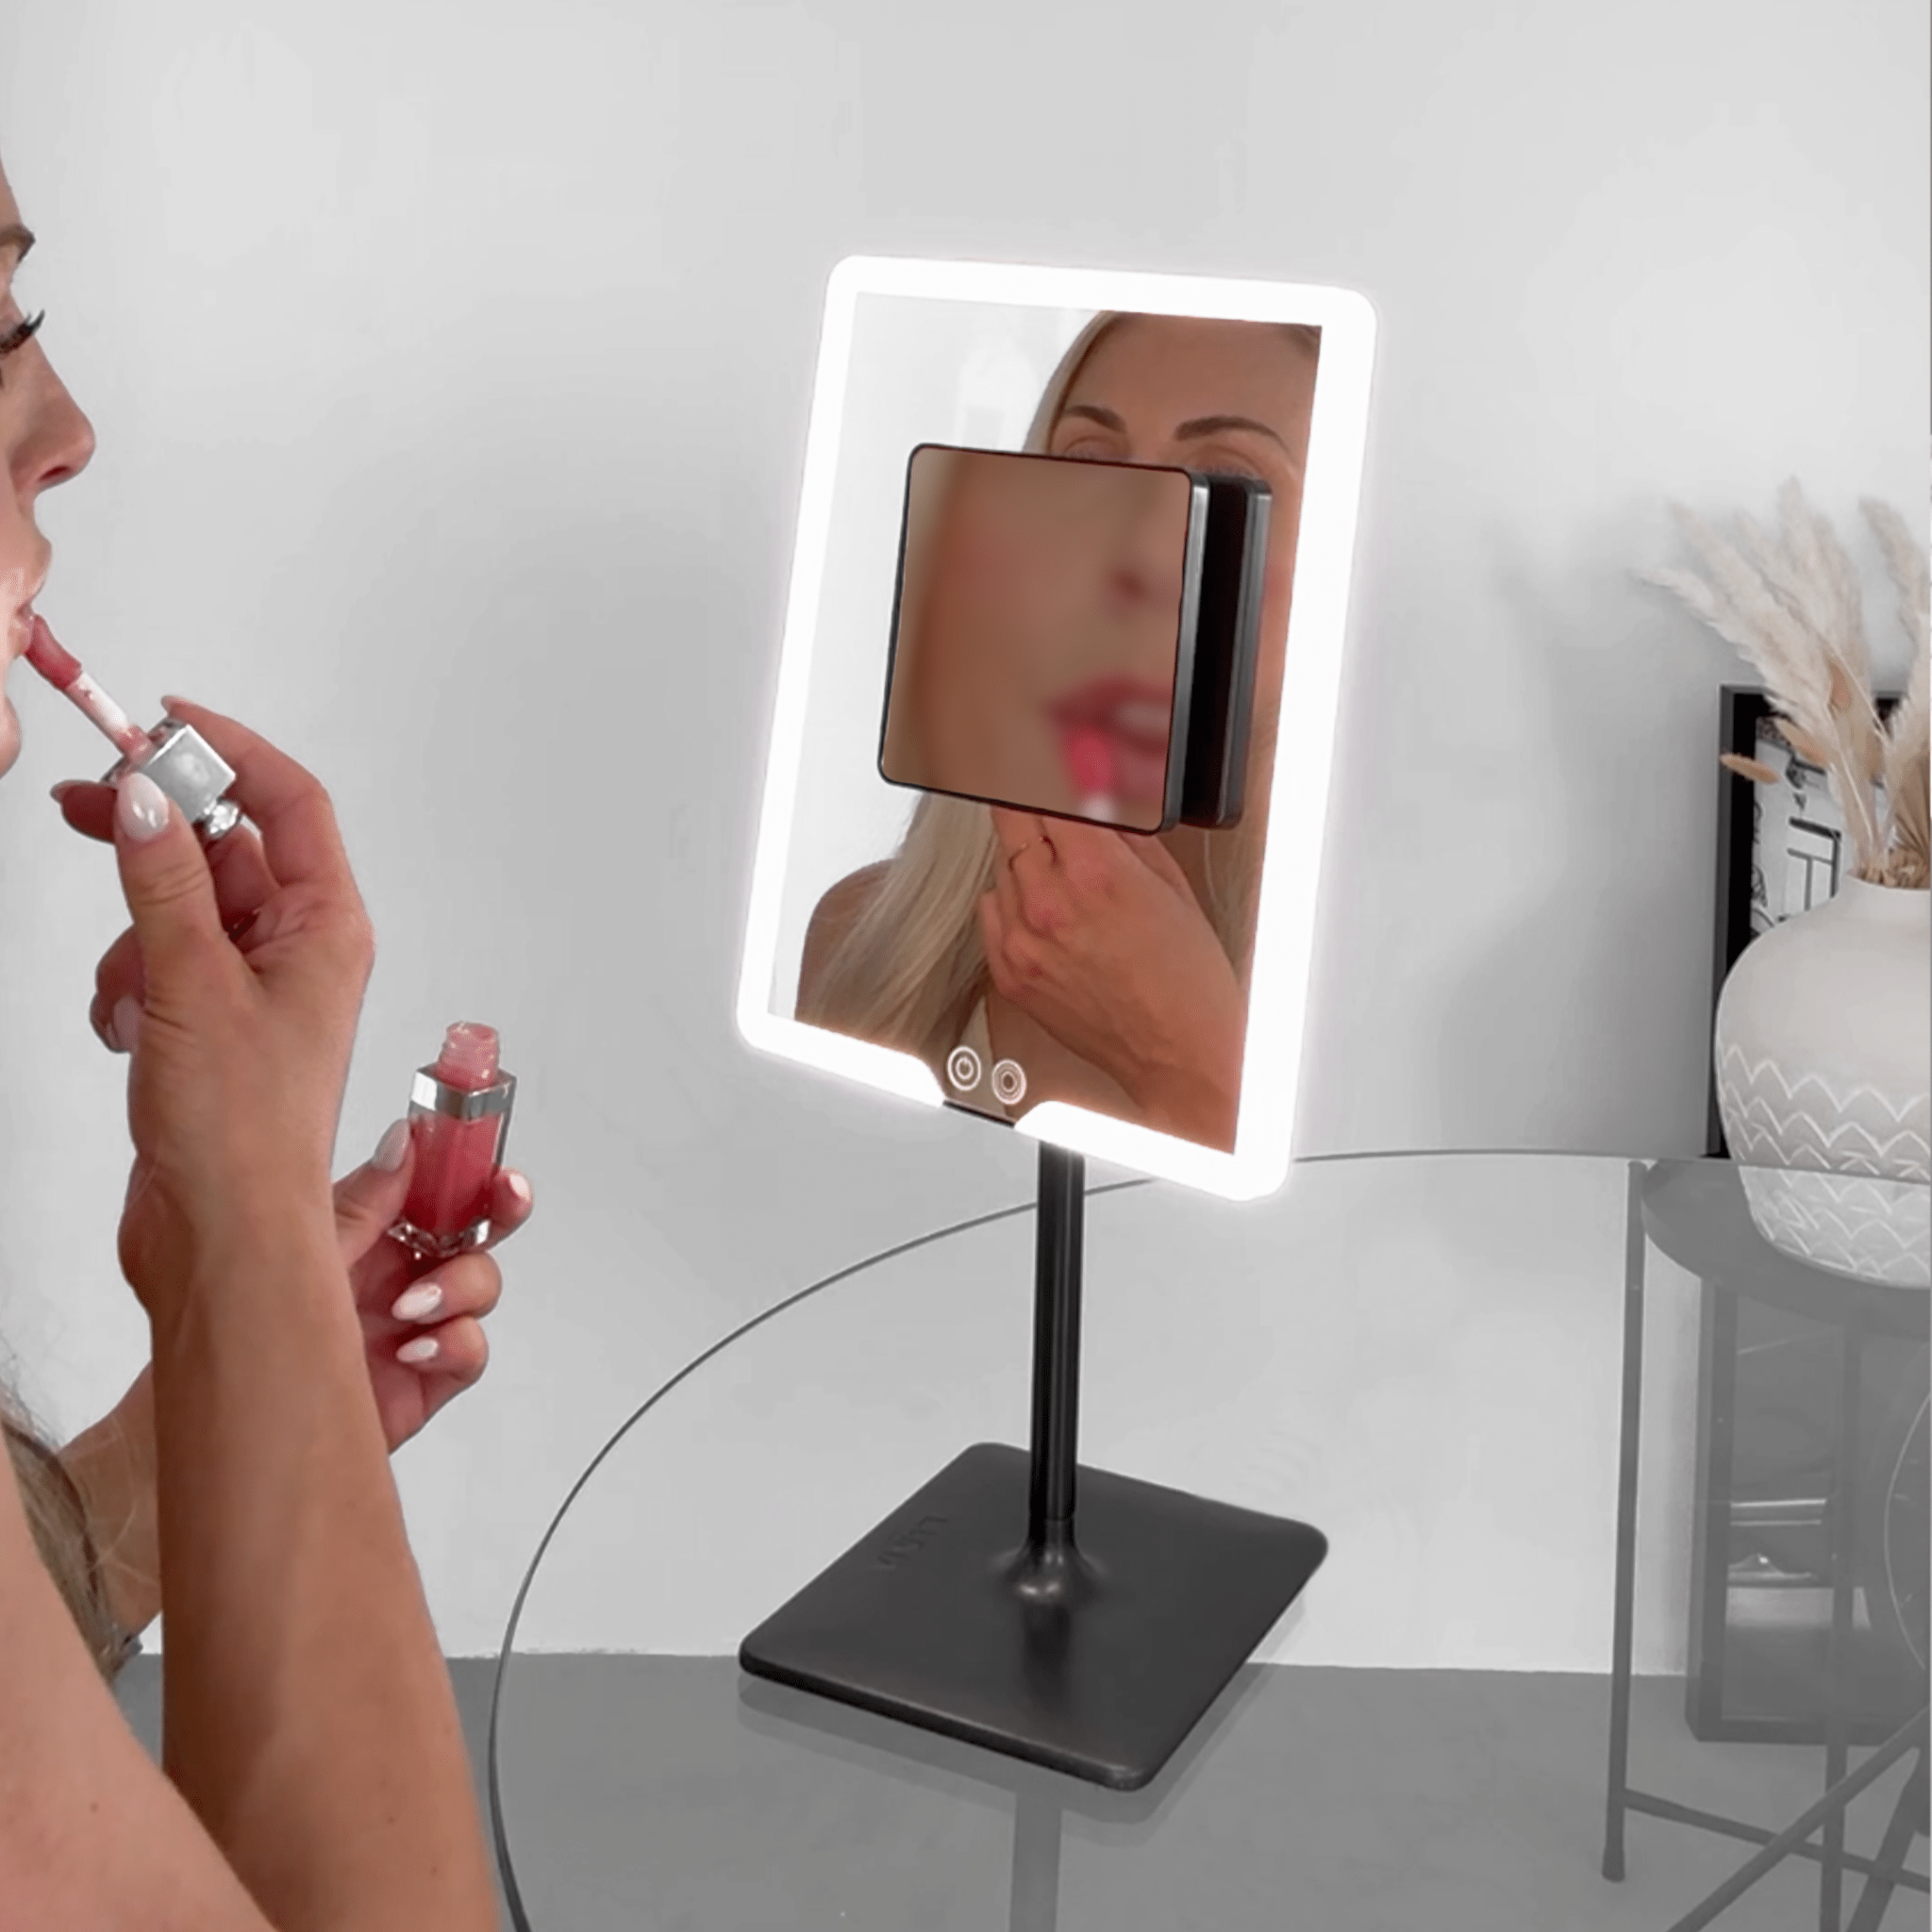
For this tutorial, you can use any good LED mirror, although a magnifying option such as the travel-ready ECLIPSE or a dressing-table LED like ORBIT gives you the clarity needed for painless plucking and tidy, groomed eyebrows.
⚡ PRO INSIGHT: Warm skin releases hair more easily. Do your tweezing straight after a shower, or gently press a warm flannel onto the brow area for 20–30 seconds before you start.
Below, you will find a step-by-step routine that avoids redness, tugging, and the uneven results that come from rushing. We will also touch on magnification, shape mapping, and common mistakes dermatologists warn about, so you can achieve groomed eyebrows that still look natural.
Step-by-Step Guide: How to Pluck Stray Hairs Without Pain
1. Cleanse and warm the brow area
Start by removing sunscreen, makeup, and oil with a gentle cleanser. Residue makes hairs slippery, which forces you to pinch harder with your tweezers. Once clean, warm the area with a shower or warm flannel. The combination of heat and moisture softens the skin and helps the follicle release the hair more easily.
2. Sit in front of bright, even LED lighting
Harsh downlights and yellow bulbs create shadows that hide fine hairs. Instead, position yourself in front of a mirror that provides even, face-level lighting. A crisp LED lighted mirror, ideally one with high colour accuracy like ORBIT, lets you see root lines clearly so you can remove each hair with a single, clean movement.
Research into high-CRI lighting suggests that accurate, daylight-style illumination improves visual precision and reduces error in close work tasks by a meaningful margin, which in beauty terms translates into fewer accidental tugs and missed hairs (Scientific Reports, 2022).
3. Map your ideal brow shape before you touch the tweezers
Instead of guessing, lightly sketch your ideal brow with a pencil. This acts as a boundary so you only remove true “strays” rather than core hairs that create structure.
- Start point: hold a pencil from the edge of your nostril straight up to your brow. Mark where it meets.
- Arch: angle the pencil from nostril through the centre of your pupil. This is where your natural arch should peak.
- End: angle from nostril to the outer corner of your eye. Mark where the tail should finish.
Everything you pluck should sit outside this map. If in doubt, leave the hair and reassess in natural daylight the next morning.
4. Use magnification for detail, not the whole job
A 3x to 5x magnifying mirror, like the close-up side on ECLIPSE, is brilliant for spotting tiny strays between the brows or along the brow bone. The trick is to shape your brows first under normal view, then flip to magnification for the very last passes. If you do the entire process under magnification, you can end up chasing hairs that no one else can see and over-plucking the overall shape.
⚡ PRO INSIGHT: Treat magnification as a “final check”, not your main mirror. Finish both brows under normal lighting so they look balanced from a natural distance.
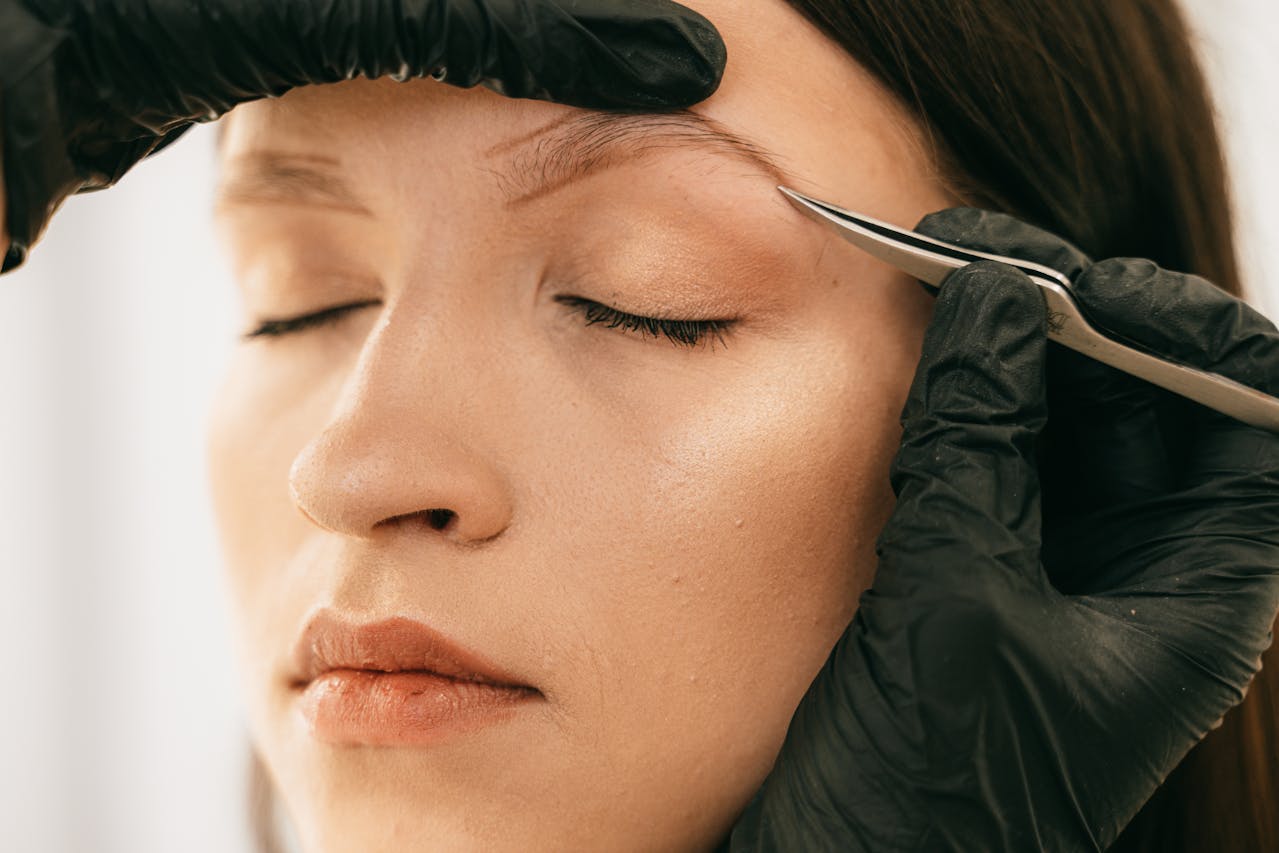
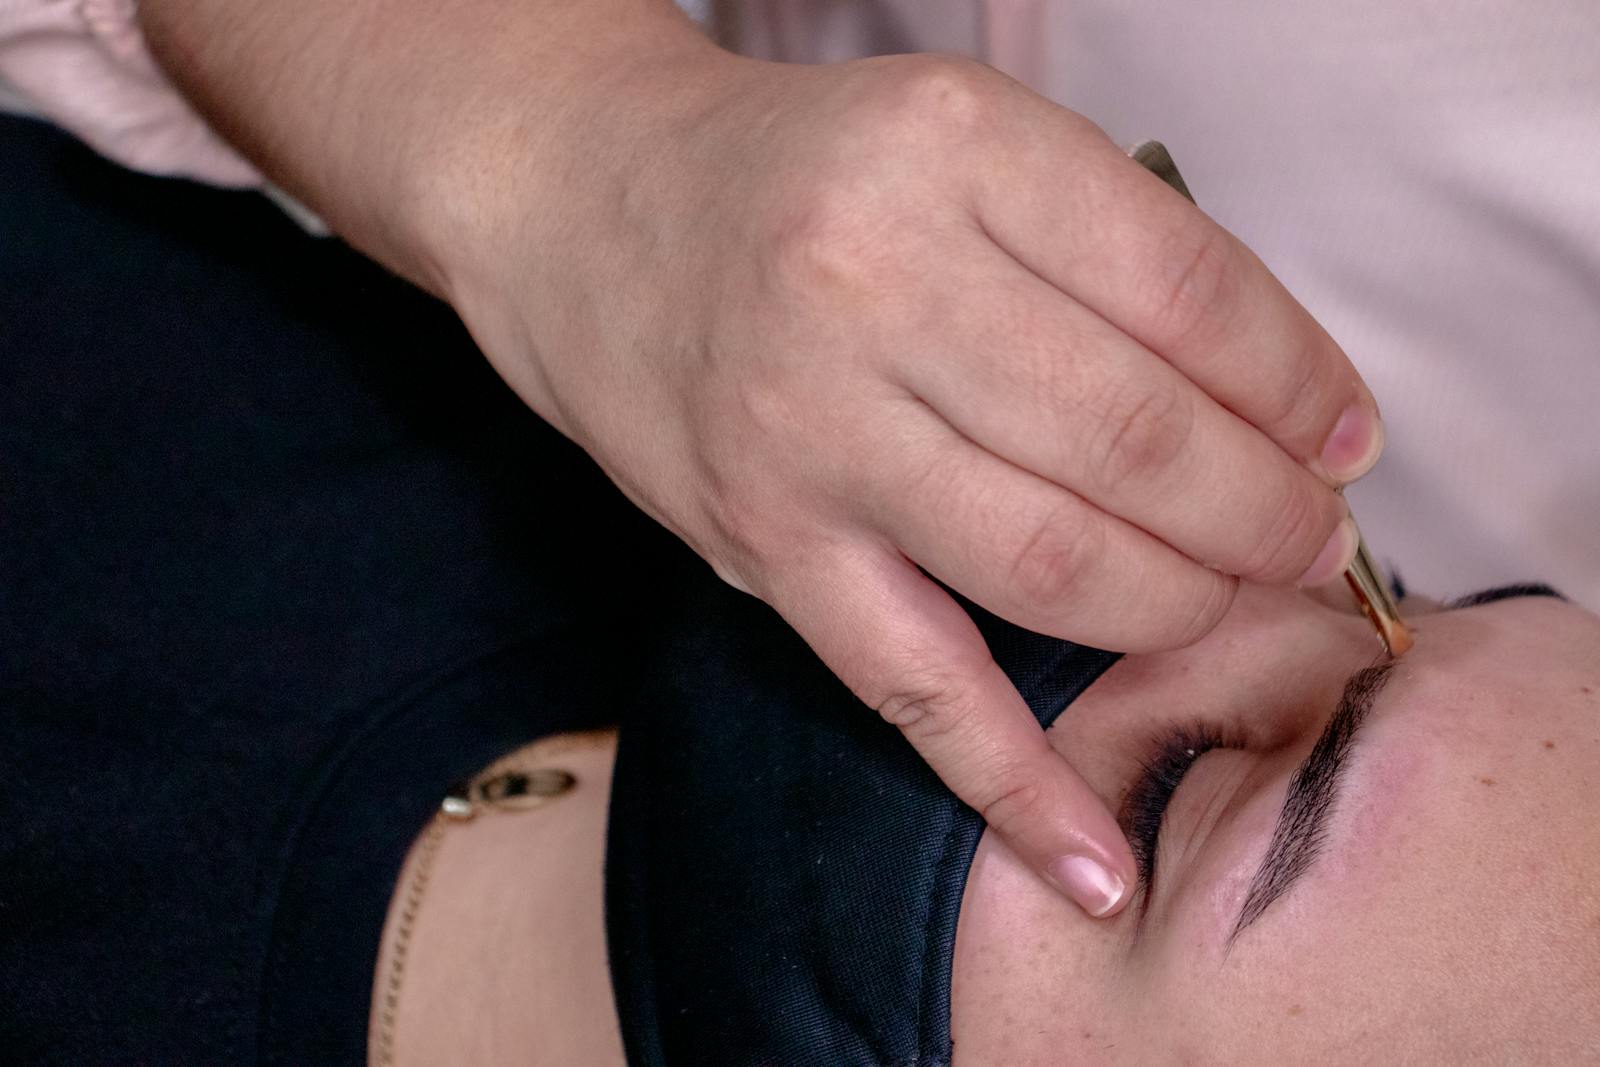
5. Pull the skin taut and tweeze in the direction of hair growth
This is the single most effective way to reduce pain. Use one hand to gently stretch the skin so it feels smooth and supported, then place the tweezers as close to the root as you can. Pull in the direction the hair naturally grows out, in a slow, controlled motion.
Snapping a hair mid-shaft or pulling straight outward creates far more discomfort and leaves a dark dot behind. Holding the skin taut and following the natural growth path lets the entire hair slide out in one movement, which is noticeably more comfortable.
6. Only pluck hairs clearly outside your stencil
Once you have your brow map, anything you remove should sit well beyond those guide lines. Avoid “chasing symmetry” by endlessly correcting one brow to match the other. Brows are cousins rather than twins, and trying to make them identical is one of the quickest routes to thin, uneven lines.
7. Soothe the skin and step away
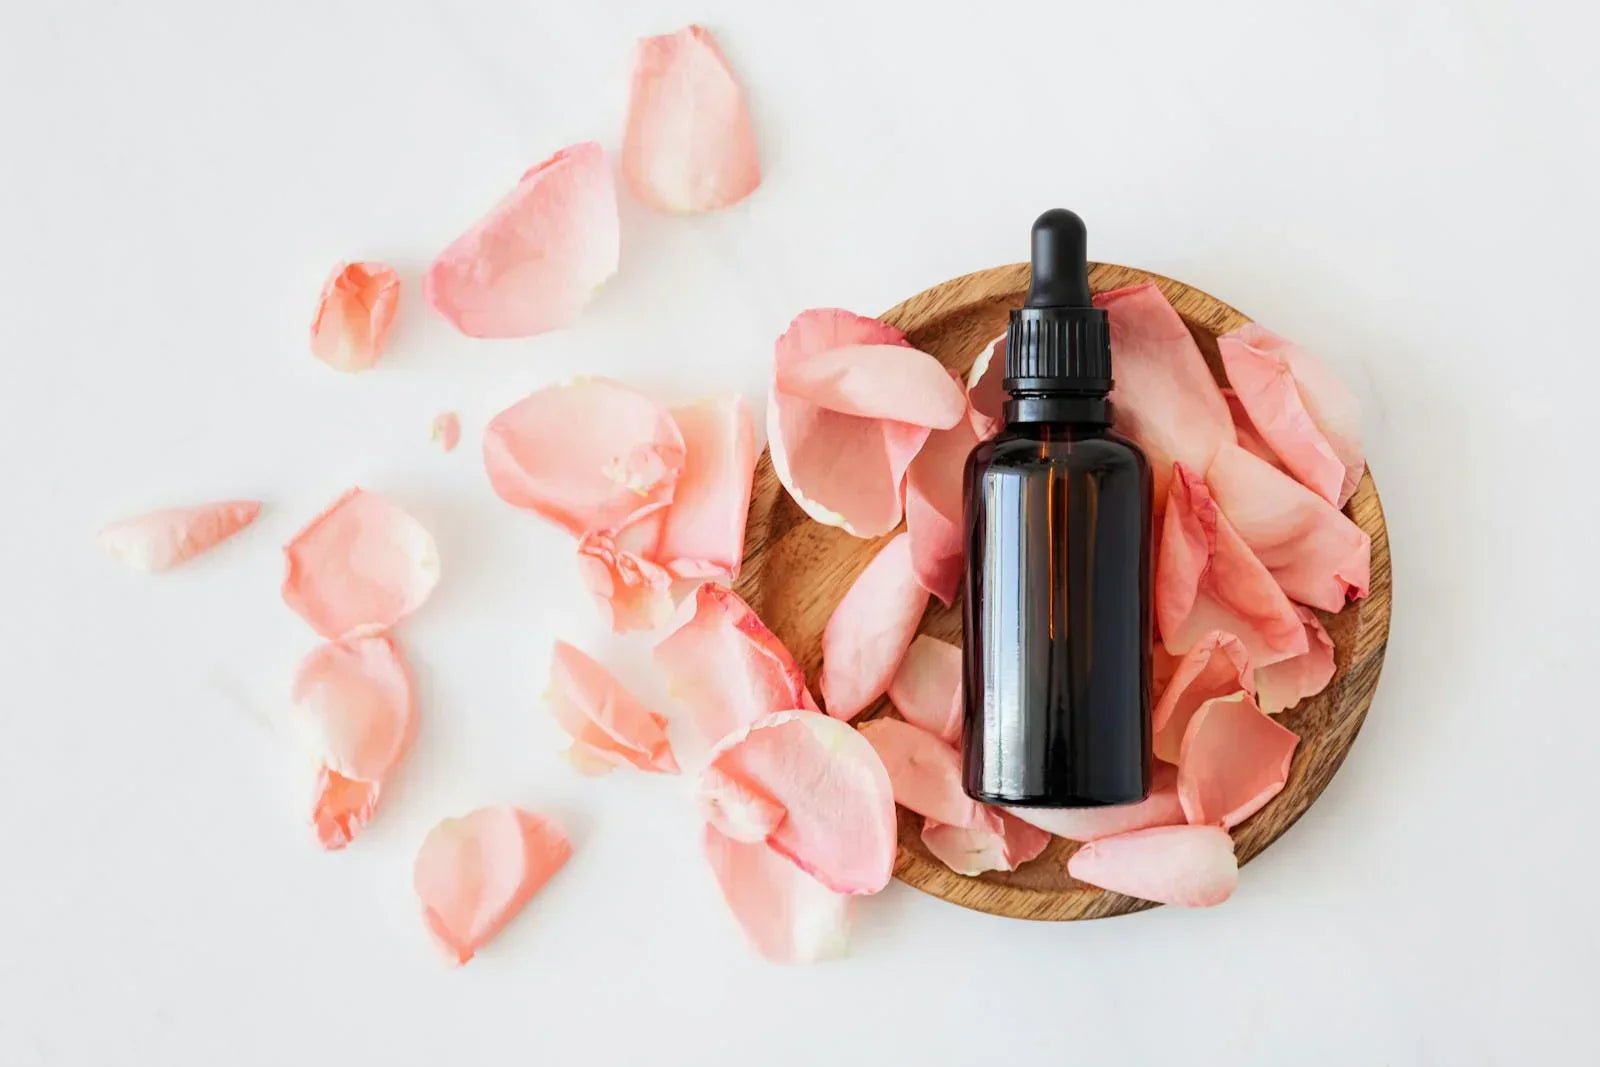
When you are happy with the shape, finish by pressing a cool spoon, gel eye mask, or damp flannel onto the area for a minute or two. A light layer of fragrance-free aloe vera or a gentle moisturiser suitable for sensitive skin can help reduce temporary redness. Dermatology sources often recommend avoiding active ingredients such as strong acids or retinoids immediately after hair removal, as the skin barrier is more vulnerable (Harvard Health, 2024).
Quick Reference: Painless Tweezing Essentials
| Grooming Step | Why It Reduces Pain | Here’s Our Favourite |
|---|---|---|
| Warm the skin first | Softens the surrounding tissue so hairs glide out more easily. | ECLIPSE for close, warm-tone LED clarity at eye level. |
| Angle with hair growth | Prevents snapping and tugging at the follicle. | ORBIT for natural-daylight overview of both brows. |
| Use magnification for detail only | Keeps focus on genuine strays, not structural hairs. | COMPACT 2.0 for quick tidy-ups when travelling. |
“Most discomfort during brow tweezing comes from poor visibility and rushed technique. When you can clearly see the hair’s direction and support the skin properly, removal becomes almost painless.”
— Dr Samantha Hill, Consultant Dermatologist, BMJ Dermatology Review (2024)
Common Mistakes That Make Brow Tweezing Hurt
Over-using magnification
Magnifying mirrors are powerful. Staying zoomed in for the entire process makes every tiny hair look urgent. That leads to over-plucking, which often means going back over the same area several times and irritating the skin.
Tweezing straight upwards
Pulling straight up or out at ninety degrees to the skin forces the follicle to resist, which increases discomfort and can even cause tiny breaks in the skin’s surface.
Working in dim or yellow lighting
When you cannot quite see what you are doing, you instinctively pinch harder with the tweezers. Soft, yellow lighting also hides baby hairs that then catch in makeup later. Daylight-style LED lighting exposes every stray so you can remove it gently and deliberately.
Plucking dry, cold skin
Cold skin tightens and grips the hair follicle, so the hair feels “stuck”. Warming the area first, then stretching the skin slightly, makes the movement smoother and more comfortable.
Why LED Mirrors Make Eyebrow Grooming Easier
LED mirrors remove harsh shadows and give you a predictable lighting environment every time you groom. Models like ECLIPSE and ORBIT are engineered to mimic natural daylight, which helps you judge colour, hair density, and symmetry properly. This is especially useful for mature skin, where natural texture and fine lines can hide lighter hairs.
If you often find yourself leaning over a sink or squinting near a window just to see what you are doing, upgrading your lighting is one of the simplest ways to make eyebrow tweezing less painful and more precise.
This follow-along video walks through shaping, angles, and pressure, so you can see exactly how gentle tweezing looks in real time under good lighting.
Make Brow Tweezing Clearer and Kinder
If you struggle to see fine hairs or keep leaning towards the bathroom mirror, the ECLIPSE travel mirror gives you crisp magnification and daylight-balanced LED lighting in one compact design. It is ideal for precise eyebrow grooming at home or for quick tidy-ups before an evening out.
Discover ECLIPSE lighting →FAQs
How do I stop tweezing my eyebrows from hurting?
Warm the skin first, use bright LED lighting so you can see clearly, and pluck in the natural direction of hair growth while gently supporting the skin. These three adjustments remove most of the sting from brow tweezing.
Should I use a magnifying mirror for eyebrow grooming?
Magnifying mirrors are useful for detail work, but you should not use them for the whole process. Shape your brows under normal lighting first, then use magnification to remove a few final strays so you avoid over-plucking.
Why do my brows go red after tweezing?
Temporary redness is usually caused by friction and repeated passes over the same area. Support the skin, pluck each hair cleanly from the root, and finish with a cool compress and gentle moisturiser to calm the area.
Related links
Leave a comment
This site is protected by hCaptcha and the hCaptcha Privacy Policy and Terms of Service apply.