

Last updated: Wednesday 1 July 2026
How to build a men’s grooming mirror setup that looks clean in real life
If a beard line looks sharp in the bathroom but uneven in daylight, it is usually a mirror problem before it is a technique problem. Poor overhead light hides flat hairs under the jaw, throws shadows across the neck and makes brows look either too heavy or too sparse.
A proper men’s grooming mirror setup gives you three practical advantages: light at face level, a stable angle, and enough close-up visibility to check details without losing the whole shape. That last part matters. Magnification is useful, but only when it is treated as a short check, not the view you use to design the entire beard.
This also becomes more relevant with age. NIH News in Health notes that people in their 60s may need around three times more light for comfortable reading than people in their 20s, while MedlinePlus explains that ageing can reduce glare tolerance and slow adjustment to bright or dim light. In grooming terms, that means a darker bathroom can turn shaving, brow tidy-ups and neck clean-up into guesswork.
In a hurry? The practical grooming mirror decision table
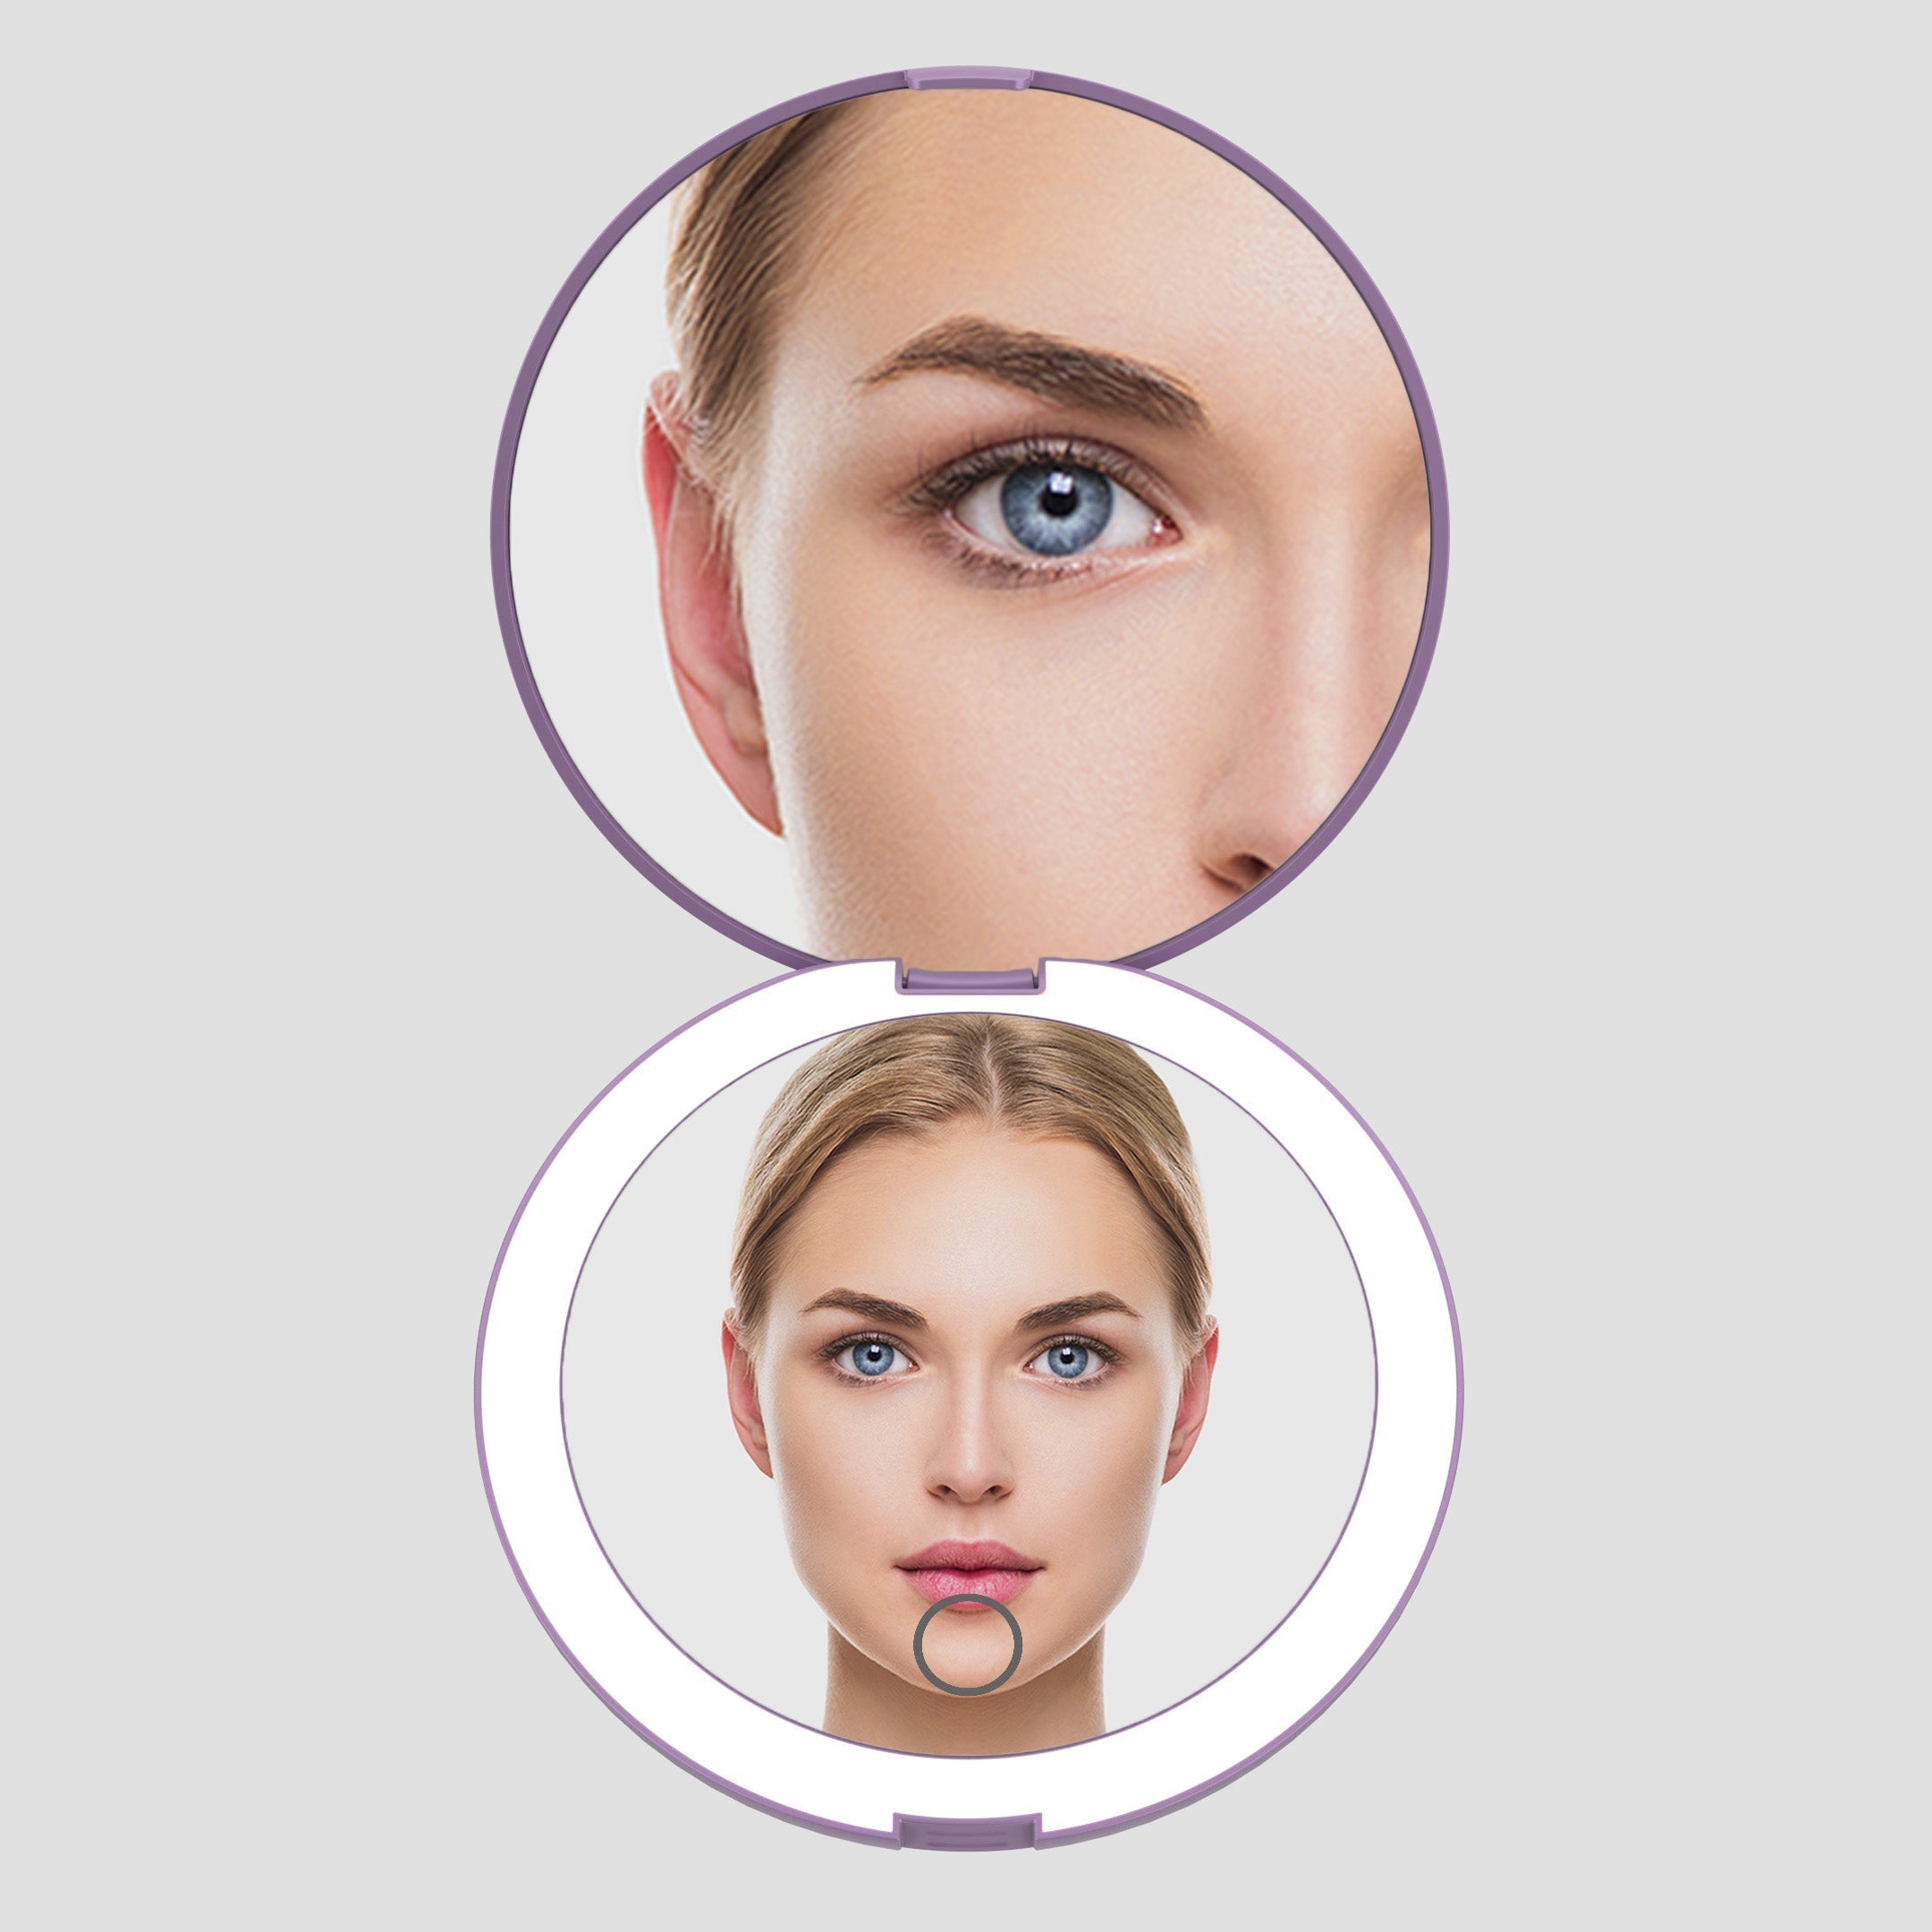
⚡ PRO INSIGHT: Use 1x to make shape decisions, then use 7x only to confirm corners, strays and edges. If you build the entire beard line or brow shape under magnification, you are more likely to over-correct.

The 60-second setup that changes the whole shave
Before you touch a razor or trimmer, fix the view. Set the mirror around eye height, stand square to the light and tilt until glare disappears from the jaw and neck. The American Academy of Dermatology recommends wetting the skin and hair, using shaving cream and shaving in the direction the hair grows. That advice is easier to follow when you can actually see the grain.
For beard lines and brows, neutral or daylight-style light is usually the most useful working mode because it shows flat hairs, uneven density and missed corners clearly. Warm light has a place, but it is better as a final redness check than as the main working light.
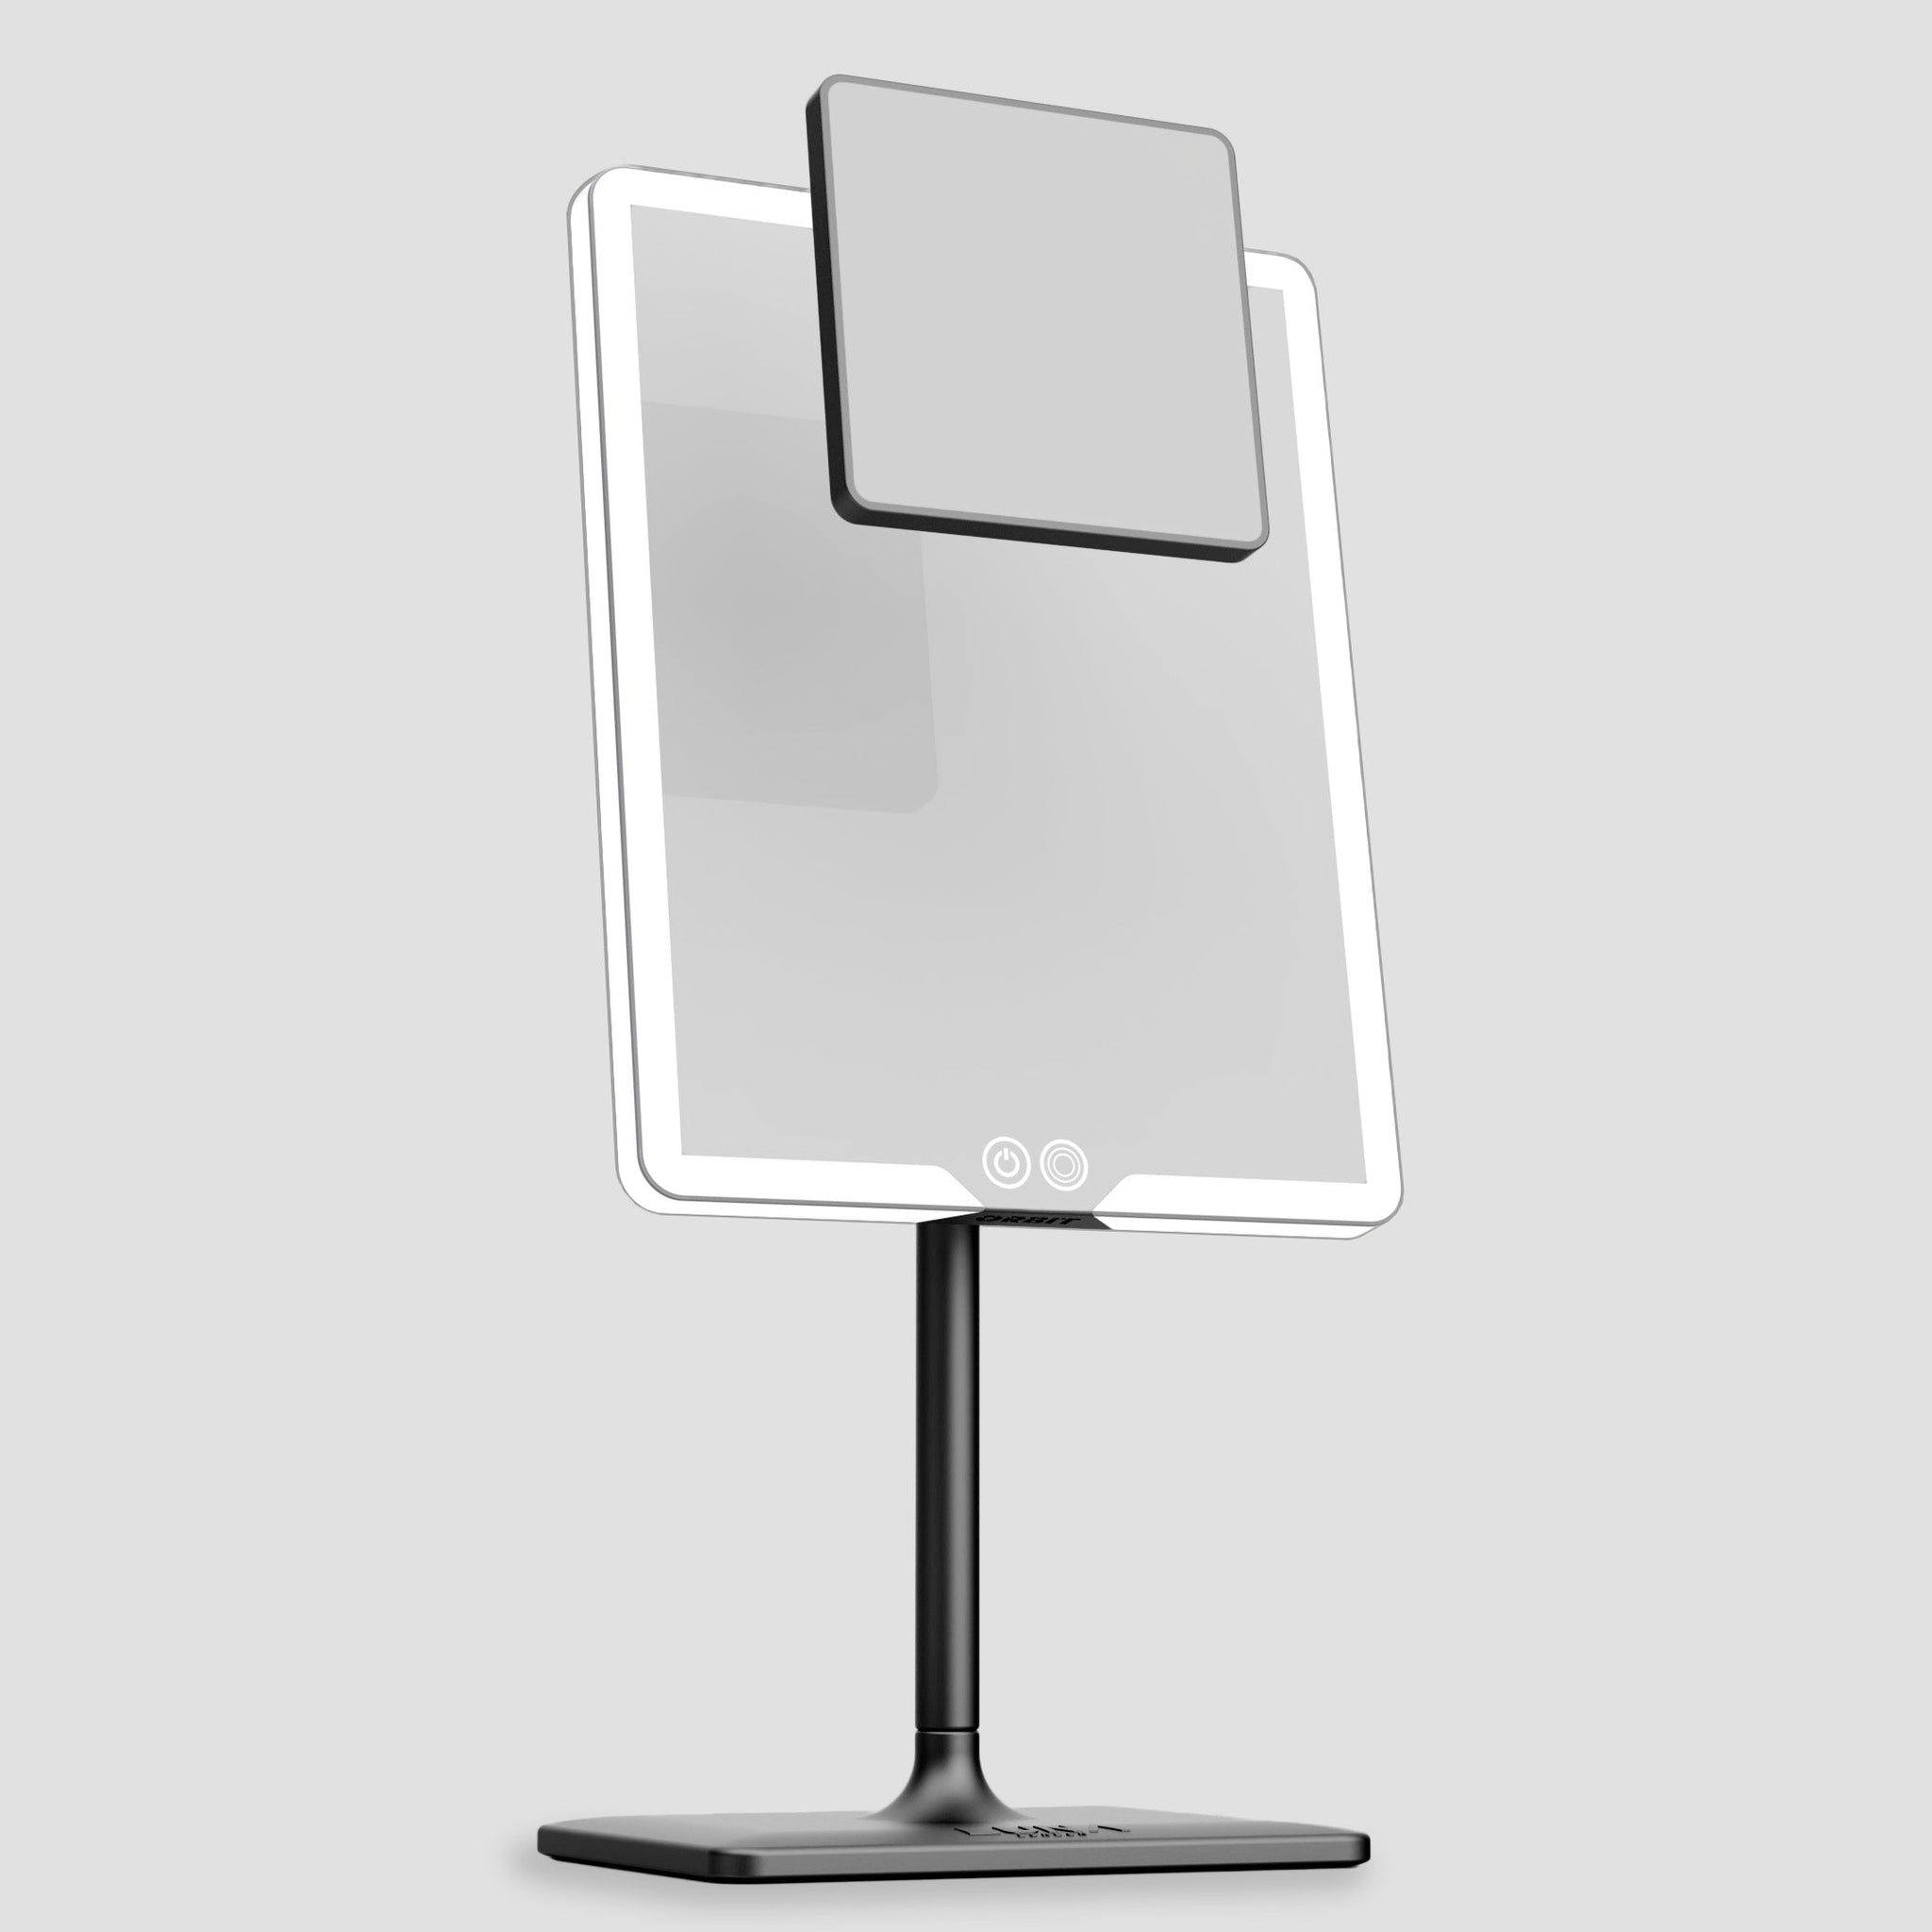
For shaving lines and close-up checks: ORBIT gives you a larger lit view for the full face, plus a 7x magnification add-on for corners, missed hairs, brows and neck clean-up.
A cleaner grooming mirror check, step by step
- Start with skin prep. Use warm water or a warm towel, then apply shaving cream or gel. Dry shaving encourages tugging and extra pressure.
- Map the shape in 1x. Check sideburn height, cheek lines, moustache balance and neckline from a normal distance.
- Work with the grain first. Use short, low-pressure strokes. Neck hair often grows diagonally, so follow the actual direction rather than forcing one pattern.
- Step back before correcting. Beard shape is judged at normal distance, not nose-to-glass distance.
- Use 7x for the short precision pass. Look for isolated missed hairs, moustache corners, brow strays and edges around the jaw.
- Return to 1x and stop. This is the guardrail. If it looks clean in 1x, do not keep hunting.
- Rinse, moisturise and clean the mirror. A quick dry buff stops water spots, shaving spray and loose hair from hiding detail next time. For the full method, use the LED mirror care guide.
“Razor blades tend to last for up to five to 10 shaves.”
— Dr Shilpi Khetarpal, Dermatologist, Cleveland Clinic
That blade point matters because dull blades create a false need for pressure. Then irritation gets blamed on the mirror, the razor or the cream, when the real issue is tugging. For recurring bumps, the AAD’s razor-bump guidance supports shaving with the grain, avoiding skin stretching and reducing repeat passes.
Where most men go wrong: beard lines, brows and neck clean-up
Beard lines: trim for balance, not false density
A patchy beard does not become fuller because the edges are harsher. It usually looks better when the silhouette is clean but not carved too aggressively. Use the normal view to judge the overall shape, then use the 7x attachment only for the few hairs that sit outside the line. The related beard mirror setup for men 45+ goes deeper on no-mess trim stations and angle control.
Brows: tidy, do not redesign
Brows should look intentional, not polished into a different face. Map both brows in 1x, remove obvious strays underneath and between the brows, then stop before you start chasing every fine hair. For a dedicated brow routine, read the expert brow tweezing mirror guide.
Neck clean-up: do fewer passes, not more
The neck is where bad light causes the most damage. Shadows hide grain direction, then extra passes create redness. Angle the mirror slightly down for visibility, shave with the grain first, then check straight on. If the line is mostly clean at normal distance, leave it alone.
⚡ PRO INSIGHT: If your reflection looks worse only under the mirror lights, do not blame the light first. It is often showing residue, uneven trimming or missed hairs that room light was hiding.


For grooming detail
The mirror upgrade that actually helps with beard lines and missed hairs
Bathroom lighting hides edges, then daylight exposes them. ORBIT gives you face-level lighting for the overall shape, plus 7x detail when you need to check corners, neck clean-up or brow strays.
Is 7x magnification necessary for men’s grooming?
Not for the whole routine. The useful pattern is simple: shape in 1x, check detail in 7x, finish in 1x. That is why ORBIT works well as a home grooming mirror. The main mirror gives you the full face and the magnetic 7x attachment helps with small checks. For a deeper explanation of when zoom helps and when it becomes too much, see the 7x magnifying mirror guide.
For older eyes, stronger is not always better. A stable mirror, clear light and repeatable working distance usually help more than extreme zoom. This is also why the ageing-eyes magnifying mirror guide recommends solving lighting and stability before jumping to very high magnification.

The gifting angle: practical, premium and not another gadget
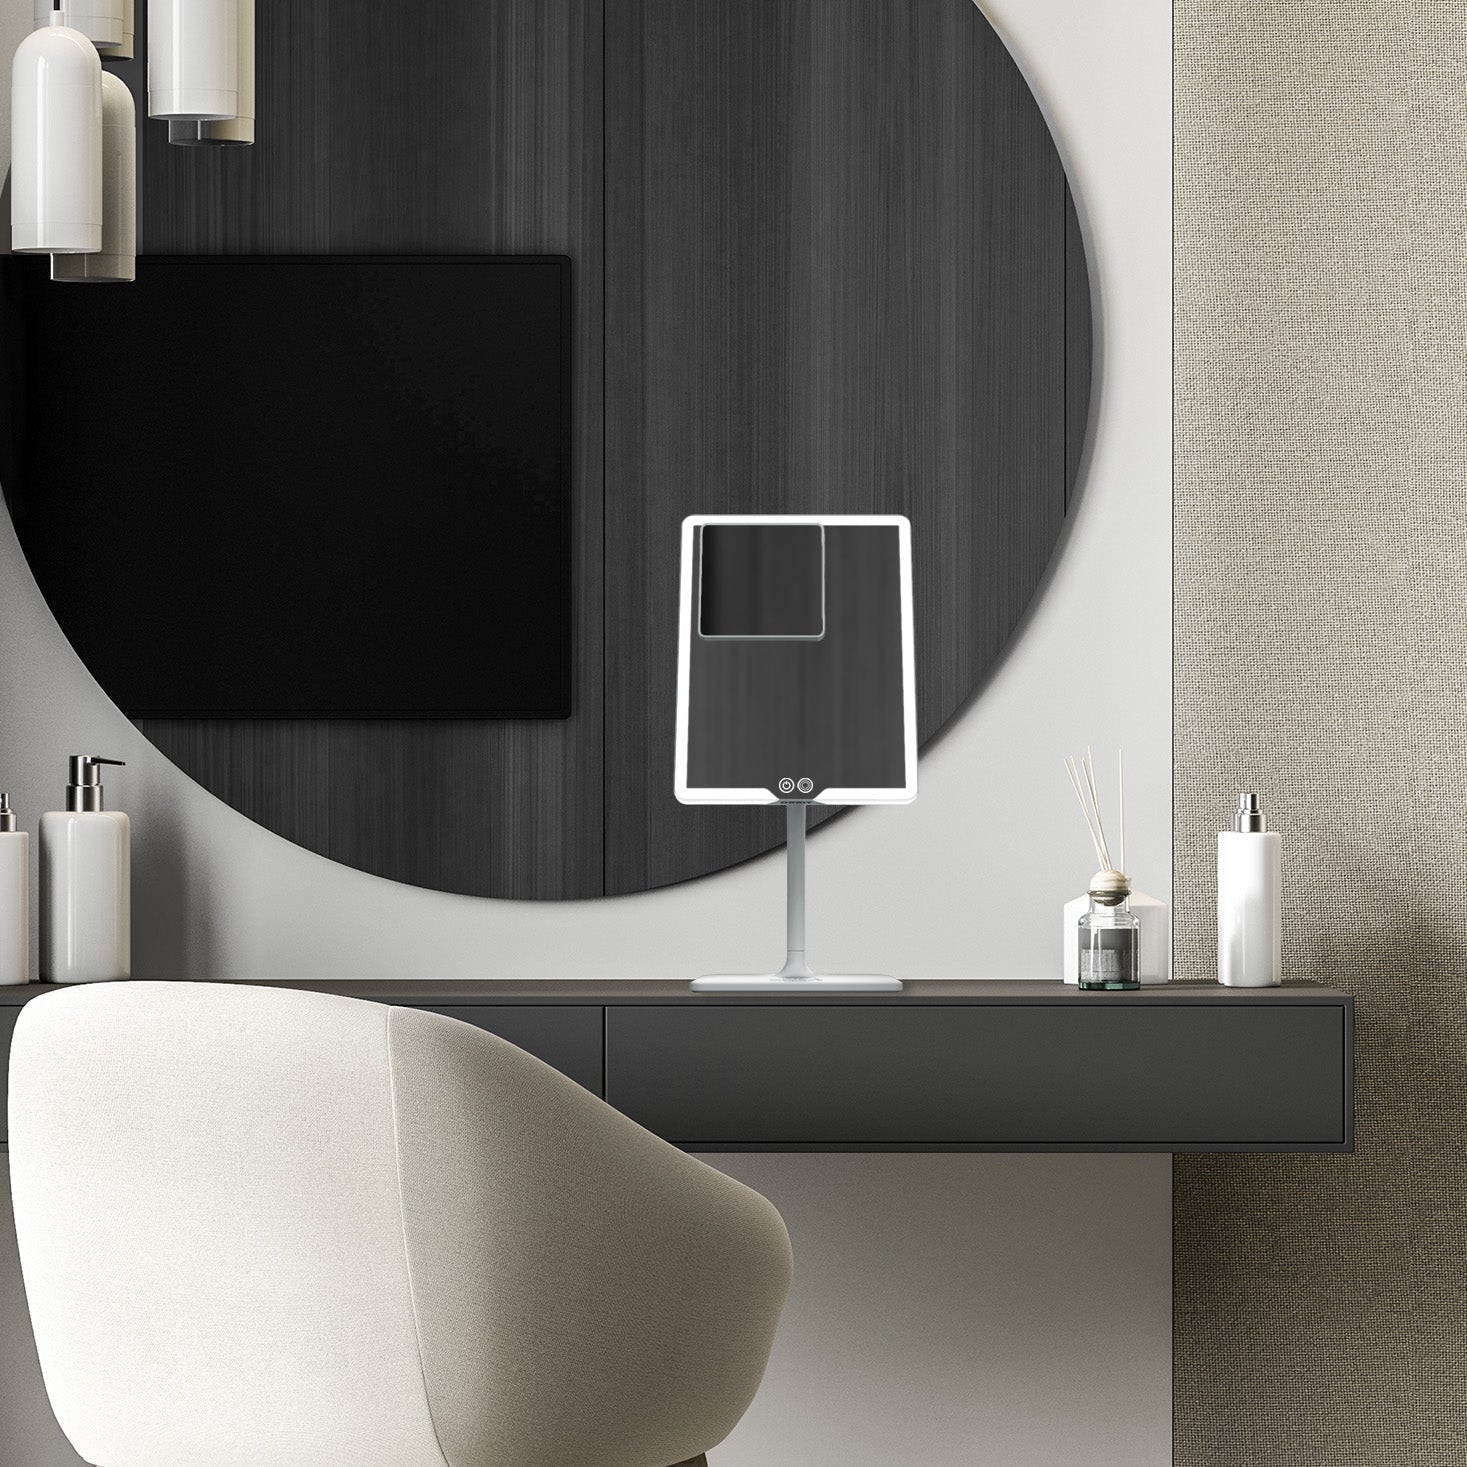
ORBIT is a strong grooming gift because it solves a daily problem without feeling novelty-led. It is useful for men who shave in darker bathrooms, want cleaner beard lines, deal with missed neck hairs or prefer a more premium bathroom or dressing-table setup. It also works as a practical gift from men buying for partners, because the same light and 7x detail helps with brows, skincare checks and fine beauty work.
The weak gifting assumption is that a grooming mirror has to feel “beauty”. It does not. For LUNA, the better positioning is utility and design: a premium mirror that earns its place because it gets used every week.
Which mirror fits the grooming routine?
For packing and hotel-light routines, pair this with the refreshed travel makeup mirror guide. The same logic applies to men’s grooming: poor hotel lighting makes edge work harder, so pack for visibility rather than packing more products.
Confidence before you buy
A proper mirror for routines where small details matter
“My hubby likes to use it when shaving as he finds the light really helpful as our bathroom is quite dark.”
Order today and receive tomorrow in:
 USA
USA
 UK
UK
 EU
EU
FAQs
What is the best men’s grooming mirror setup?
The best setup uses face-level light, a stable mirror around eye height and a two-step viewing pattern: 1x for shape and symmetry, then brief 7x checks for corners, missed hairs, brows and neck clean-up.
Is ORBIT or COMPACT 2.0 better for men’s grooming?
Choose ORBIT for a fixed home grooming station with a larger mirror face and 7x magnification add-on. Choose COMPACT 2.0 for portable grooming, travel, desk drawers and quick 1x plus 7x checks away from home.
Do I need magnification for beard lines?
You do not need magnification for the whole beard line. Use the normal view to set the shape, then use 7x briefly for moustache corners, brow strays, neckline checks and isolated missed hairs.
Which light mode is best for shaving and brows?
Neutral or daylight-style light is usually best for the working phase because it shows grain, stubble and stray hairs more clearly. Warm light is better as a final redness or irritation check.
Is an LED grooming mirror a good gift?
Yes, when the person shaves, trims a beard, tidies brows or struggles with dark bathroom lighting. ORBIT works especially well as a practical premium gift because it is useful for both grooming and beauty routines.
Related links
- ORBIT Phantom Black
- Men’s Grooming Mirrors
- Beard Mirror: The No-Mess Trim Setup for Men
- Best Mirror for Brow Tweezing and Shaping
- Do I Need a 7x Magnifying Mirror?
- Best Magnifying Mirror for Ageing Eyes
- Best Travel Makeup Mirror 2026
Leave a comment
This site is protected by hCaptcha and the hCaptcha Privacy Policy and Terms of Service apply.