
Last updated: 18 May 2026
Your Zoom lighting is probably in the wrong place, not too weak
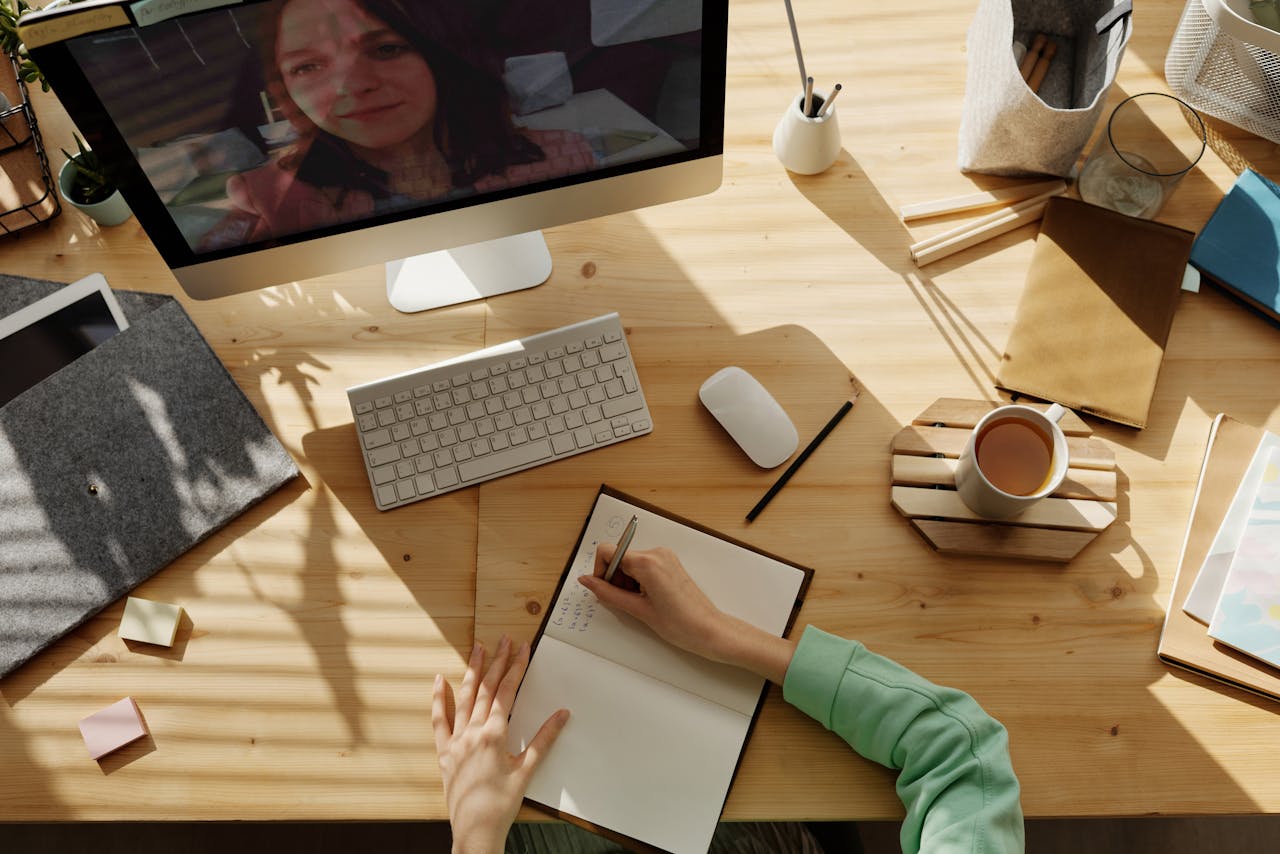
If you want to look better on video calls, question the usual instinct to buy more gear first. Most people do not have a “not enough light” problem. They have a badly placed light problem. A bright ceiling bulb can still make you look shadowy. A cheap lamp in the right place can make you look clearer in seconds.
That matters because webcams exaggerate uneven light. If your face is darker than the background, your camera often compensates badly. If the light is directly overhead, you get under-eye shadows and shine on the forehead. If the light is behind you, your face can flatten into silhouette.
Zoom’s lighting guidance recommends indirect, balanced light, while Webex’s video conferencing guide stresses keeping your brightest source in front of you or around a 45-degree angle. That is the real baseline.
For LUNA readers, there is another useful distinction. A mirror is not always the same thing as a call light. If you do makeup, grooming, or quick pre-call checks as part of the same routine, a lighted mirror earns its place because what you see while preparing is closer to what the webcam will see. That is why our guides to the best mirror for video calls and good lighting for makeup overlap so heavily.
⚡ PRO INSIGHT: If a call setup makes you look worse than you looked in the mirror two minutes earlier, do not assume the camera is the enemy. First check whether your face is brighter than the wall behind you, and whether your main light is still above you instead of near webcam height.
In a hurry? TL;DR
- Face your brightest light source. Do not sit with a bright window behind you.
- Keep the light near webcam height, not only on the ceiling.
- Use a neutral or daylight-leaning setting for most calls, usually around 4000K to 5000K.
- Diffuse harsh light with a blind, sheer curtain, lampshade, or bounce surface.
- Preview yourself before joining. Small angle changes usually matter more than another bulb.
| If your call looks like this | What is usually wrong | Fastest fix |
|---|---|---|
| Dark face, bright background | Window or lamp behind you | Turn to face the window, or move the lamp behind the camera |
| Tired eyes and harsh shadows | Ceiling light doing all the work | Add a front light at eye level or slightly above |
| Orange, grey or slightly “off” skin tone | Mixed colour temperatures | Use one main colour family, ideally neutral to daylight |
| Flat, washed-out face | Light too direct and too central | Move the source slightly off-centre and reduce brightness |
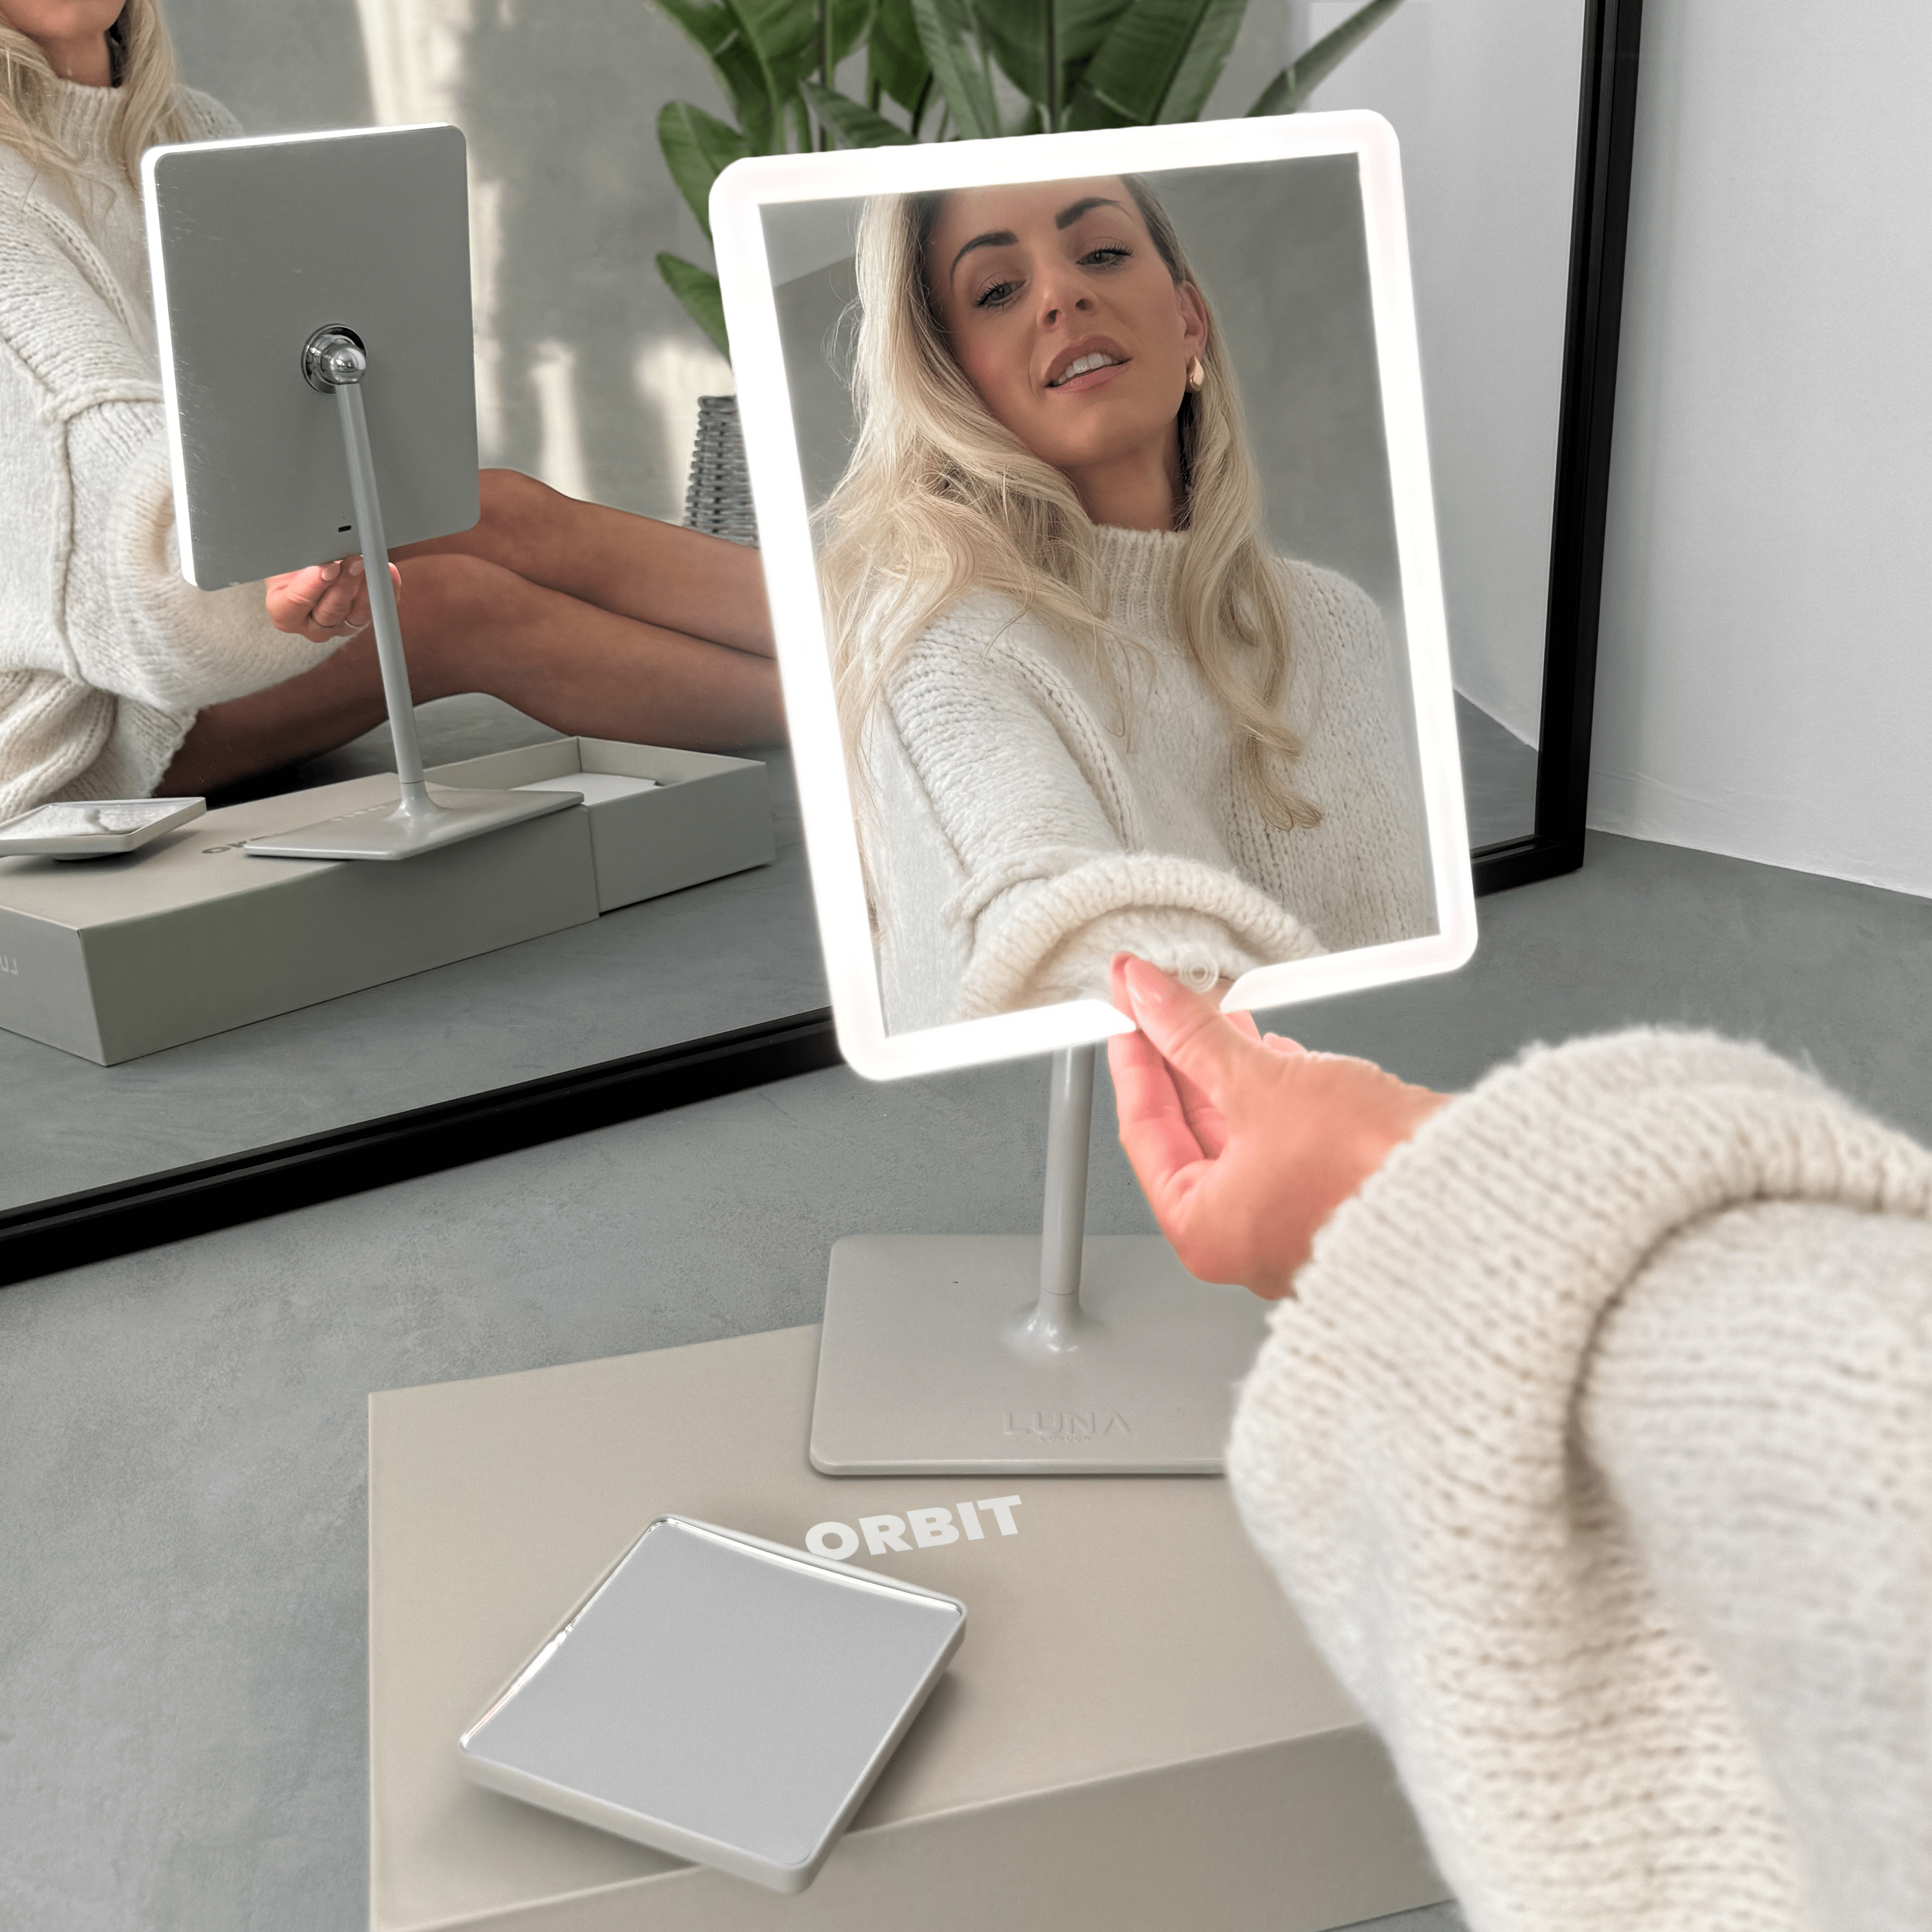
Desk-ready lighting upgrade
A softer face on camera starts with light at face level
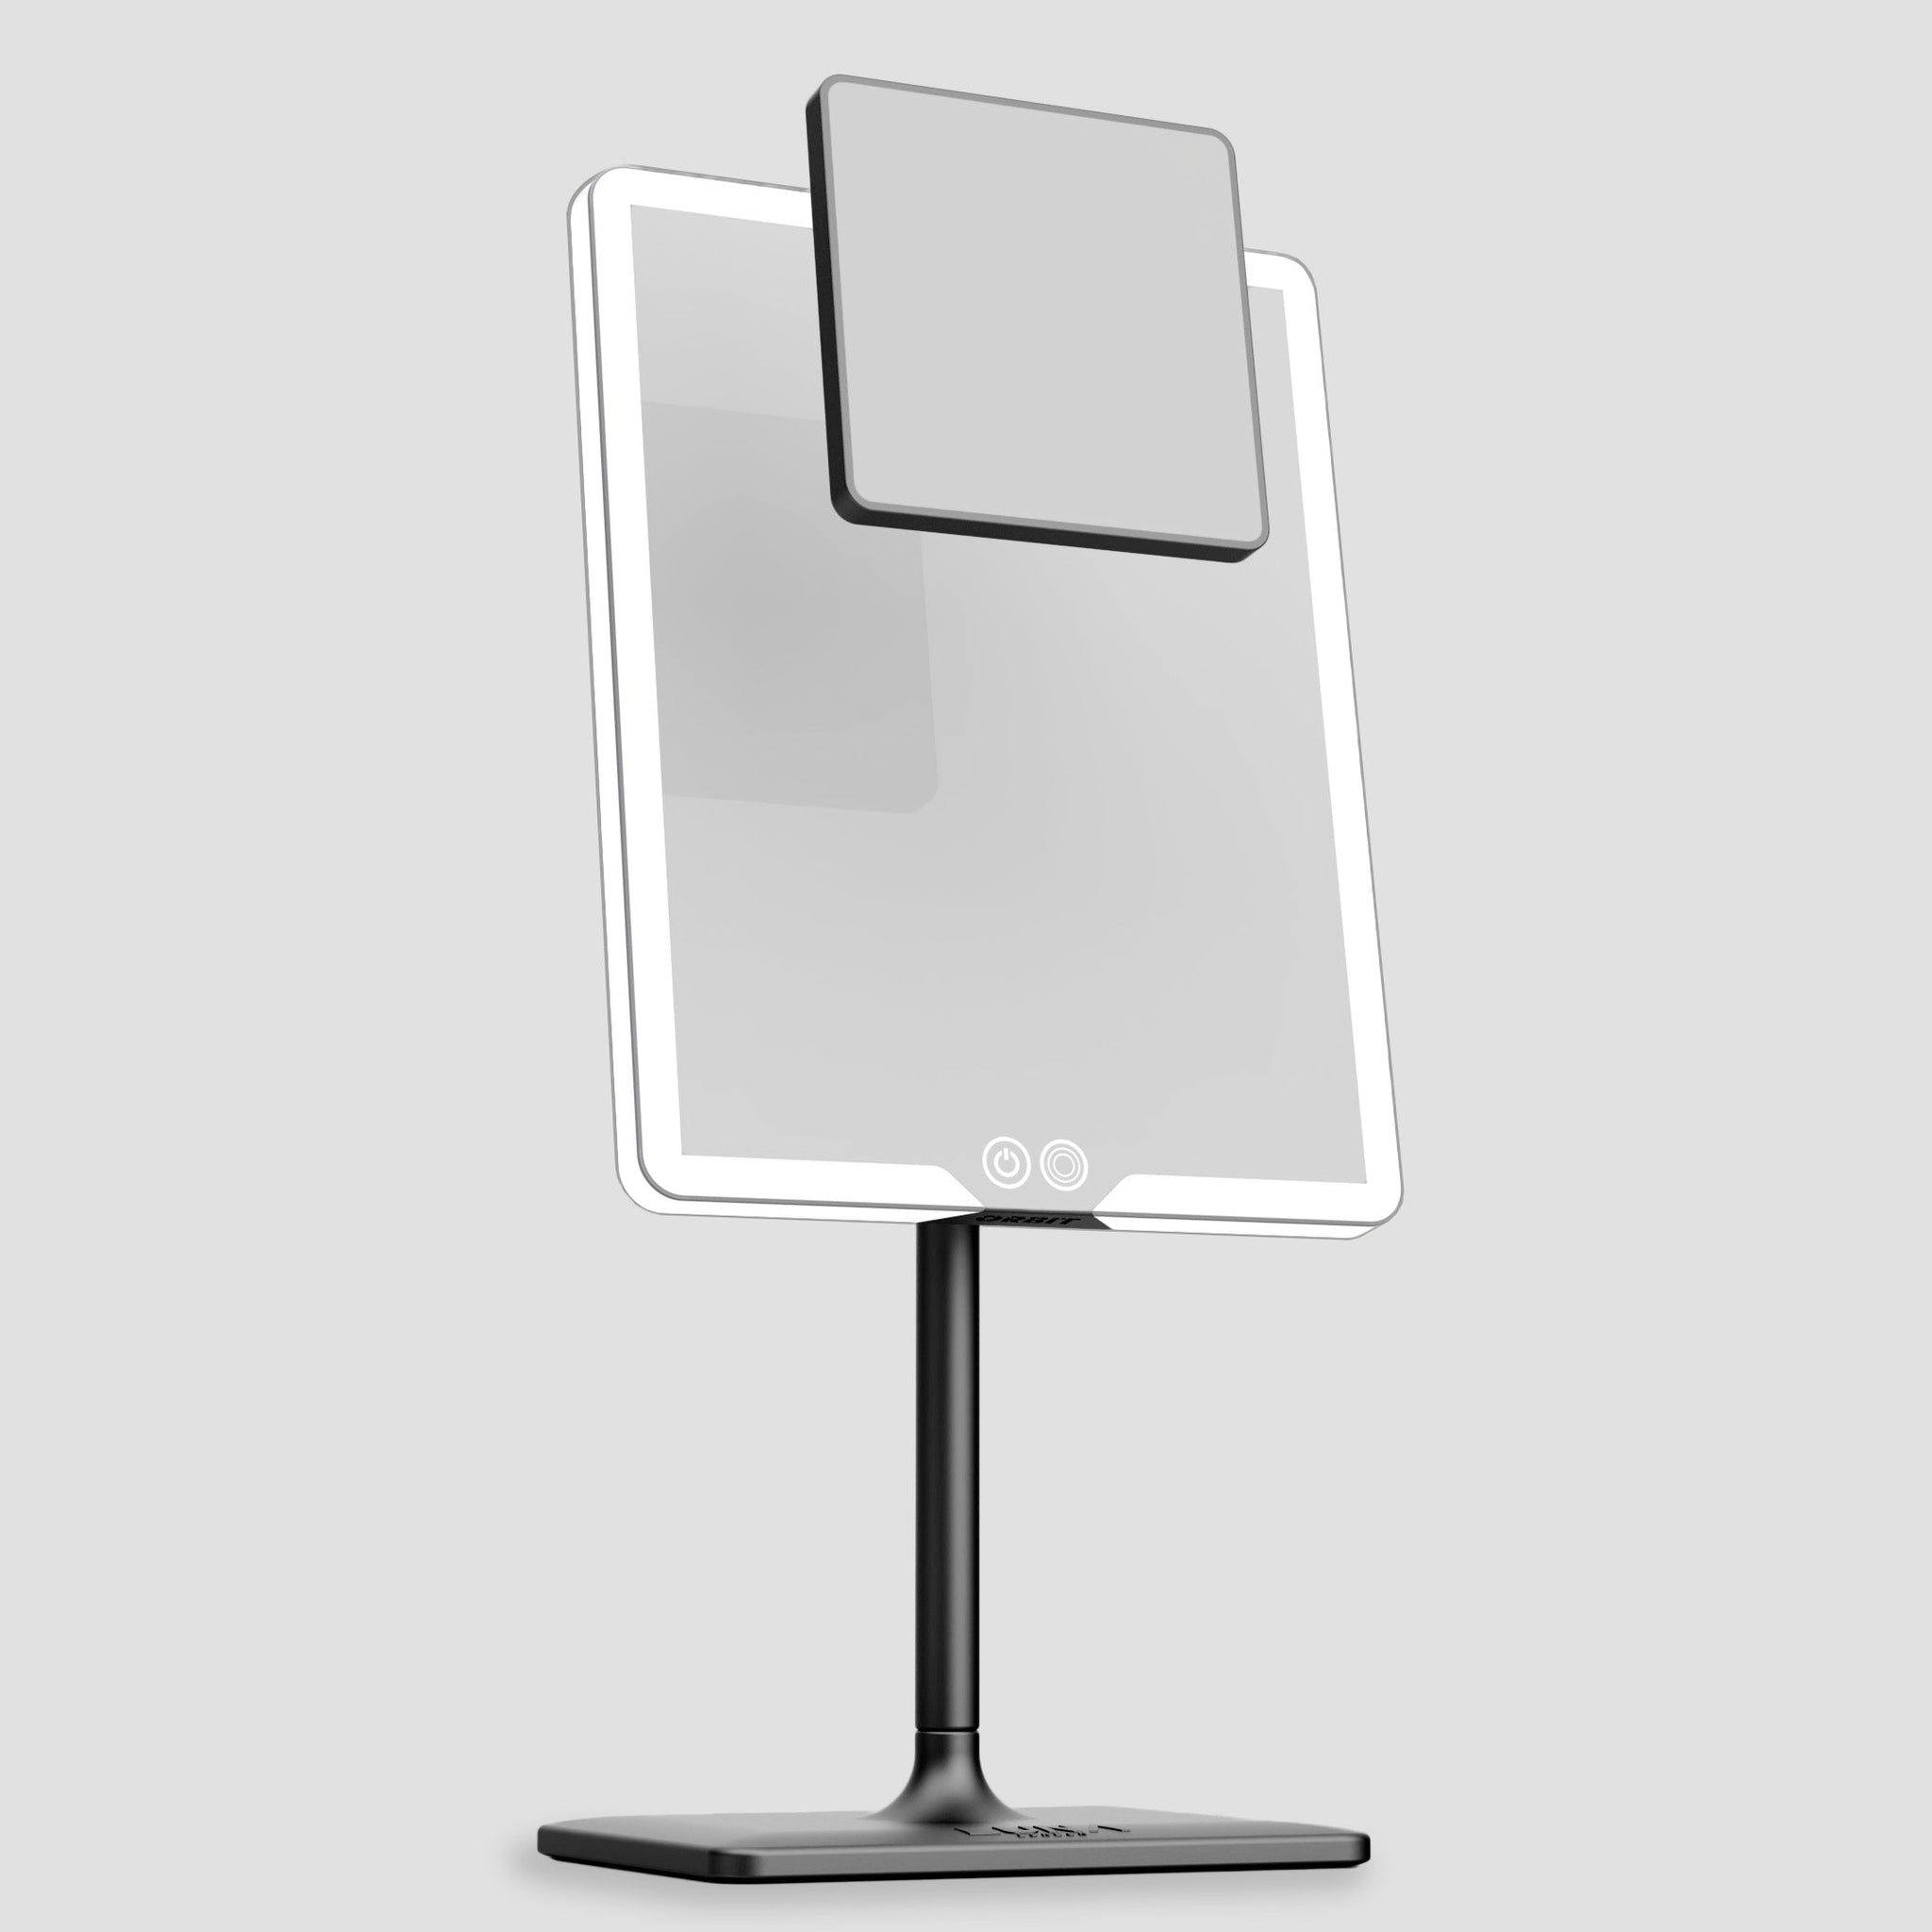
If your home office lighting sits above or behind you, your webcam is already fighting the room. ORBIT gives you a controlled, front-facing light source for pre-call checks, grooming and makeup without turning your desk into a filming studio.
★★★★★ Loved by LUNA customers for brighter routines, detail checks and low-fuss daily use.
Explore ORBIT for call-ready light →1. Put the light where the camera needs it, not where the room happens to have it
The simplest fix is still the best one: put your brightest source in front of you, or no more than about 45 degrees off-centre. Webex’s expert-led guide is blunt about this because it works. Backlighting ruins facial clarity, while a front or near-front source makes expressions easier to read and reduces the muddy look people often mistake for “bad webcam quality”.

If you have a window, sit facing it or slightly angled to it. If you use a lamp, put it behind your camera rather than off in a lonely corner. Microsoft’s conference call guidance makes the same practical point: aim your face toward natural light when you can, and if you are in an interior room, add a lamp near the camera line so people can actually see you.
A good home-office setup does not need to look like a studio. One controlled front light is often enough. As our piece on professional makeup lighting at home puts it, one strong front-facing source can do the job perfectly well when colour and angle are right.
2. Choose a colour temperature that looks human, not theatrical
Once the placement is right, the next question is colour temperature. For most calls, neutral or daylight-leaning light is the safest choice. It is clearer than very warm light, but less clinical than the cold blue end of the spectrum. For practical use, that usually means something in the 4000K to 5000K zone.
This is the same logic that matters in beauty routines. In our warm vs cool vs natural light guide, the safest baseline for most faces is a neutral-to-daylight range, because it interferes less with undertone and texture than warmer-only bulbs.
| Light setting | Best for | Watch out for |
|---|---|---|
| Warm, roughly 2700K to 3200K | A softer evening feel | Can look orange, sleepy or too flattering to trust |
| Neutral, roughly 3500K to 4200K | Daily work calls, most skin tones, balanced rooms | Can still look harsh if the bulb is tiny and undiffused |
| Daylight-leaning, roughly 4200K to 5000K | Sharper clarity, morning calls, colour accuracy | Too bright or too direct can exaggerate texture |
⚡ PRO INSIGHT: If your room already has warm household bulbs, do not fight them with an ultra-cool secondary lamp. Mixed light is one of the quickest ways to look patchy, grey or oddly shiny on webcam.
3. Softer light almost always beats stronger light
The next weak assumption to challenge is that more power equals better results. It does not. A very bright but tiny source can make you look worse than a larger, gentler one. Zoom’s support guidance recommends indirect light in video conferencing because harsh, high-luminance sources can wash out parts of the image.
Soften the light with a sheer curtain, a blind, a lampshade, a white wall, or even a pale card that bounces light back onto the face. This matters most when you are using a desk lamp or sitting beside a strong window. The goal is not drama. The goal is readable, calm, evenly lit skin.
“Avoid bright rear lights.”
— Josh Gillick, Creative Director, Webex
That quote is short, but it gets to the point. A lot of “bad Zoom face” is simply the camera struggling against bright rear light and poor balance.
4. Mirror, lamp, ring light or daylight: which tool actually makes sense?
For pure on-camera polish, a small front-facing light can be enough. But that answer is too neat for real life. Plenty of people are not just joining a call. They are fixing brows, checking skin, blending concealer, sorting hair, cleaning beard lines, or doing a last-minute “why do I look half-awake?” inspection. That is where a lighted mirror becomes more than a vanity extra.
Our article on makeup mistakes under bad lighting shows the same pattern: when the prep light is wrong, the result is wrong. A mirror with controlled lighting helps align the prep stage with the camera stage.
For this particular keyword and use case, ORBIT is the stronger fit than a pocket-first option. The product page makes that clear: ORBIT is a tall, rechargeable tabletop mirror with three lighting modes and a magnetic 7x add-on for short detail checks, while COMPACT 2.0 is better when the job is quick touch-ups, travel or commuting.

5. Do this two-minute pre-call check every time
There is a reason rushed setups fail. People guess. A better habit is to do one fast preview before the meeting starts. You do not need a production checklist. You need a repeatable check that catches the obvious lighting mistakes before someone else sees them.
- Open your preview 30 seconds early.
- Check whether your face is brighter than the background.
- Turn slightly so the strongest light is in front of you or just off to one side.
- Lower or dim anything that creates forehead glare.
- If you wear glasses, reduce screen brightness and shift the light a little higher or wider.
That tiny routine catches most issues before they become “why do I look awful today?” distractions. It also stops you trying to solve a lighting issue with more concealer, powder, filters, or panic.
The simple product rule: match the mirror to the job
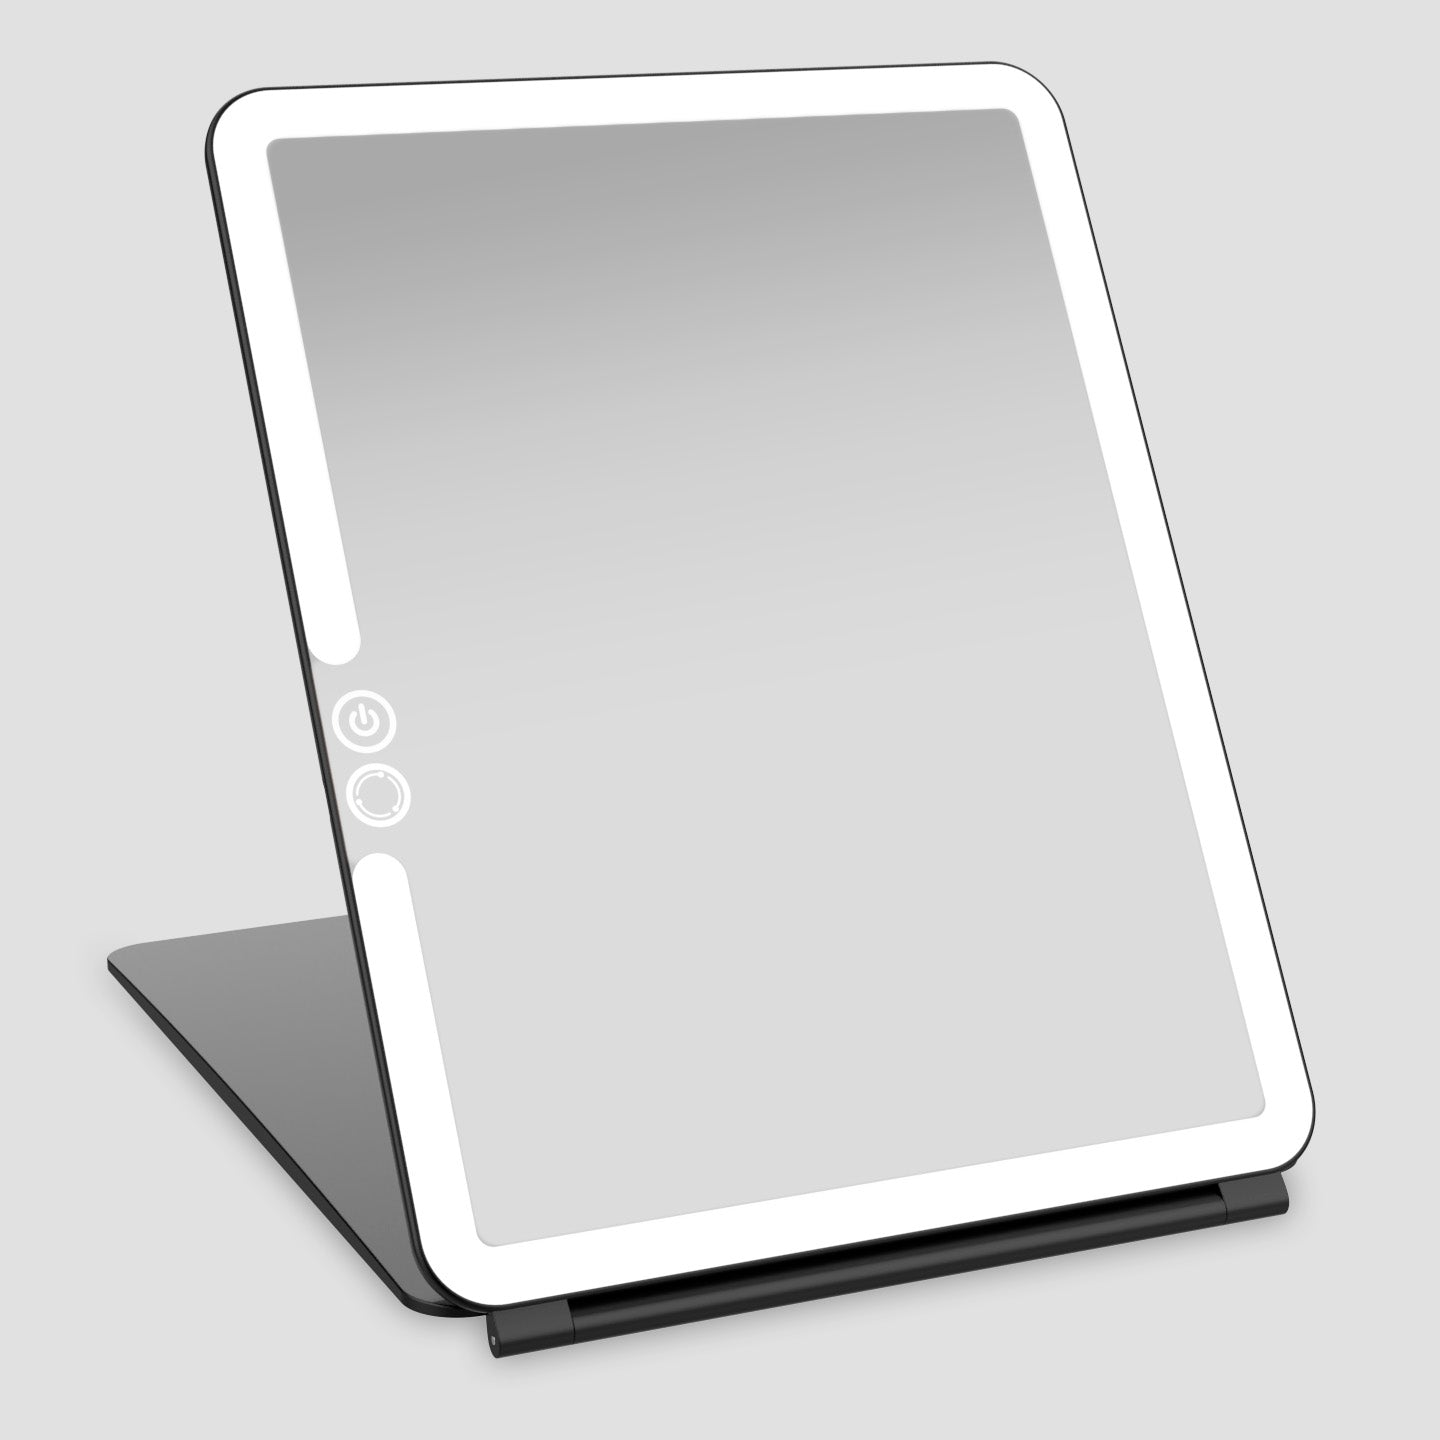
If you regularly prep and present in the same space, ORBIT makes more sense than chasing random desk lamps. Its tabletop height, adjustable angles and three light modes make it easier to place flattering light near webcam level without turning your room into a studio. If your calls happen while travelling, ECLIPSE and COMPACT 2.0 make more sense because portability becomes the real constraint.
Call-ready mirror selector
The easiest way to stop fighting bad video-call light
Choose the mirror around your real routine: full desk setup, flexible travel setup, or quick touch-up setup.
| Mirror | Best for | Key features | Here’s Our Favourite |
|---|---|---|---|
|
ORBIT Regular Zoom calls, desk prep and home-office grooming |
Tall tabletop design, three light modes, dimmable LED, 7x magnetic detail mirror | Best all-rounder for making your face look clearer before calls. Shop ORBIT |
 |
ECLIPSE Travel, hotel calls and flexible room setups |
Portable design, LED lighting, useful when your room lighting changes constantly | Best when your “office” changes by the week. Shop ECLIPSE |
 |
COMPACT 2.0 Quick pre-call touch-ups and commuting days |
Compact LED mirror, handbag-friendly size, useful for last-minute checks | Best for fast checks when you are not at your main setup. Shop COMPACT 2.0 |
Delivery matters less than the setup, obviously. But if your next few weeks are packed with client calls, interviews or team meetings, it is useful to know where LUNA can ship quickly.
Quick tracked delivery available in:
FAQs
What is the best lighting for Zoom calls?
For most people, the best lighting for Zoom calls is a soft front light or slight 45-degree light that keeps the face brighter than the background. Neutral to daylight-leaning colour temperatures usually work best because they look clearer without pushing the face orange or blue.
Where should I put my light for a video call?
Put your main light in front of you or slightly off-centre, ideally close to webcam height. Avoid a bright window or lamp directly behind you, because the camera will often darken your face to compensate.
Do I need a ring light for Zoom calls?
Not always. Daylight or a well-placed lamp can work perfectly well. A ring light is helpful when your room is dark or inconsistent, but if you also do makeup or grooming before calls, a lighted mirror can be the more practical all-in-one tool.
Why do I look tired on Zoom even when I feel fine?
You may be lit from above, behind, or with mixed bulbs that make your skin tone look uneven. Webcams are not kind to overhead shadows, bright backgrounds, or glare. Move the brightest light source in front of you first, then adjust brightness.
Is warm light or daylight better for video calls?
Neutral to daylight-leaning light is usually safer for video calls because it keeps your face clear and reduces orange colour casts. Very warm light can feel cosy in person but may look sleepy or muddy on camera, especially if your screen is adding cool light at the same time.
Related links
- ORBIT Phantom Black
- ECLIPSE Matte Black
- COMPACT 2.0 Matte Black
- Best mirror for video calls
- Good lighting for makeup: warm, cool or natural white?
- Professional makeup lighting at home
- Makeup mistakes under bad lighting
Leave a comment
This site is protected by hCaptcha and the hCaptcha Privacy Policy and Terms of Service apply.