
Last updated: 18 January 2026
If your makeup looks great at home, then somehow off at the office, you’re not imagining it. Most people blame products, technique, or “my skin looked worse today”. More often, it’s the light.
Offices are basically designed to do three things that makeup hates: flatten shadows with overhead panels, skew colour with mixed bulbs and daylight, and bounce light off pale walls and screens. So your foundation can read too yellow, your blush disappears, and your concealer suddenly looks grey.
This guide breaks down why it happens (CCT in plain English), then gives a practical routine you can repeat. If you want the broader home setup version, see our guide on professional makeup lighting at home.
Makeup mirror light settings that survive office lighting
Let’s be slightly sceptical about the usual advice: “just use daylight lighting”. Daylight is a good reference, but if you only ever check your makeup in one flattering light, you’ll keep getting surprised by the real world. The goal is consistency across environments, not perfection in one spot.
What CCT actually changes (and what it doesn’t)
Correlated colour temperature (CCT) is the “warm vs cool” feel of a light. It’s measured in Kelvin (K). Warm light (lower K) feels cosy and yellowish. Cool light (higher K) feels crisper and bluer. The CIE definition is here if you want the formal version: CIE term: correlated colour temperature.
The trap: CCT tells you the colour cast of a light, but not whether it renders colours accurately. Two lights can both be “4000K” and still make your skin look completely different because their spectra are different. That’s where CRI (and newer metrics like TM-30) come in. If you want the deep dive on colour accuracy, read: The Science of CRI.
In practice, you care about three things:
- CCT (Kelvin): whether the room pushes you warm or cool.
- Colour fidelity: whether reds, olives, and subtle undertones show up as they should. (CRI is the common shorthand, TM-30 is a more detailed method. See the DOE’s overview: DOE fact sheet on CRI and TM-30.)
- Direction: overhead panels create under-eye and jaw shadows, which makes you over-apply concealer and bronzer.
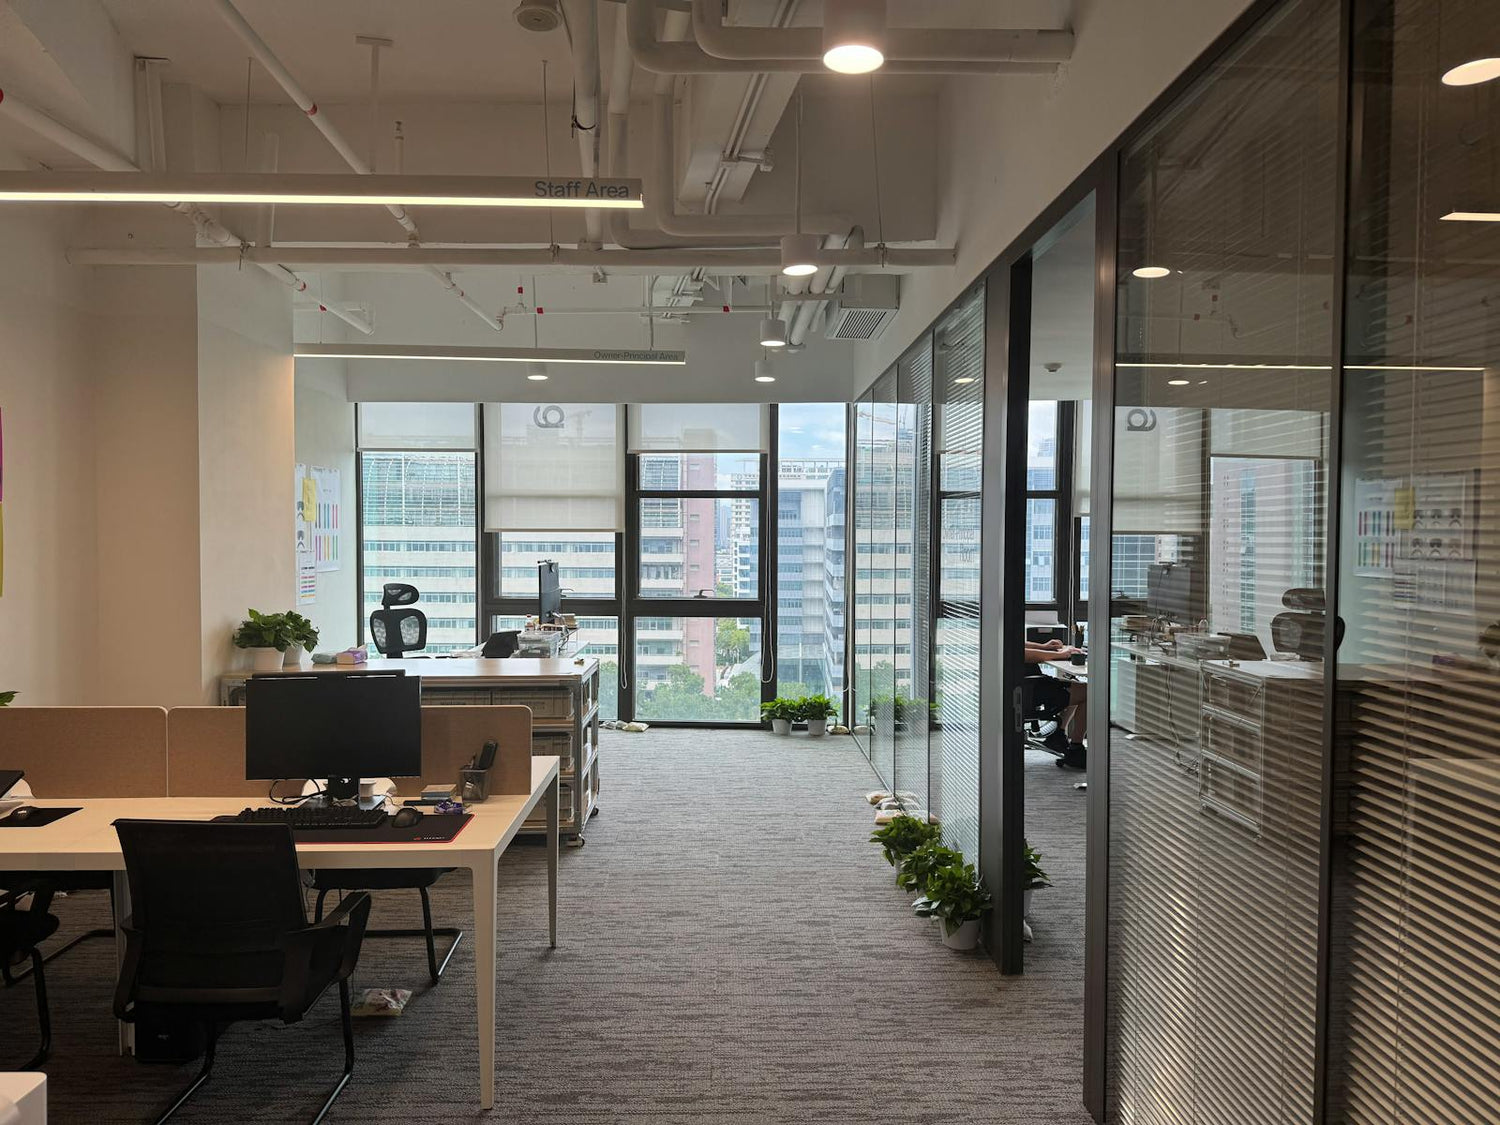
Why offices are uniquely brutal on makeup
Most homes have at least one of these going for them: warmer bulbs, softer lamps, or a window that acts like a big diffused light source. Offices often have:
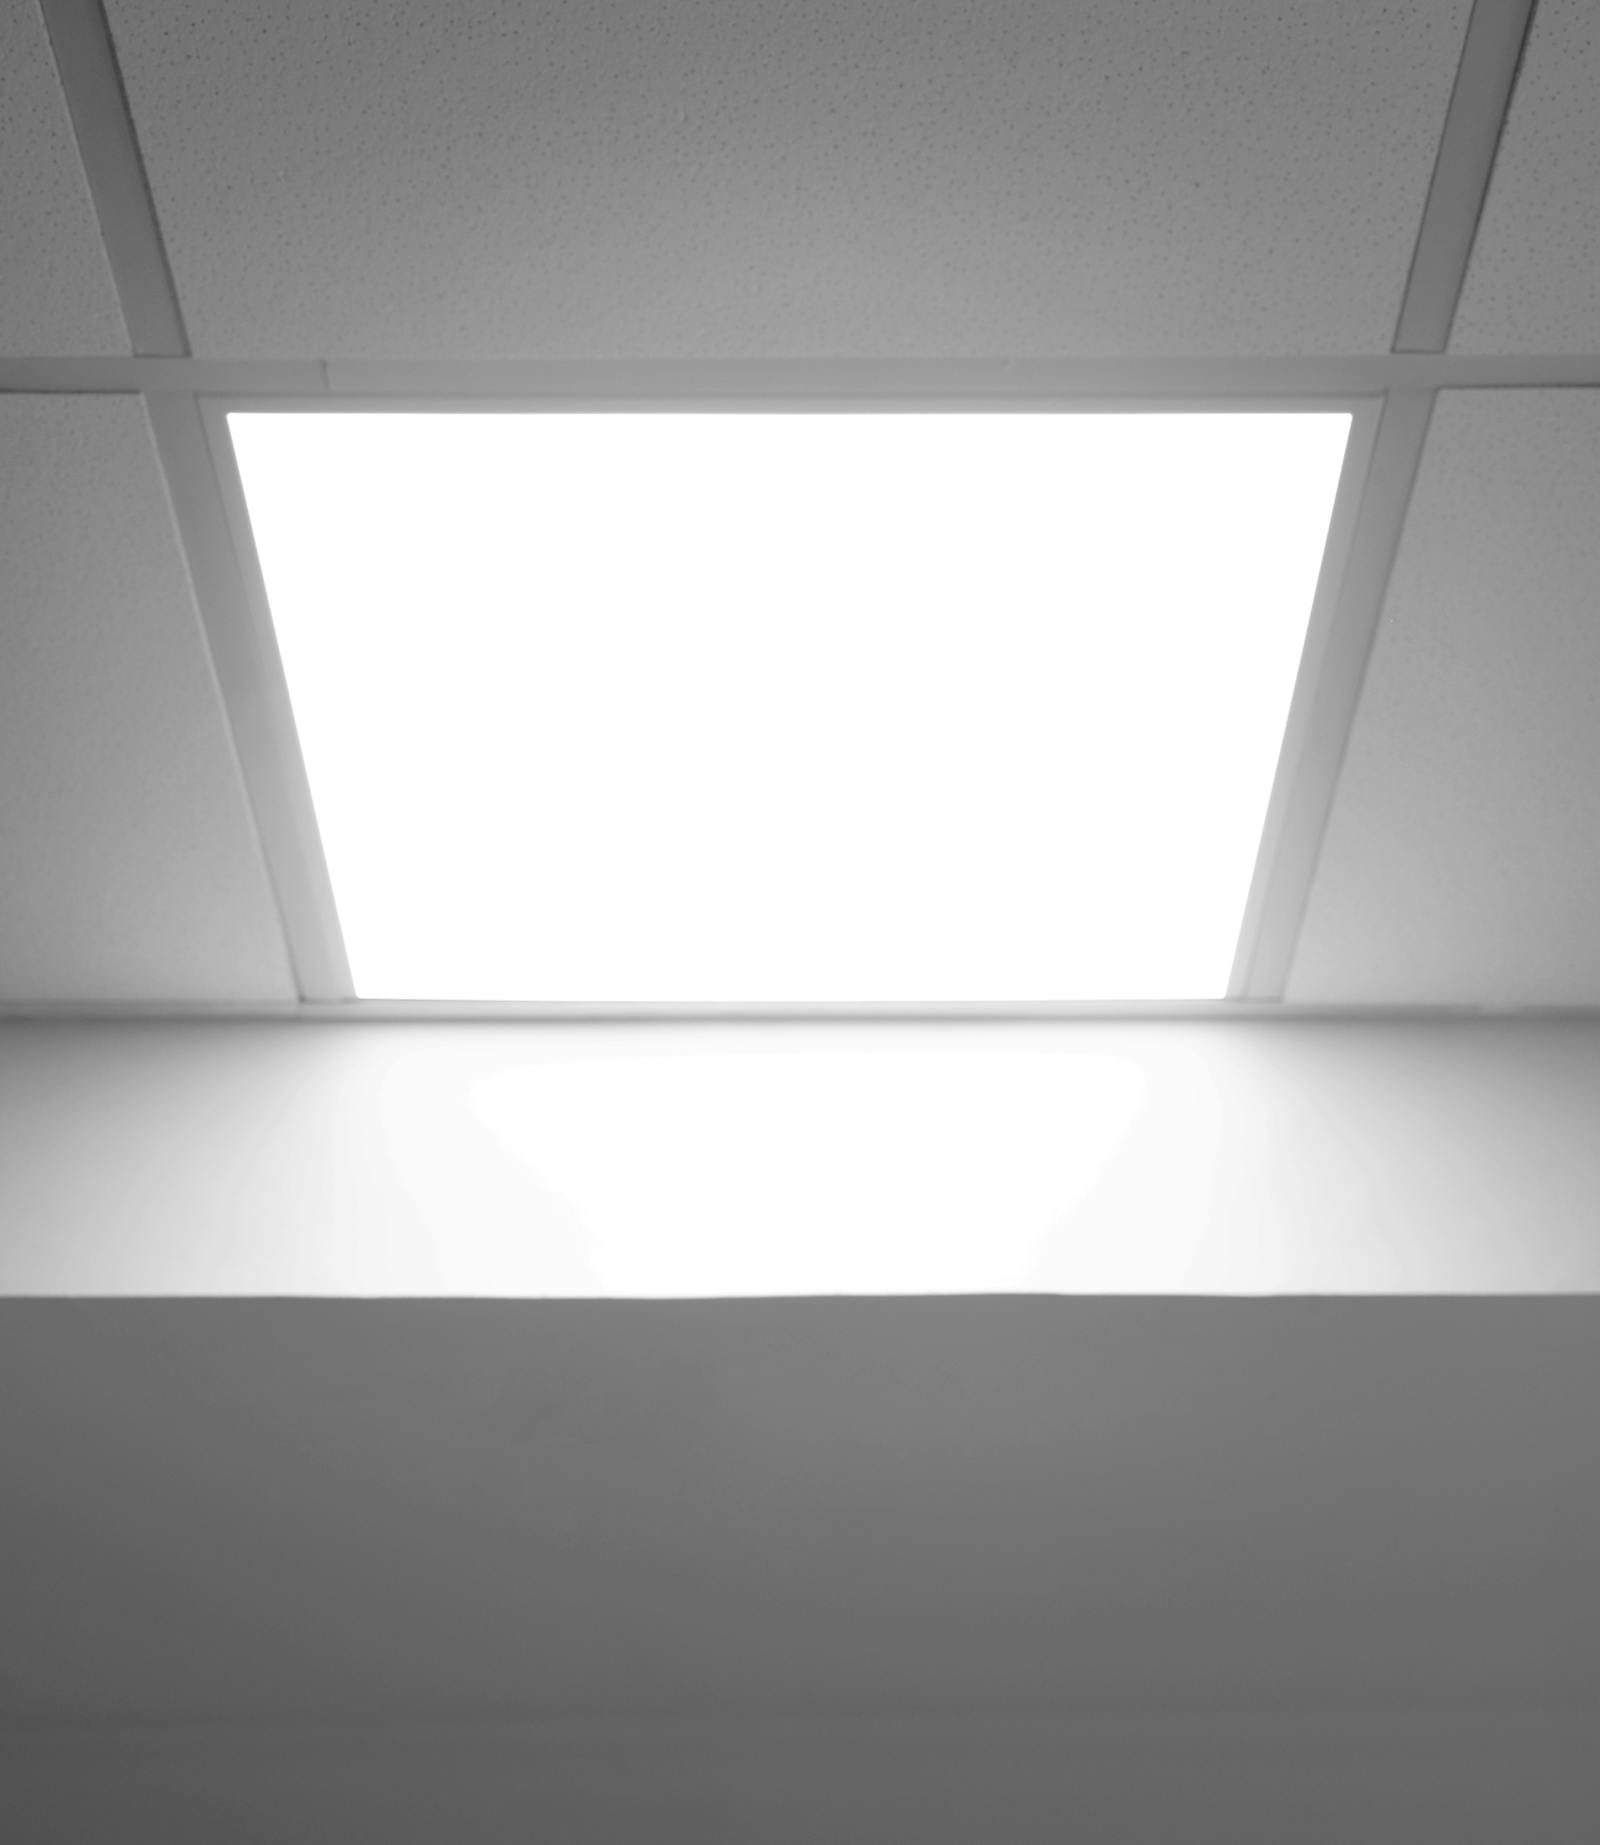
- Overhead LED panels that light the top of your face more than the front.
- Neutral-to-cool whites (often around the 4000K–5000K feel).
- Mixed lighting: window daylight + ceiling LEDs + meeting room downlights, all in one morning.
- Reflective surfaces: white walls, glass partitions, bright monitors, and polished desks.
The result is predictable: base makeup looks “cleaner” at home and “harsher” at work. Not because your products changed, but because the light is pushing contrast and colour differently.
Expert quote (makeup application):
“Natural light is always going to be the best option when applying makeup.”
— Wanchen Kaiser (makeup artist), quoted in Byrdie: Best Lighting to Apply Makeup.
Note what that quote implies, but doesn’t say: natural light is a great reference, yet you still need a way to preview the lighting you’re walking into. That’s the missing step in most routines.
Typical office lighting environments (and what they do to your face)
| Office scenario | What you’ll notice | The fast fix |
|---|---|---|
| Open plan, overhead LED panels | Under-eyes look darker, base looks heavier, bronzer can turn muddy | Lower brightness at home slightly, avoid over-concealing, check jawline edge in neutral light |
| Desk by a window + ceiling lights | One side of face looks “right”, the other looks off, blush disappears | Do a 10-second “mixed light” check: neutral + daylight toggle before leaving |
| Meeting rooms, downlights | Texture pops, highlighter looks too shiny, under-eye creasing shows up | Use a lighter hand on powder, keep highlight minimal, sanity-check sheen in cooler mode |
| Lift lobby or corridor lighting | Makeup looks oddly yellow/green for a moment | Ignore single “weird light” moments. Confirm in two environments before changing anything |
The real reason people overcorrect at work
Most “office makeup fails” aren’t about shade match. They’re about compensation. You see yourself in harsh overhead light, assume you look tired, and add more concealer. Or you notice your base looks cool under panels, and warm it up, then you step outside and it’s suddenly orange.
A better approach is to pick one reference light that you trust, lock your base there, then do deliberate checks that simulate where you’ll be. That way you’re previewing, not reacting.
Expert quote (why CCT can mislead):
“We can’t just talk about colour temperature, it can point lighting designers in the wrong direction.”
— Dr Mariana Figueiro (lighting researcher), quoted in Lighting Design & Specification.
Translate that into makeup terms: if you chase Kelvin numbers alone, you can end up “fixing” something that isn’t broken, because the issue was colour fidelity or direction, not warmth.
A repeatable 3-step routine for office-proof makeup
Step 1: Lock your base in neutral or daylight-balanced light
Do your foundation and concealer in a neutral-to-daylight setting, then decide your shade match there. If you’re using a standard bathroom mirror, that’s where things often go wrong because the room bulbs vary wildly. A lighted mirror helps because it gives you a controlled reference point. If you want the general pros-and-cons, see: Lighted makeup mirror vs regular.
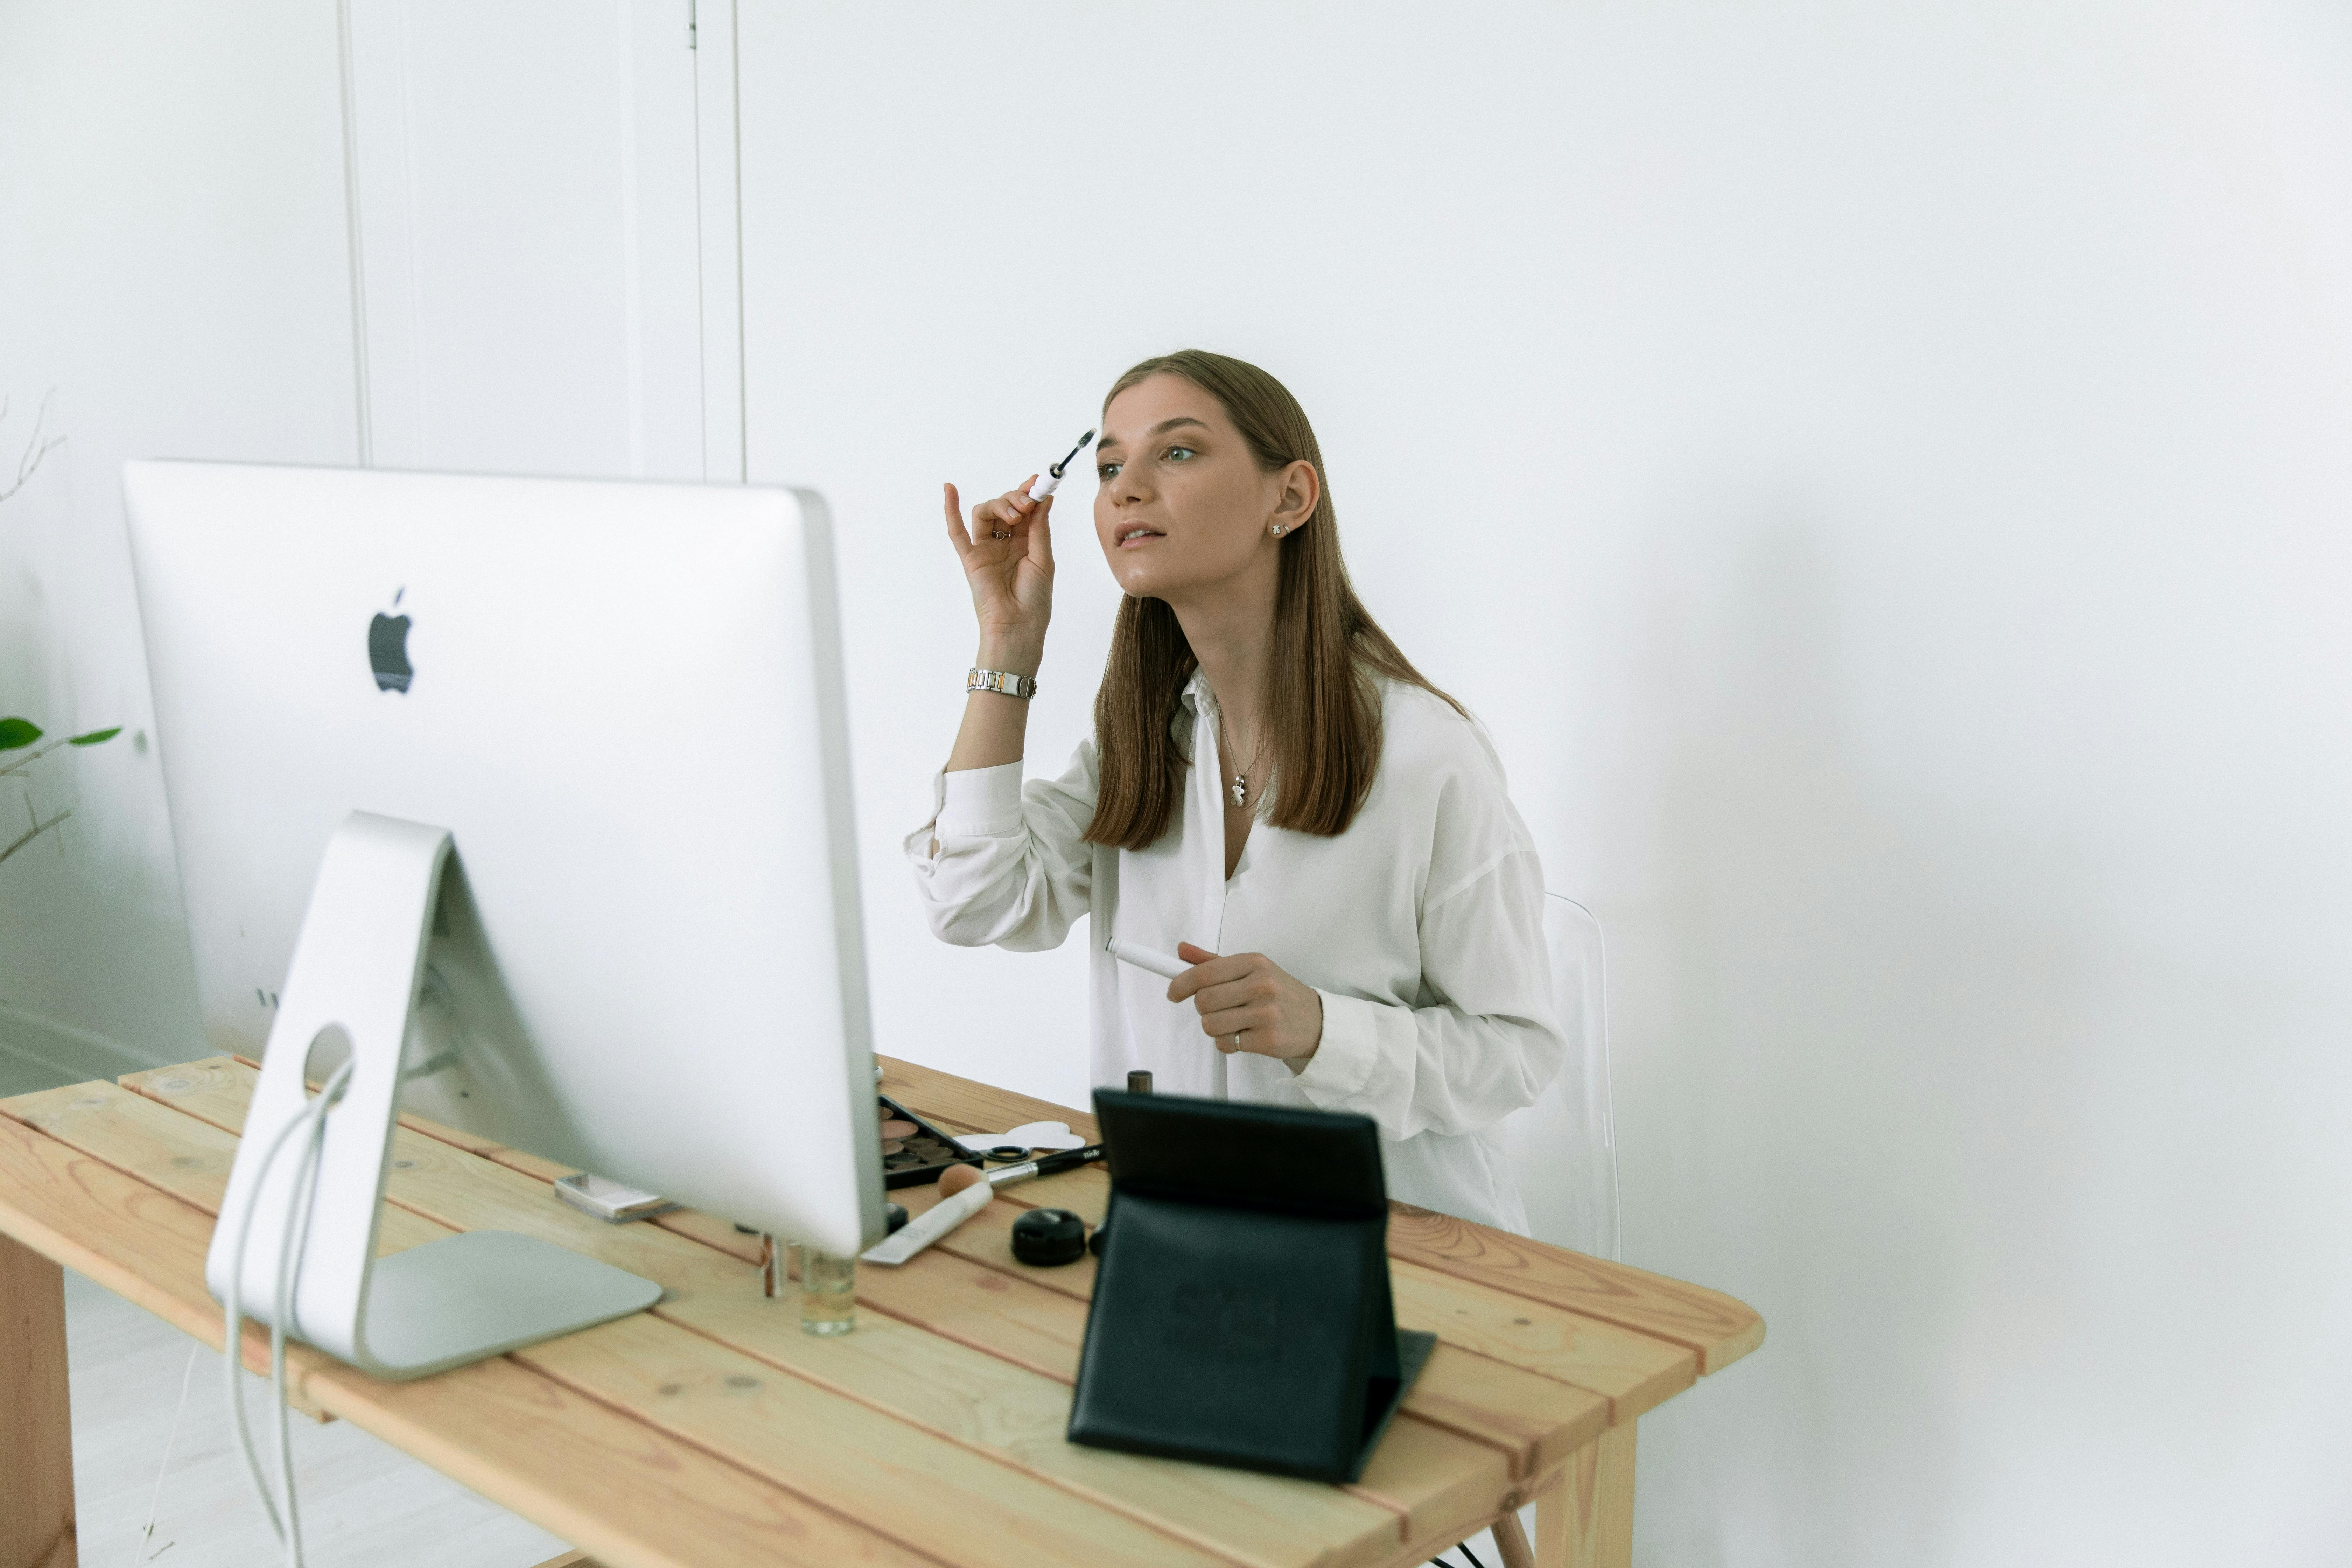
Step 2: Do a 10-second “office check” before you leave
Here’s the easiest habit with the highest payoff: once your makeup is finished, switch to a slightly cooler or neutral-white preview and look at three zones only:
- Under-eyes: is it brightened, or has it gone grey?
- Jawline edge: is there a visible line, or does it melt into neck?
- Cheek colour: does blush still read, or has it vanished?
If those three are good in neutral and daylight, your makeup usually survives office light, outdoor light, and phone-camera light with minimal surprises.
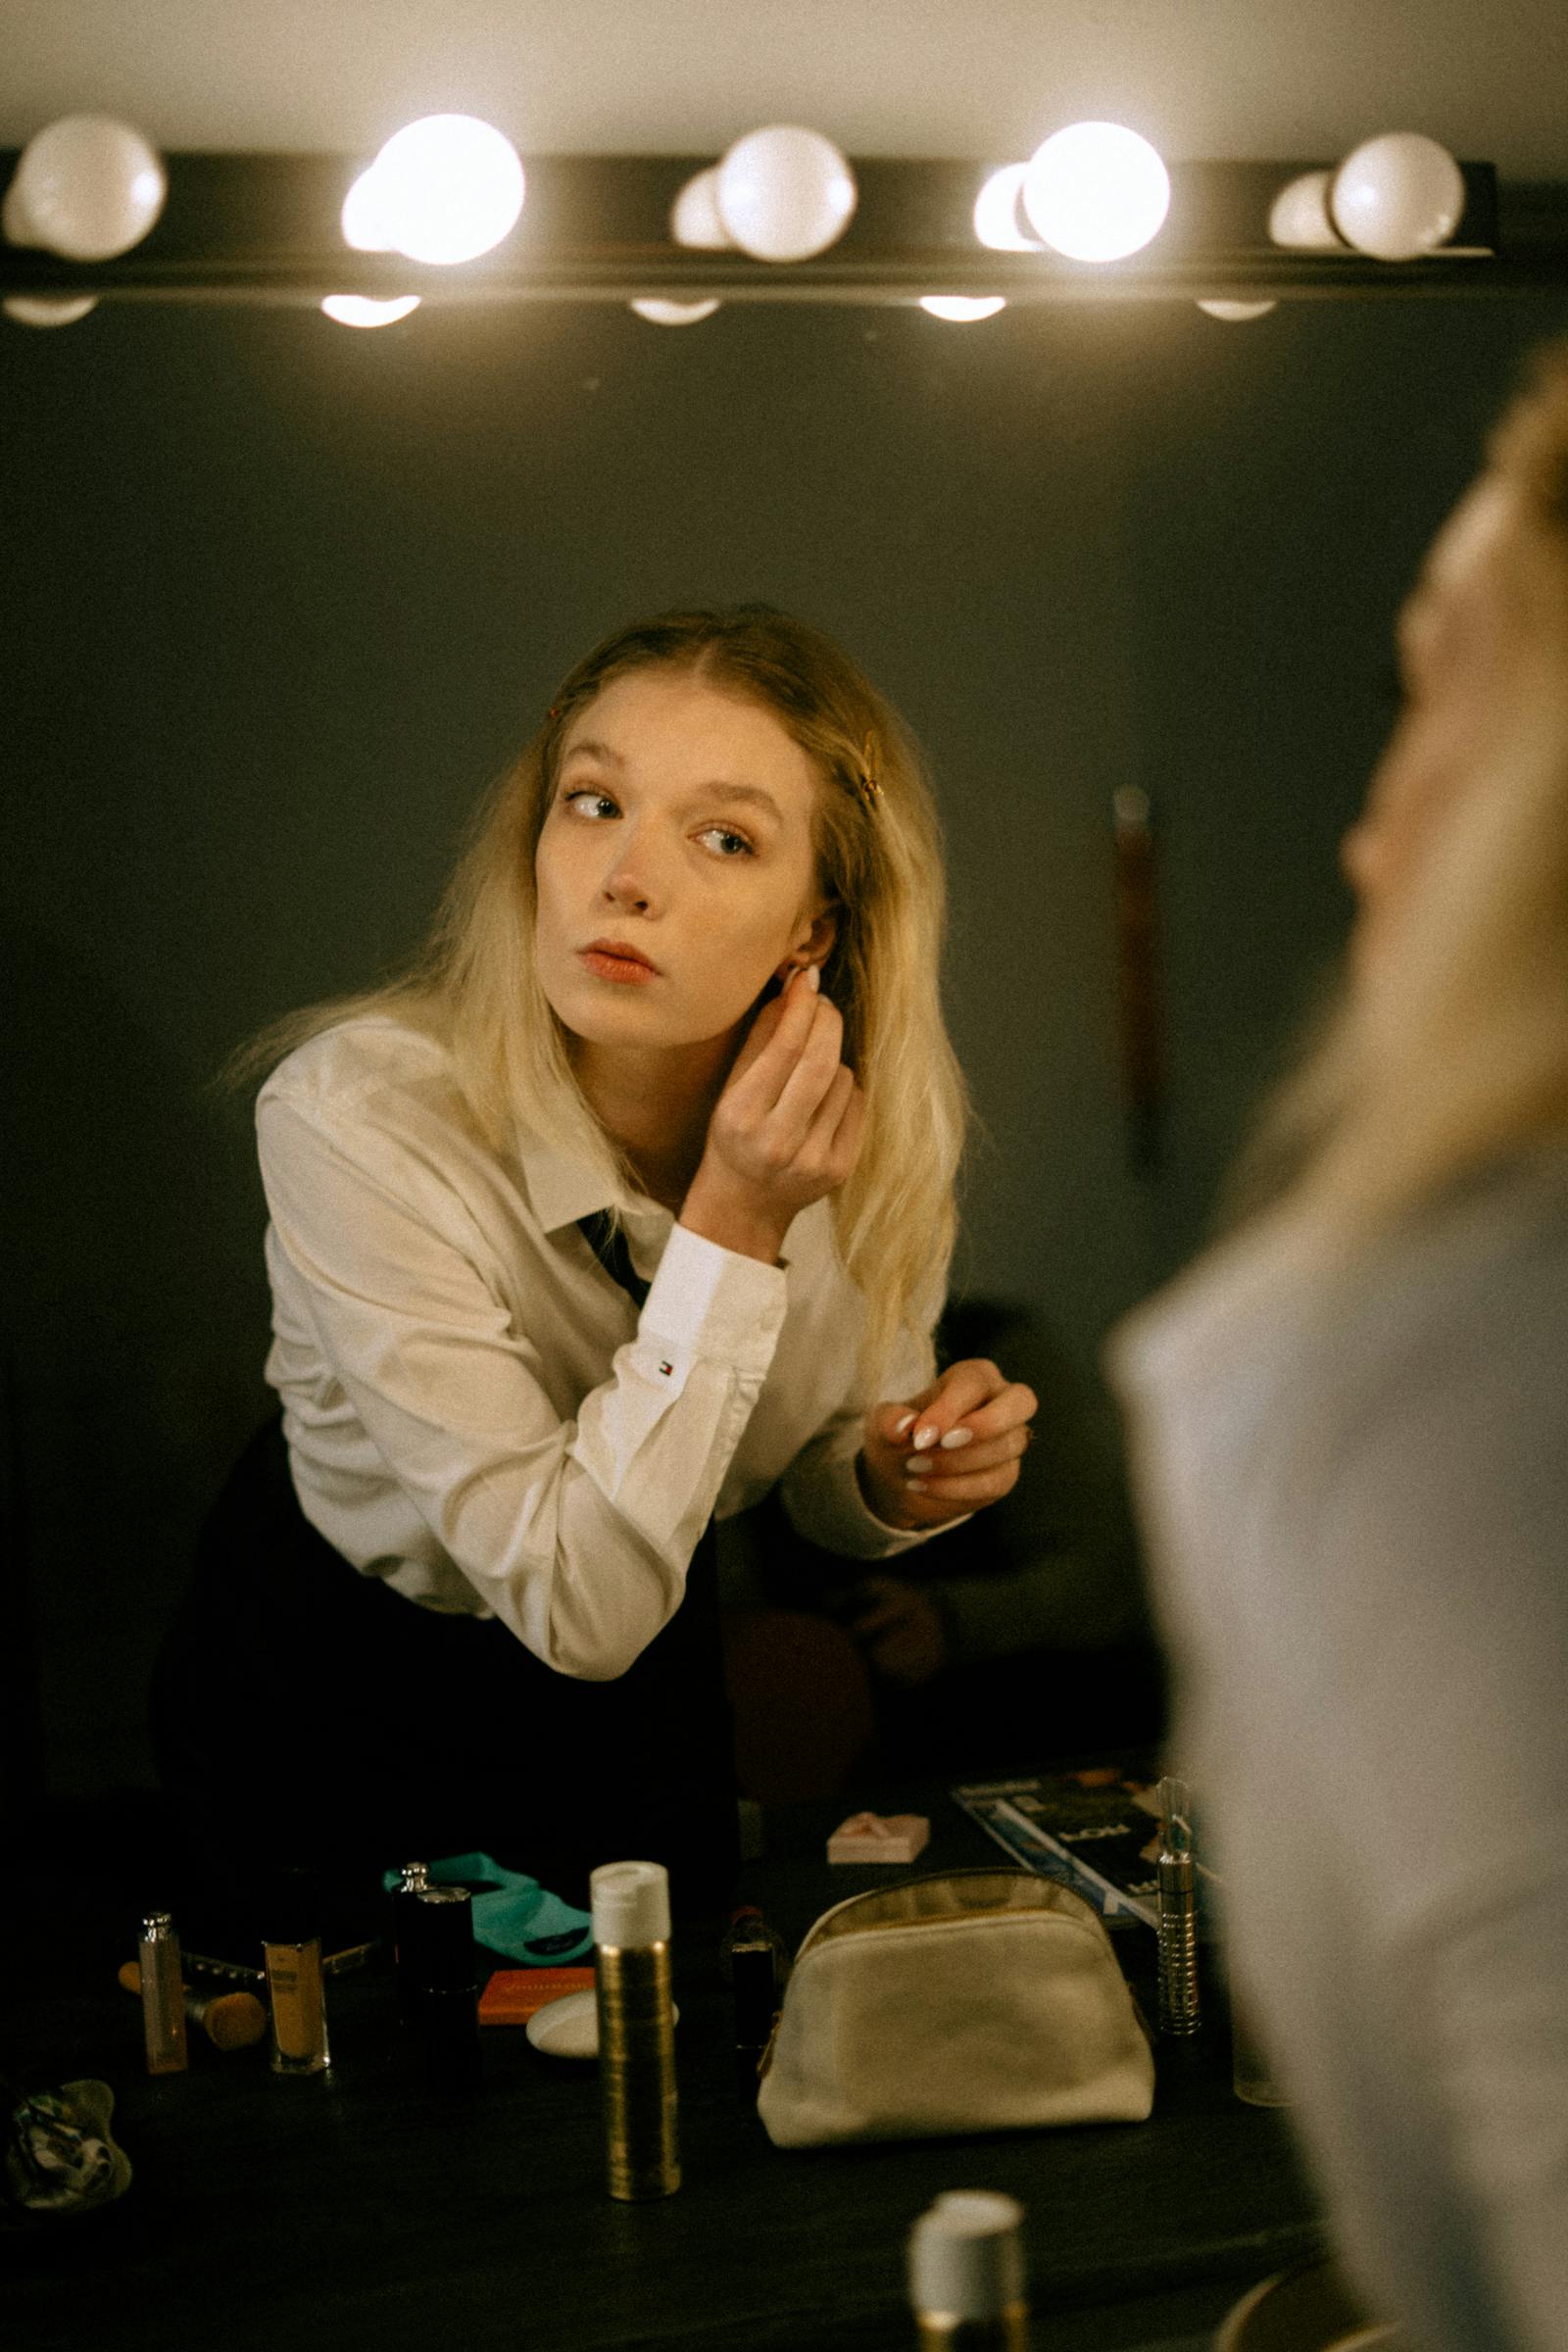
Step 3: Stop fixing makeup in one bad mirror
Office bathrooms and lift lobbies are famous for making everyone look slightly unwell. Don’t redo your face based on one harsh reflection. Confirm in at least two different light sources before changing anything. It’s the same logic photographers use, one reference point is unreliable.
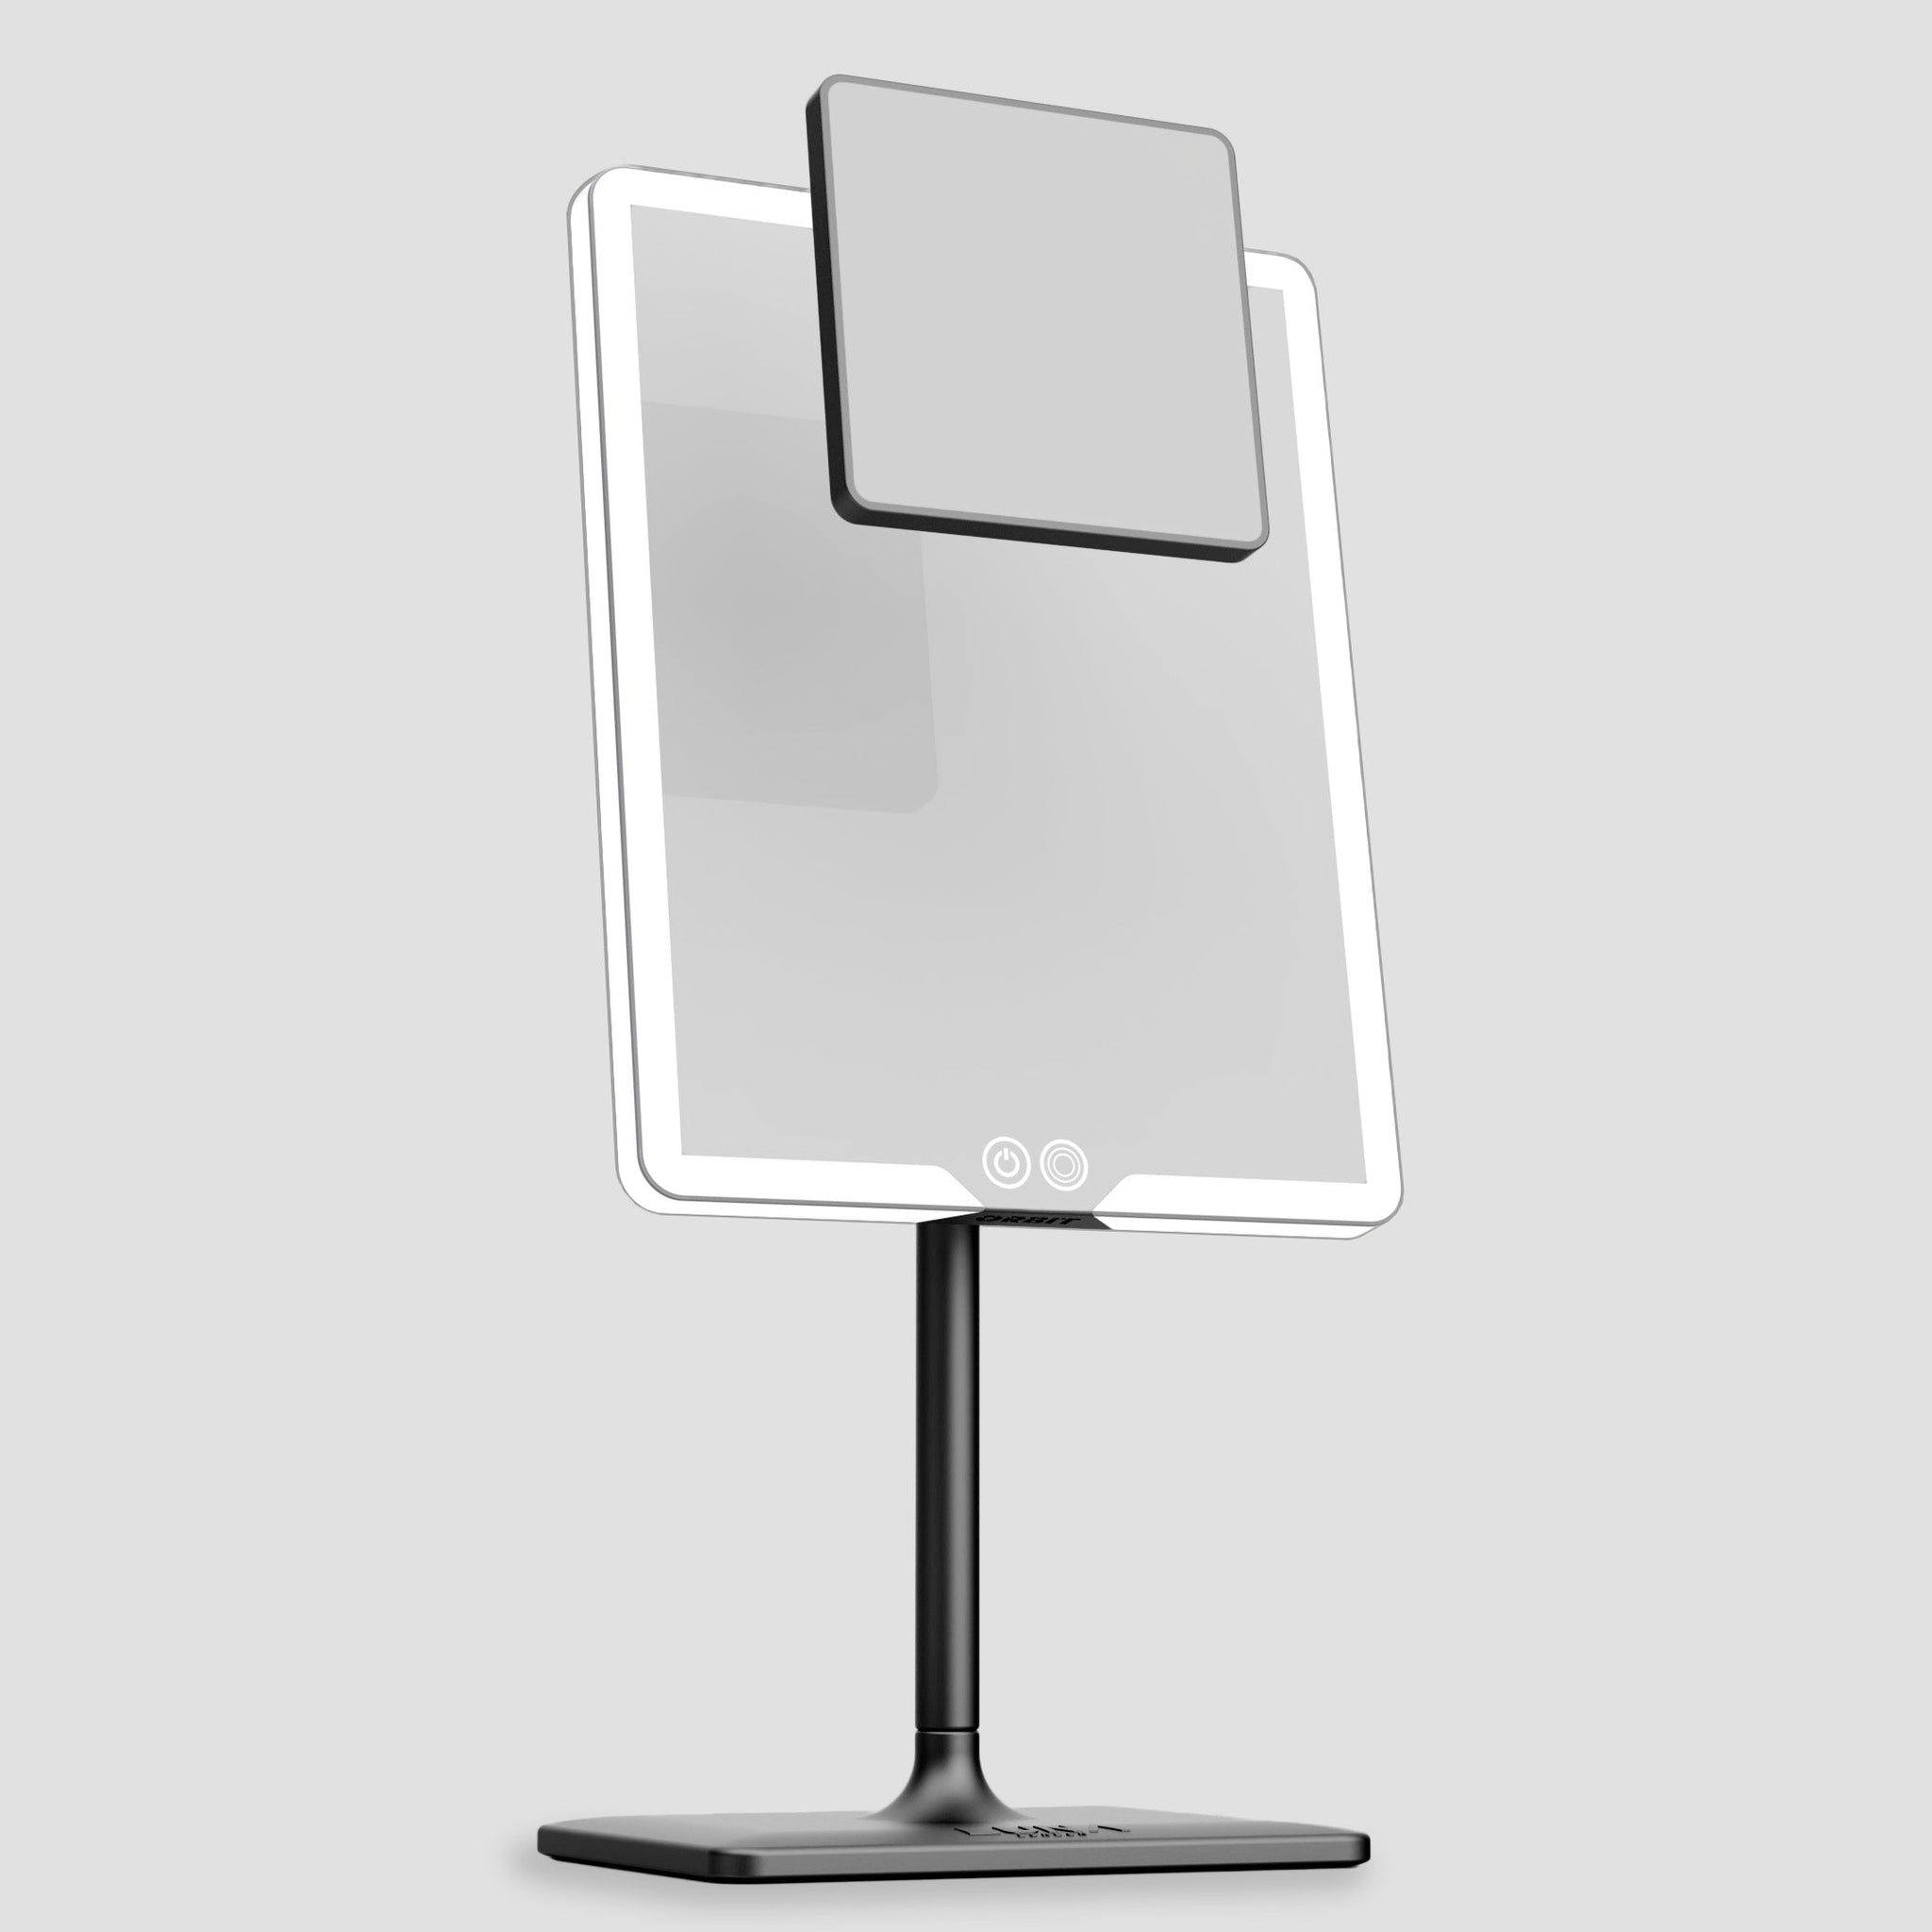
Practical ORBIT settings for the office
ORBIT is useful here because you can do controlled “previews” without dragging your routine around the house. Its three lighting modes let you sanity-check for different environments, and the detachable 7x mini attachment is there for detail checks, not for doing your whole face up close.
| Where you’re going | What to preview | What you’re checking for |
|---|---|---|
| Office, overhead panels | Neutral / cooler preview at medium brightness | Under-eye greyness, base heaviness, harsh contour |
| Desk by window | Daylight preview briefly | Undertone accuracy, foundation match, blush realism |
| After-work dinner | Warm preview at slightly lower brightness | Over-powdering, too-matte base, overly sharp edges |
| Touch-ups (lunch) | Neutral preview + 7x mini attachment for detail only | Mascara smudges, eyeliner lift, lipstick edges, dry patches |
Quick demo: makeup across different lighting situations
If you prefer to see this concept in action, this video shows how the same makeup shifts under different lighting types, and what to do so your final look holds up.
The biggest mistakes (and the calmer fixes)
Mistake 1: chasing “perfect” in one light
A makeup look that only looks good in one light is fragile. A makeup look that looks good in two or three different lights is robust. That’s why multi-mode checks matter.
Mistake 2: correcting colour when the real issue is shadow
Overhead office light creates shadows under eyes and around the mouth. People often add more product instead of changing the angle and direction they check from. Face-level lighting is the cleanest fix.
Mistake 3: ignoring mixed lighting
Mixed lighting is the silent killer: daylight from the window plus overhead LED panels means you’re seeing two “white points” at once. If you’ve ever wondered why one side of your face looks warmer than the other, that’s usually it. For a deeper explanation of this effect and practical workarounds, see: Professional makeup lighting at home.
If you want a practical “what not to do” list, our guide on makeup mistakes under bad lighting is a good companion to this article.
A 60-second “leaving the house” checklist
- Neutral check: Under-eyes, jawline edge, blush visibility.
- Daylight check: Shade match and undertone, especially around the mouth and chin.
- Warm check: Shine control and whether powder looks heavy.
If it passes all three, you’ve built a look that’s resilient. That’s the real standard.
A calmer way to preview office lighting
If your makeup keeps changing between home, office, and daylight, the problem is usually inconsistent lighting. ORBIT gives you face-level illumination with three modes, plus a 7x mini attachment for detail checks, so your look holds up beyond your bathroom mirror.
Explore ORBIT light modes →FAQs
What does CCT mean in makeup lighting?
CCT (correlated colour temperature) describes whether a light looks warm or cool. It affects how undertones and product colours read, especially foundation and blush.
Why does my foundation look grey at the office?
Cooler overhead office lighting can reduce warmth in the face and emphasise shadows. It can also reveal undertone mismatches that were hidden under warmer home bulbs.
What Kelvin is “office lighting” usually?
Many offices feel neutral-to-cool, often in the 4000K–5000K range. Mixed lighting (window daylight plus ceiling LEDs) is common, which is why the same makeup can shift across a single morning.
Is daylight always best for applying makeup?
Daylight is a strong reference for shade matching, but you still need to preview where you’re going. A neutral and a warm check help stop overcorrection.
What are the best makeup mirror light settings for work?
Use neutral or daylight-balanced light for your base, then do a quick neutral preview to catch under-eye greyness and harsh edges before you leave.
Does brightness matter as much as colour temperature?
Yes. Overly bright light makes you under-apply, dim light makes you over-apply. Dimming helps match your mirror to your real environment.
Leave a comment
This site is protected by hCaptcha and the hCaptcha Privacy Policy and Terms of Service apply.