
Last updated: Wednesday 1 July 2026
In a hurry? The bad-lighting makeup checklist
- Match foundation along the jawline, not just the cheek.
- Apply concealer in even front-facing light before adding more coverage.
- Check blush and bronzer in a softer final preview so they do not look harsh outside.
- Use detail light briefly for brows, mascara roots and lipstick edges.
- Do not skip SPF, but check for white cast or bright powder before photos.
- If your makeup only looks good in one room, the room is probably doing too much work.
Most people blame the formula when makeup looks wrong. Sometimes that is fair. But if your foundation looks smooth in the bathroom and strange in a lift mirror, office bathroom, car mirror or photo, the more likely culprit is the lighting. Marie Claire UK’s bad-lighting feature makes the same practical point: poor light shifts undertones, exaggerates texture and can undo otherwise good makeup.
That is why this list is not just “use better light”. That advice is too vague. The useful version is knowing which part of your makeup bad lighting tends to distort, what to check, and when to stop adding more product.

⚡ PRO INSIGHT: Bright light is not automatically honest light. A harsh overhead bulb can feel clear while still creating false shadows under the eyes, nose and chin.
The quick table: mistake, lighting cause, fix and mirror check
1. Matching foundation under warm yellow light
Warm bathroom bulbs can make skin look softer and more forgiving. Nice for ambience, terrible for shade judgement. When the room leans golden, people often choose a base that is too warm, then only notice the problem when it turns orange, flat or heavy outside.
The safer fix is to match foundation in neutral or daylight-style light first, then preview warm light at the end. L’Oréal Paris’s foundation shade guide recommends testing along the jawline and checking the shade in natural light. That is still one of the simplest ways to avoid choosing a foundation that only works in your bathroom.
If you want the full lighting selector for base makeup, this LUNA guide to warm, cool and natural light for makeup is the best companion read.

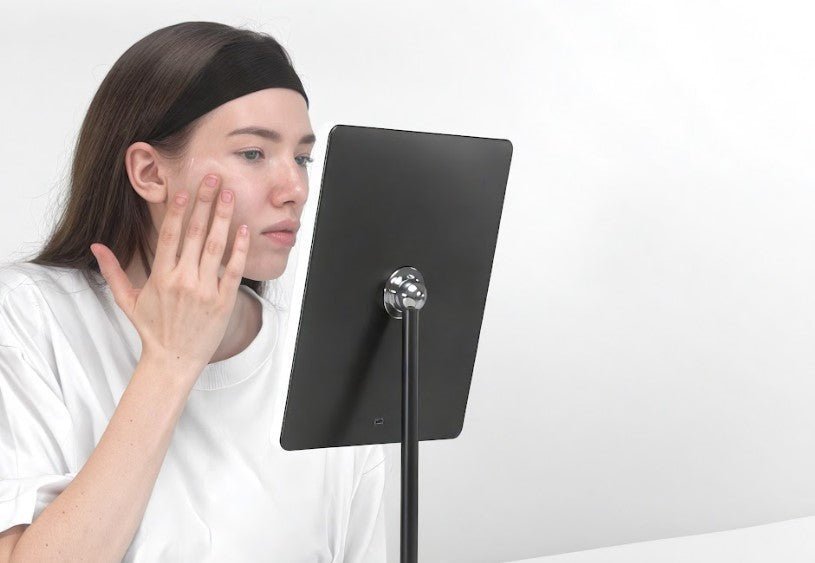
2. Adding more concealer because overhead light invented a shadow
Overhead-only lighting is one of the worst offenders. It deepens under-eye shadows, changes how redness reads around the nose, and makes people add more concealer or powder than they actually need. The result is usually not fresher makeup. It is heavier makeup in exactly the areas that crease first.
Bring the light in front of the face, roughly at eye level. Then check the under-eye while your chin is neutral. If you only look upward into a tilted mirror, you are not seeing the finished face other people will see.
“Natural daylight is always the most honest place to begin.”
— Lulia David, photographer, Marie Claire UK
3. Treating colour temperature as the whole answer
People talk about warm and cool lighting as if that settles everything. It does not. Colour temperature tells you whether a light feels warmer or cooler, but not whether colours are being rendered faithfully. NIST’s overview of colour rendering explains why colour appearance under a light source matters, and the CIE 2025 position statement on colour quality metrics is a useful reminder that simple shorthand can miss important details.
For makeup, the practical takeaway is this: do not chase brightness alone. You need light that is even, repeatable and useful for comparing your face, neck and chest without odd colour shifts.
Subtle mirror check
If the problem is shade, shadow or close-up detail, use one stable mirror setup
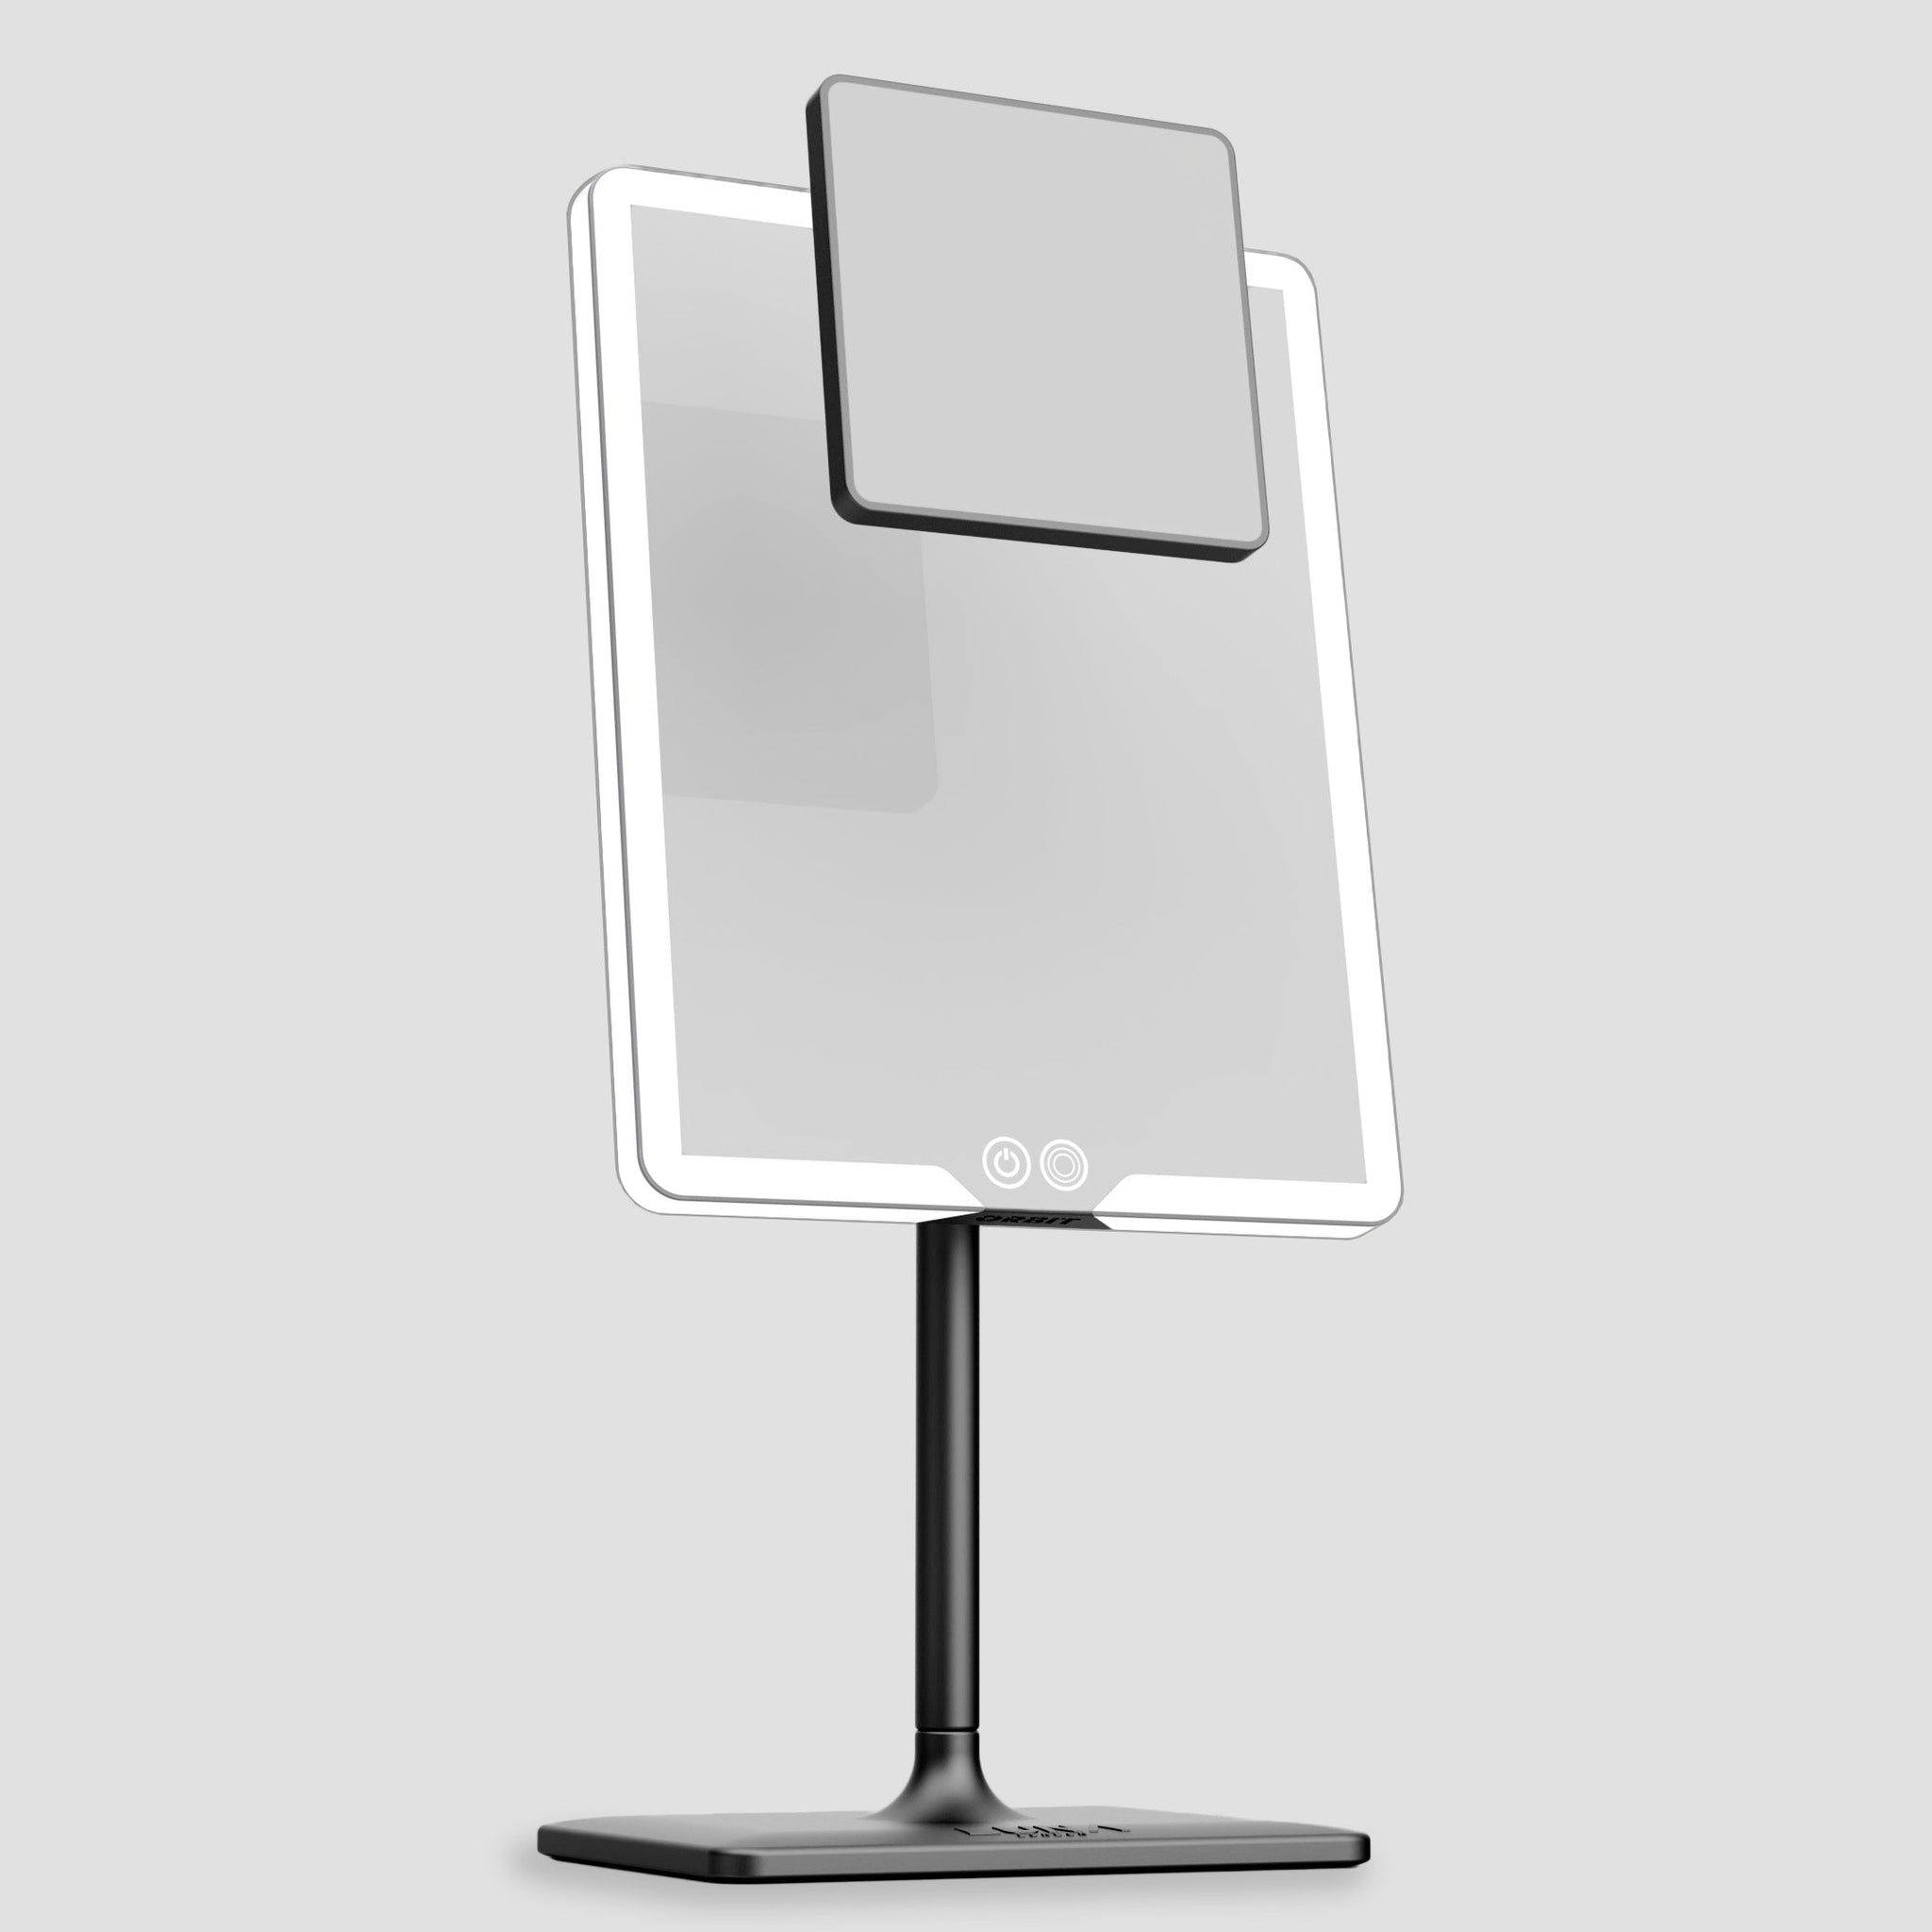
ORBIT is the stronger fit for home checks because it gives you a large front-facing view, 3 LED brightness settings and a 7x magnification add-on for detail work after the full-face check.
| Best for | Foundation match, concealer balance, brows, mascara roots and lipstick edges at home. |
| Why it helps | Front-facing light reduces shadow guesswork, while 7x detail is there only when you need precision. |
| Use after | The full-face check, not before. Do not do your whole base in magnification. |
4. Putting blush too low because flat light drains the face
Bad light can make blush look like it has disappeared, especially in flat office-style lighting. The lazy response is to add more. The better response is to check placement. If blush sits too low or too wide, poor lighting can drag the face down and make the base look tired.
Apply blush slightly higher than you think, then blend upward. After that, soften the edge in a warmer preview. This keeps colour visible without turning it into a stripe.
5. Using bronzer to fix a lighting problem
Cool or fluorescent-style light can make skin look flatter and greyer. That often pushes people into adding bronzer or contour until the face looks “alive” in that one mirror. Then, outside, the same bronzer reads muddy or overdone.
Use bronzer as warmth, not repair work. Keep it light around the temples, high cheek area and jawline, then check whether it connects naturally with the neck. If the bronzer only looks right under one harsh bulb, it probably is not balanced yet.
6. Filling brows while one side of the face is in shadow
Brows are small, but bad lighting makes them disproportionately annoying. One-sided window light hides one tail. Overhead light can exaggerate the arch. A tilted mirror can make symmetry feel worse than it is.
Before filling more, face the light directly and step back. Look at both brows together, then use close-up detail for the final few hairs only. This is also where controlled magnification helps, as long as you do not let it take over the whole face. For a deeper precision comparison, read the LUNA guide to vanity mirrors with lights vs ring lights, because the right choice depends on whether you are doing real-life makeup or camera-first content.
⚡ PRO INSIGHT: Use magnification for final detail, not first judgement. If you start too close, you fix tiny asymmetries that nobody sees and miss the overall balance.
7. Missing mascara gaps until daylight catches them
Mascara mistakes often hide in flattering light. You may miss pale roots, uneven outer corners or tiny transfer marks until you see your reflection in a brighter place. Harsh light can also make clumps look worse, which tempts you to keep combing until lashes collapse.
The fix is a short detail check, not a full restart. Look down slightly, check the lash roots, then blink once and check for transfer. Stop there. If you keep inspecting under harsh light, you will end up solving the mirror instead of the mascara.
8. Trusting lipstick edges in a dim room

Lipstick is one of the easiest things to overestimate in soft light. A blurred edge can look elegant in a warm bedroom mirror, then messy in daylight or restaurant lighting. Bright reds, corals and deeper shades make this more obvious.
Use the main mirror for colour balance first, then a brief close-up check for the cupid’s bow, outer corners and lower lip line. If this is a handbag or event touch-up problem, COMPACT 2.0 is the more useful LUNA fit because it gives you portable lighting and a 7x magnification mirror for precision checks away from home.
9. Blaming flashback on one thing and skipping the SPF check
Flashback is not caused by lighting alone, and SPF should not be treated as optional. The American Academy of Dermatology recommends broad-spectrum SPF 30 or higher and proper reapplication when outdoors. The beauty issue is different: certain base, powder or sunscreen combinations can leave a visible cast that forgiving indoor light does not reveal.
Before photos, check the centre of the face, under-eyes, jawline and hairline under a stronger light source. If something looks too bright, press and blend before adding more powder. The goal is not to remove SPF. The goal is to make sure the layers on top of it are not sitting visibly on the skin.
The before-you-leave workflow professionals rely on
This is the part worth saving. You do not need a complicated setup. You need a repeatable check that stops you from correcting the wrong problem.
- Start with base in neutral or daylight-style light. Apply skincare, SPF, foundation and concealer here. Check face, jaw and neck together.
- Step back for colour. Look at blush, bronzer and overall warmth from a normal distance, not nose-to-mirror.
- Do a 15-second detail pass. Use close-up light only for brows, mascara roots, lip edges and any obvious blend line.
- Preview the real destination. Use warmer light for evening plans, brighter light for daytime, and one handbag check if you are leaving in a rush.
- Fix one thing only. Choose the most obvious mismatch. Do not restart the entire face unless something has genuinely failed.
If this keeps happening in hotels, dark bedrooms or rented bathrooms, the issue is probably setup more than skill. This travel makeup mirror guide covers the away-from-home version, while the light-up mirrors for makeup guide is better if you are still deciding what features matter before buying. For foundation-specific troubleshooting, keep this foundation and makeup mirror with lights article nearby.

For hotel rooms and touch-ups
When the room lighting is not yours, bring a light you can control
ECLIPSE is the better fit when travel lighting is the problem. It folds flat, gives you 3 LED brightness settings and helps with hotel rooms, desks and away-day makeup checks without claiming magnification.
Which LUNA mirror fits this makeup problem?
Review-proof mirror check
Stop correcting the room and start checking the makeup
If bad bathroom lighting keeps pushing you into the wrong foundation, concealer or powder decisions, ORBIT gives you one stable place to check the full face first and the small details second.
“The light really helped in our darker bathroom.”
Quick tracked delivery available in:
 USA
USA
 UK
UK
 EU
EU
FAQs
Why does my makeup look bad in some lighting?
Different lighting changes shadows, colour temperature and colour rendering. That can make foundation look orange, concealer look chalky, blush disappear or texture look worse than it is. The fix is to apply base in neutral or daylight-style light, then do one second-light check before leaving.
What makeup mistakes does bad lighting make worse?
The most common are wrong foundation shade, too much concealer, muddy bronzer, low blush placement, uneven brows, missed mascara gaps, blurred lipstick edges and visible SPF or powder cast in photos.
What is the best light for checking foundation?
Neutral or daylight-style light is usually the safest baseline for foundation because it gives a clearer read on undertone and coverage. Warm light is better as a final preview, not the first place you choose your shade.
Can a ring light fix bad makeup lighting?
Sometimes, but not always. A ring light can be flattering for camera content, while a vanity mirror with lights is usually more practical for close-range makeup checks. If you are deciding between the two, compare how each handles shade match, texture and real-life wear.
How do I check makeup before leaving the house?
Use a three-part check: full face in neutral or daylight-style light, brief close-up detail for brows, mascara and lips, then one second-light preview for the place you are going. Fix one obvious issue only, rather than restarting your whole face.
Related links
- Warm, Cool or Natural Light for Makeup?
- Vanity Mirror with Lights vs Ring Light
- Best Travel Makeup Mirror 2026
- Light Up Mirrors for Makeup: LED Buyer’s Guide
- Flawless Foundation with a Makeup Mirror with Lights
- ORBIT Phantom Black
- ECLIPSE Rose Gold
- COMPACT 2.0 Rose Gold
Leave a comment
This site is protected by hCaptcha and the hCaptcha Privacy Policy and Terms of Service apply.