
Last updated: Wednesday 22nd July 2026
Mascara mistakes in bad lighting: the quick answer
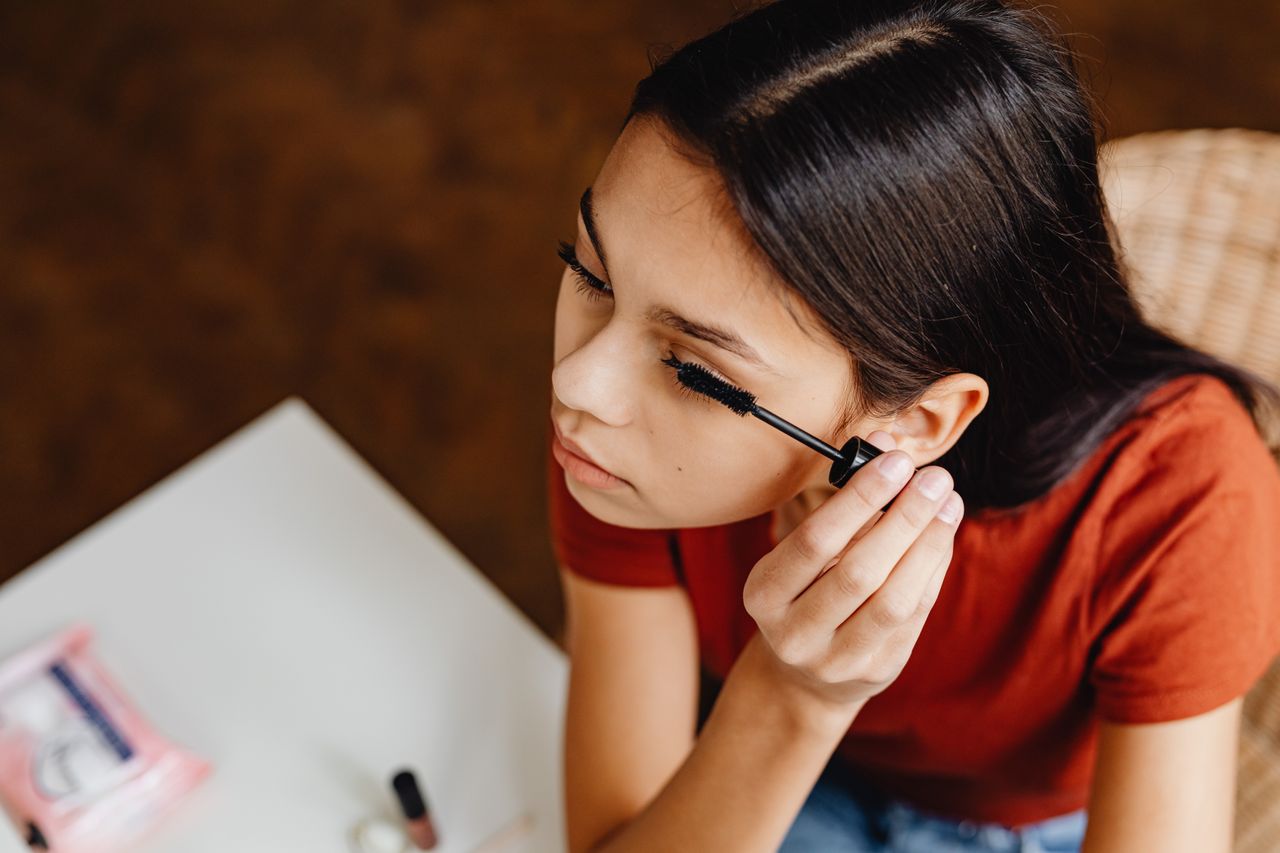
The mascara mistakes makeup artists notice first are clumps hidden between lashes, a heavier second coat on one eye, missed roots, wet transfer on the eyelid, overloaded lower lashes, flakes and uneven lift. Poor lighting does not create every problem, but it can stop you seeing the problem while it is still easy to fix.
The best correction is not simply “use brighter light”. Harsh ceiling light can be bright and still cast shadows across the lash line. Use soft, even light facing you, keep both eyes visible for the balance check, and reserve magnification for a short inspection of roots, clumps and inner corners.
This article deliberately focuses on the mirror-to-daylight gap: why mascara seems tidy where you apply it, then looks messy in a car mirror, office bathroom or photograph. For the separate question of lash placement and smaller-looking eyes, use LUNA’s guide to mascara mistakes makeup artists fix when eyes look smaller.

What bad lighting hides around the lashes
⚡ PRO INSIGHT: Brightness and visibility are not the same thing. If the light is above or behind you, turning it up may deepen the very shadows that hide mascara mistakes.
1. Adding a second coat because one eye looks lighter
Stand beside a window or lamp and one eye can fall into shadow. That eye looks less defined, so you add more mascara. When you turn towards balanced light, the lashes are not darker in a good way. They are simply thicker, wetter and more likely to clump.
Before adding another coat, face the light directly and compare both eyes from normal distance. If the imbalance disappears when your position changes, it was a lighting problem. If it remains, add a small amount only where the roots or outer lashes need it.
2. Missing clumps until the mascara has dried
Clumps are easiest to remove while the formula is still flexible. Dim or warm light can blur the gaps between lashes, particularly near the inner corner. By the time daylight exposes the problem, pulling the lashes apart can create flakes or disturb the curl.
After each coat, turn your head slightly left and right. The change of angle reveals lashes that have stuck together. Pass a clean spoolie through the clump before the mascara fully sets. Do not keep combing once it is dry.

3. Coating the tips but leaving the roots patchy
If the lash roots sit under the shadow of the brow bone, it is easy to see the tips and miss the base. Repeatedly sweeping the visible part gives you dark, heavy ends with weak definition where the lashes begin. The result can look spidery rather than lifted.
Raise your chin slightly and look down into the mirror without closing the eye. Place the wand close to the upper-lash roots, wiggle gently, then pull the remaining product through the length. Keep the movement controlled. Mascara should go on the lashes, not the waterline.
4. Correcting wet transfer too soon
A fresh mascara mark on the lid triggers panic, especially when a close mirror makes it look enormous. Rubbing it immediately usually spreads the pigment into the skin or eyeshadow.
Let the mark dry, then lift it away gently with a clean, dry cotton bud. If transfer happens repeatedly, look at the cause: lashes may touch the lid before drying, eye cream may be sitting too close to the lash line, or the formula may not suit oily lids or hooded eyes.
Waterproof mascara is not the automatic answer to every smudge. It can be useful for water exposure, but tubing formulas may be a better test for people whose mascara transfers because of oils around the eye. Makeup artist Shonagh Scott demonstrates a tubing-mascara approach in the video below.
5. Overloading the lower lashes
Lower-lash mascara is where bad bathroom light causes disproportionate trouble. Overhead shadows already darken the under-eye area, so you may not see how much product is collecting below the eye. Outside, those lashes can look heavier than the upper line or transfer onto concealer.
Apply the upper lashes first. If you want definition below, use what remains on the wand or touch only the outer lower lashes. Then look straight ahead in normal view. If the eye appears pulled down, remove some product rather than trying to balance it with more above.

6. Treating flakes as an application problem
Sometimes the mirror is not exposing bad technique. It is exposing a tired formula. Mascara that has become dry, unusually thick, flaky or different in smell should not be revived with water or saliva. The FDA’s eye-cosmetic safety guidance says manufacturers commonly recommend discarding mascara two to four months after purchase and advises throwing away dried mascara.
If a formerly reliable mascara suddenly clumps or flakes, stop compensating with a different wand angle and check its age and condition. Replace it if the texture has changed. Stop using eye makeup and seek appropriate advice if the eye becomes irritated, painful, red or infected.
⚡ PRO INSIGHT: A clean spoolie can fix excess product. It cannot turn an old, dry mascara back into a clean formula.
7. Doing the entire check in magnification
Magnification is excellent for finding one stuck lash, a missed inner corner or a mark at the root. It is poor for deciding whether the finished mascara looks balanced. Every gap seems bigger close up, so you keep filling, darkening and correcting.
Use this order instead: normal view to compare both eyes, magnification for one precise correction, then normal view again. If you are unsure how much magnification is genuinely useful, LUNA’s 5x vs 10x vs 15x mirror guide explains why stronger is not always better.
The two-light mascara check makeup artists use
- Apply in even front-facing light. Neutral or daylight-style light gives the clearest read on separation, roots and transfer.
- Turn slightly after each coat. A small angle change exposes lashes stuck together behind the front row.
- Use close-up briefly. Check the inner corners, roots and any visible clump, then stop.
- Step back before adding more. Compare both eyes at normal conversation distance.
- Preview the destination. If you are going out at night, switch briefly to warm light to see whether the eye still looks balanced, but do not rebuild the mascara there.
The sequence matters. A neutral or daylight-style check is for accuracy. A warm-light check is a preview. For a full breakdown of which setting belongs at each stage, read warm, cool or natural light for makeup.
For the second check
Catch transfer before somebody else does
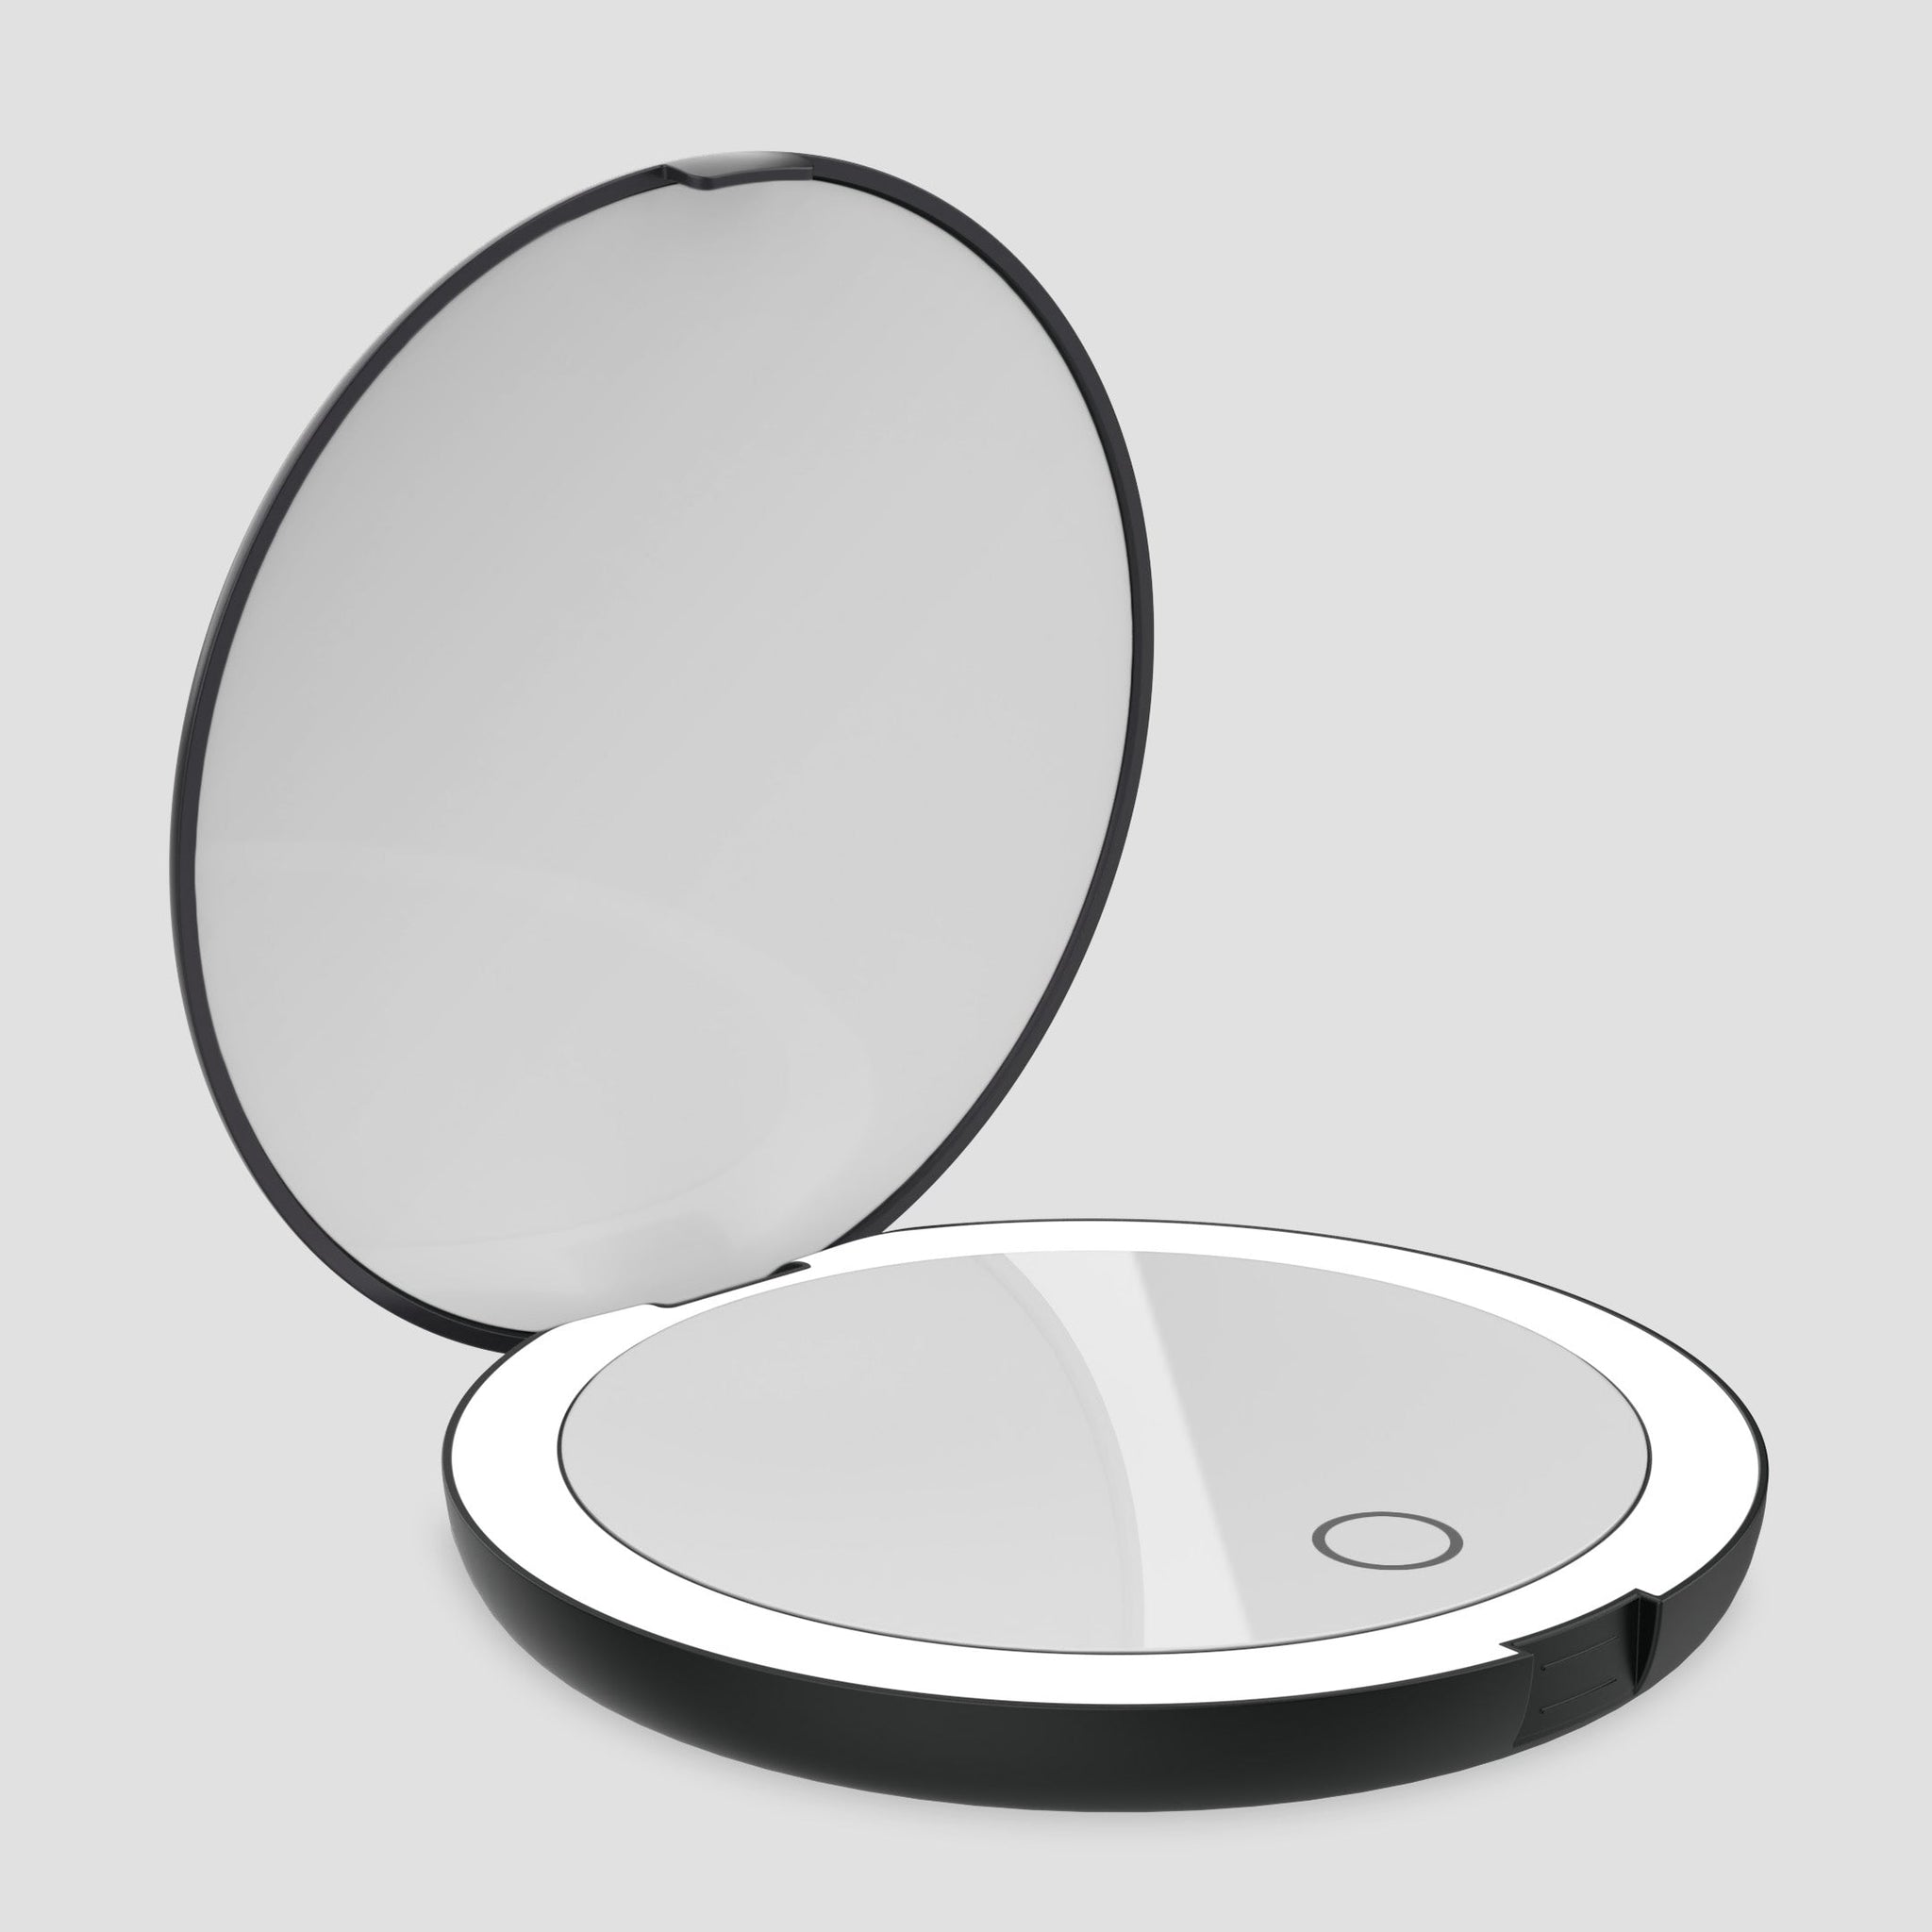
COMPACT 2.0 fits the handbag, desk drawer or travel pouch for the problem that appears later: under-eye transfer, flakes and a smudged inner corner. Use 1x for balance and 7x only for the correction.
1x and 7x views • Three dimmable light modes • USB rechargeable
Explore COMPACT 2.0Why mascara looks worse in daylight or photographs
Daylight is directional and revealing, while a phone flash or bright office mirror can create stronger contrast than the warm room where you got ready. The new light shows the space between lashes, the thickness of each coat and pigment transferred onto skin. It may also reveal an imbalance that was hidden because one side of your face was in shadow.
This does not mean you should apply mascara in harsh light and chase microscopic perfection. It means you need one reliable accuracy check before leaving. Face the light, look at both eyes together, blink once, glance down and inspect the under-eye. Fix the obvious error, not every natural difference between your lashes.
A 30-second mascara check before you leave
- Look straight ahead: are both eyes equally defined?
- Look down: is wet mascara touching the lid or brow bone?
- Turn left and right: are any lashes stuck into thick spikes?
- Blink twice: has product transferred below the eye?
- Step back: does the finished eye look lifted and balanced at normal distance?
If the whole face changes dramatically between rooms, the problem is broader than mascara. Use the companion guide to makeup mistakes under bad lighting to diagnose foundation, concealer, brows, blush and lipstick separately.
★★★★★ Review check
Stop letting the bathroom choose how much mascara you apply
ORBIT gives you a large normal view, three dimmable light modes and a detachable 7x mirror for precise lash checks without doing the entire routine magnified.
“The light really helped in our darker bathroom.”
LUNA customer review
Review ORBIT for your routine
Fast tracked delivery available in:
 USA
USA
 UK
UK
 EU
EU
FAQs
Why does my mascara look clumpy in daylight?
Dim, warm or overhead light can hide the gaps between stuck lashes. Daylight creates clearer contrast, revealing clumps and uneven coats. Check each coat in even front-facing light and separate lashes with a clean spoolie before the formula dries.
How do I stop mascara from smudging under my eyes?
Let eye cream absorb, keep excess product off the lower lashes, allow mascara to dry before blinking hard and remove dried transfer with a clean cotton bud. If smudging continues, test a tubing or suitable long-wear formula rather than automatically adding more powder or mascara.
What light is best for applying mascara?
Even, front-facing neutral or daylight-style light is the most useful starting point because it shows roots, separation and transfer without the deep shadows caused by overhead light. Use warm light only as a brief final preview for evening settings.
Should I apply mascara in a magnifying mirror?
Use magnification briefly for roots, inner corners and clumps. Apply and judge the overall result in normal view so you can compare both eyes and avoid over-correcting tiny gaps.
Why does mascara transfer onto hooded eyelids?
The lashes may touch the lid before the formula dries, while oils or emollient eye products can also encourage transfer. Look down for a few seconds after applying, keep skincare away from the lash line and consider testing a tubing formula if the problem persists.
How often should mascara be replaced?
Follow the product label and manufacturer guidance. The FDA notes that manufacturers commonly recommend replacing mascara two to four months after purchase. Discard it sooner if it dries out, changes smell or texture, or was used around an eye infection.


Leave a comment
This site is protected by hCaptcha and the hCaptcha Privacy Policy and Terms of Service apply.