
Last updated: Friday 17 July 2026
The 10-Minute Summer Makeup Routine That Stays Light, Polished and Grown-Up
No-makeup makeup is often made unnecessarily complicated. Eight complexion products, several glow layers and a heavily styled brow might photograph well, but they miss the point when the weather is hot.
A professional hot-weather routine should make the face look rested and considered without coating every inch of skin. It should also wear away gracefully. That matters more than making makeup look completely unchanged after eight hours, which is not a realistic standard in heat, humidity and perspiration.
The practical approach is selective: protect the skin, soften unevenness, bring back a little structure and stop. Natural skin texture, fine lines, freckles and a small amount of shine are not mistakes that need correcting.

⚡ PRO INSIGHT: Do not start the 10-minute clock until sunscreen has settled. Rushing foundation directly over a wet or slippery SPF layer is one of the quickest ways to create pilling, streaks and movement.
In a hurry? The routine at a glance
Before the makeup: treat SPF as a separate step
Hot-weather makeup cannot replace proper sun protection. The NHS recommends at least SPF30 with strong UVA protection, while the American Academy of Dermatology recommends broad-spectrum, water-resistant SPF30 or higher.
Apply the amount advised by your sunscreen manufacturer, cover exposed areas such as the ears and neck, and allow the product to settle before beginning makeup. Sunscreen also needs reapplying, particularly after swimming or heavy sweating, so the smartest makeup base is one that can be disturbed and repaired without becoming patchy.
Trying to make SPF behave like a gripping primer is weak logic. Its first job is protection. Choose makeup that works around it rather than compromising the sunscreen layer to achieve a smoother finish.
The professional 10-minute no-makeup makeup routine
Minute 0 to 1: assess before adding primer

Look at the skin rather than following a fixed product list. Is the forehead already shiny? Does makeup usually disappear beside the nose? Are the cheeks dry enough that a mattifying product will catch?
Use primer only where it has a clear job. A small amount of oil-controlling primer may help through the centre of the forehead, around the nose or on the chin. A hydrating formula may be more useful on dry areas. Many faces need neither across the cheeks.
“Primer should be targeted.”
— Ranti Adeyemi, professional makeup artist, Glamour (2026)
This is especially useful for mature or textured skin. Covering the entire face in a heavy smoothing primer can make subsequent layers feel thicker, not fresher.
Minute 1 to 3:30: correct, do not blanket-cover
Start with the smallest amount of complexion product likely to do the job. That could be a light skin tint, a sheer foundation or simply concealer.
Place coverage around the nostrils, on distinct areas of redness, beneath the inner corners of the eyes and over individual marks. Then soften the edges with a damp sponge, a small brush or clean fingertips. Keep the centre of the correction where coverage is needed instead of blending it across half the face.
If you use a skin tint, apply a thin layer from the centre outwards. Stop before the product becomes visible as a uniform coating. You should still be able to see the natural variations that make skin look like skin.
⚡ PRO INSIGHT: Once a blemish has been covered, leave it alone. Repeatedly blending over it usually removes coverage from the centre while building a noticeable ring of product around the edge.
For a deeper look at what causes complexion products to break down, see LUNA London’s guide to heat-proof makeup mistakes professionals notice every summer.
Minute 3:30 to 5: restore the brows
Brush brow hairs into place first. You may discover that less filling is needed than expected.
Use a fine pencil or small angled brush to replace missing definition through sparse sections, particularly beneath the arch or at the tail. Avoid creating a hard, squared inner edge. Finish with a light layer of clear or tinted brow gel, concentrating on direction rather than forcing every hair vertically upwards.
The mature version of a natural brow is groomed but not over-controlled. It should frame the eyes without becoming the first feature anyone notices.
Minute 5 to 6:15: define the lashes, not the entire eyelid
Curl the lashes if that is already part of your routine. Then apply a thin coat of mascara, concentrating near the roots. A tubing or water-resistant formula may be useful on very humid days, but “waterproof” is not automatically better if it irritates your eyes or is difficult to remove.
For extra definition, press a soft brown, charcoal or deep plum pencil between the upper lashes. This gives the impression of a fuller lash line without a visible strip of heavy liner.
Skip multiple powder shadows unless they serve a purpose. A trace of cream shadow or bronzer through the socket is enough if the eyes need more structure.
Minute 6:15 to 8:15: add colour where heat naturally removes it

Light complexion products can leave the face looking flat, especially after under-eye correction. Use a small amount of cream or liquid blush and place it where your face naturally gains colour.
Blend backwards rather than pulling everything towards the nose. Keep the application sheer at the edges. Adding a second tiny layer is safer than beginning with a large dot that has to be chased around the cheek.
Bronzer is optional. Use it only when the complexion genuinely needs warmth or structure. Do not add bronzer simply because a routine on social media includes it.
On the lips, choose balm, a muted stain or a sheer lipstick close to your natural lip colour. A pencil used lightly around areas where the lip line has softened can look more natural than outlining the entire mouth heavily.
Minute 8:15 to 9:30: powder only where movement is likely
Allow a little natural sheen to remain on the upper cheeks. Press a small amount of finely milled powder around the nostrils, between the brows, over the chin and anywhere concealer tends to crease.
Avoid repeatedly powdering beneath the eyes. That area moves whenever you smile or speak, and excess powder can make normal texture more obvious. Pressing a small brush or powder puff into specific areas gives more control than sweeping a large brush over the whole face.
A professional hot-weather makeup guide from Condé Nast Traveler similarly prioritises lighter, long-wearing layers rather than a heavy complexion that must fight the weather.
Minute 9:30 to 10: check the face, not one isolated detail
Move back from the mirror. Check both sides of the nose, the jaw, brows, mascara and lip edges, then turn your head slightly to inspect how the base catches the light.
This final step prevents a common mistake: correcting a small area so closely that it looks heavy when viewed as part of the full face. Magnification is useful for mascara marks, brow hairs and precise edges, but it should not be used to judge the overall amount of makeup.
Poor bathroom lighting can also encourage unnecessary correction. LUNA London’s guide to why makeup looks different in bad lighting explains why an apparently flawless base indoors may look heavier in daylight.
Adjust the routine to how your skin behaves
What professionals leave out on very hot days
The fastest way to simplify a routine is not to rush every normal step. It is to remove steps that add little value.
- Full-coverage foundation: unnecessary when the real problem is limited redness or a few marks.
- Heavy baking: it may control shine initially, but can look dry and obvious once the face begins moving.
- Several glow products: luminous primer, radiant base, liquid highlighter and setting spray can become one indistinct layer in humidity.
- Complex contour: difficult to repair cleanly if the base shifts.
- Overdrawn lips: higher maintenance in heat, particularly while eating, drinking or reapplying lip SPF.
This does not mean cream products are always superior or powder is always ageing. Formula, placement and quantity matter more than the category printed on the label.
The grown-up hot-weather touch-up
Do not add powder immediately whenever the skin becomes shiny. First press a clean tissue or blotting sheet onto the area. Rubbing can lift sunscreen and disturb the base beneath it.
Next, inspect what actually needs repair. Most faces need one or two corrections, not a second makeup application. Press concealer around the nose if redness has returned, comb the brows, clean a mascara mark and restore the lip colour.
When sunscreen needs reapplying, follow the directions for the sun-protection product you are using. No makeup technique should be presented as a substitute for adequate reapplication. Keeping the original complexion light makes the process easier, even if a little makeup has to be repaired afterwards.
For days involving beaches, swimming or prolonged outdoor exposure, use the wider beach holiday beauty checklist rather than relying on makeup alone.

Make the final mirror check more honest
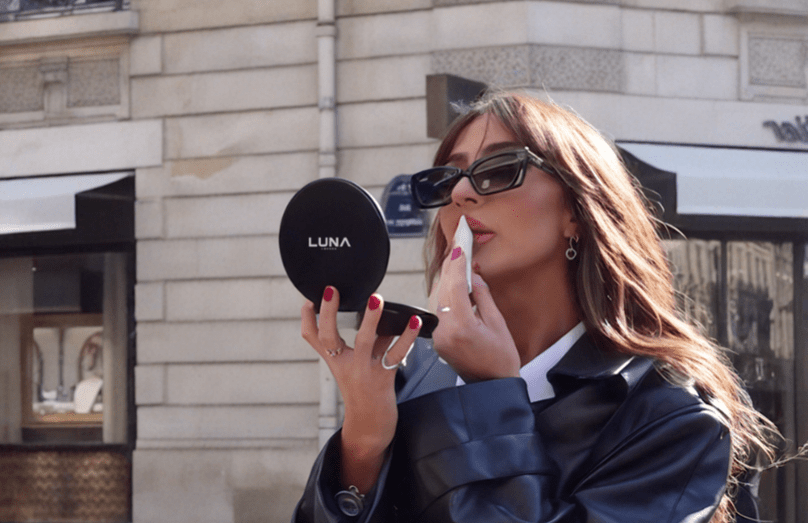
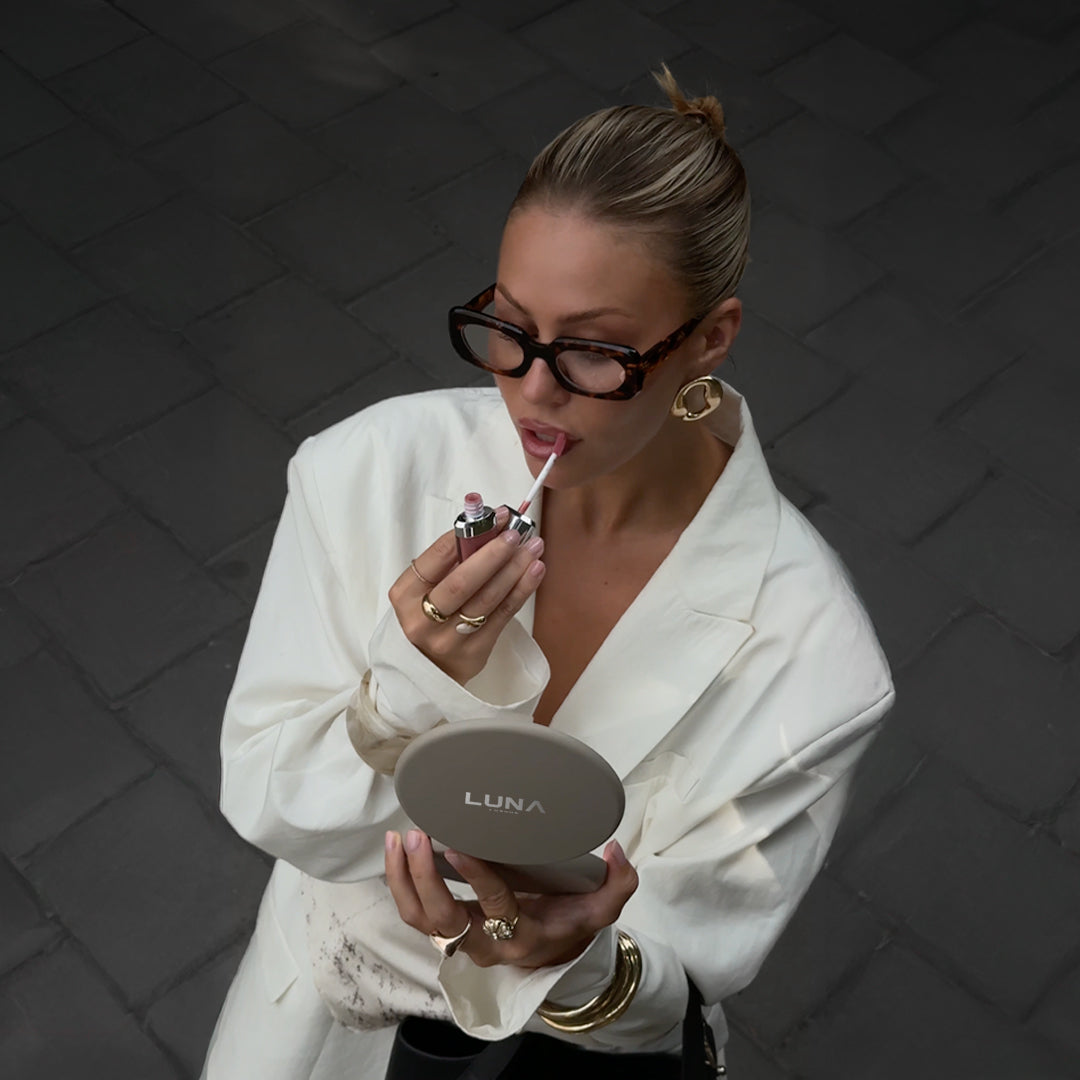
ORBIT gives you a large 11-inch lit mirror face for judging the whole look, plus a detachable 7x magnification add-on for mascara marks, brows and precise edges. Use the full view first, then magnification only for corrections.
See ORBIT for full-face and detail checks →FAQs
How do I stop no-makeup makeup melting in hot weather?
Use fewer and thinner layers, allow sunscreen to settle, apply primer selectively and powder only areas prone to movement. Blot perspiration rather than rubbing it away, then repair the specific area that has shifted.
Is cream or powder blush better in hot weather?
Neither is automatically better. Cream blush can merge naturally with a light base, while a thin powder blush may suit oilier skin. The important point is to use a small amount and avoid stacking several emollient layers beneath it.
Can no-makeup makeup work on mature or textured skin?
Yes. It often works especially well because it avoids turning normal texture into a problem to be concealed. Use flexible coverage only where needed, keep powder away from dry areas and judge the finished makeup from normal conversational distance.
Related links
- Heat-Proof Makeup Mistakes Professionals See Every Summer
- Why Your Makeup Looks Different in Bad Lighting
- Beach Holiday Beauty Checklist
- Compact Mirror Tips for On-the-Go Touch-Ups
- Explore the LUNA London beauty and mirror guides
```

Leave a comment
This site is protected by hCaptcha and the hCaptcha Privacy Policy and Terms of Service apply.