

Last updated: 4th March 2026
Summary: The best beard mirror setup for men 45+ is a repeatable, no-mess station that controls hair fall and gives you even, face-level light for clean beard lines. This guide shows a bathroom setup (fast rinse + wipe-down) and a bedroom setup (zero sink hair), plus the lighting and mirror-positioning cues that reduce over-trimming and razor irritation. If you want one grooming mirror that works in both places, ORBIT is built to move with you: stable, rechargeable, adjustable light, and an optional 7× mini for quick edging checks.
In a hurry? TL;DR:
- Choose your no-mess zone: bathroom for rinse-and-go, bedroom for clean lines without sink hair.
- Control fallout with one catch layer (towel/cape) and one sweep tool (hand vac/lint roller).
- Use even, face-level beard trimming light, not overhead glare.
- Do the main trim in 1×, then do brief 7× checks for corners and strays. Don’t “design” your beard in magnification.

If your beard line looks “fine” in the bathroom but off in daylight, your lighting is usually the culprit.
Build a Grooming Station That Keeps Hair Off the Sink
A lot of “men’s shaving mirror” advice assumes perfect bathroom lighting and unlimited counter space. Real life is tighter, darker, and usually shared. After 45, there’s another factor: many men start needing more light and contrast to see fine detail comfortably.
NIH’s News in Health points out that as pupils become smaller and less responsive with age, people in their 60s may need 3× more light for comfortable reading than people in their 20s. That same “need more light” effect shows up when you’re trying to see a neckline clearly. Source: NIH News in Health
MedlinePlus also notes that by around 60, pupils may shrink to about a third of their earlier size and react more slowly, while glare tolerance drops. Source: MedlinePlus (U.S. National Library of Medicine) Translation: if your mirror lighting is weak or top-down, you end up leaning in, pressing harder, and doing extra passes.
And if you’ve noticed “menu-in-a-dim-restaurant” struggles from your 40s onward, UCLA Health describes how many people notice changes around age 40 (including presbyopia and slower adjustment to light changes). Source: UCLA Health
⚡ PRO INSIGHT: The no-mess goal isn’t “zero hairs ever”. It’s containment. If 90% lands in one catch zone, clean-up becomes a 60–90 second habit instead of a full bathroom reset.
Step 1: Pick your station (Bathroom vs Bedroom)
You’re not choosing a room. You’re choosing the kind of clean-up you can live with every week.
| Station | Best when… | No-mess method | What usually goes wrong |
|---|---|---|---|
| Bathroom station | You wet-shave, rinse tools, or prefer a quick splash-and-go finish. | Towel in sink + one sweep tool + wipe-down. | Ceiling-only lighting creates shadows under the jaw, so the neckline “moves”. |
| Bedroom station | You want zero sink hair and space to step back for perspective. | Cape/towel over lap + bin beside you + quick vacuum. | You trim too close to a small mirror and lose “normal distance” balance. |
The underrated move: if your bathroom is cramped or shared, do your trim in the bedroom and do your rinse (if needed) in the bathroom. That split alone removes 80% of the mess stress.
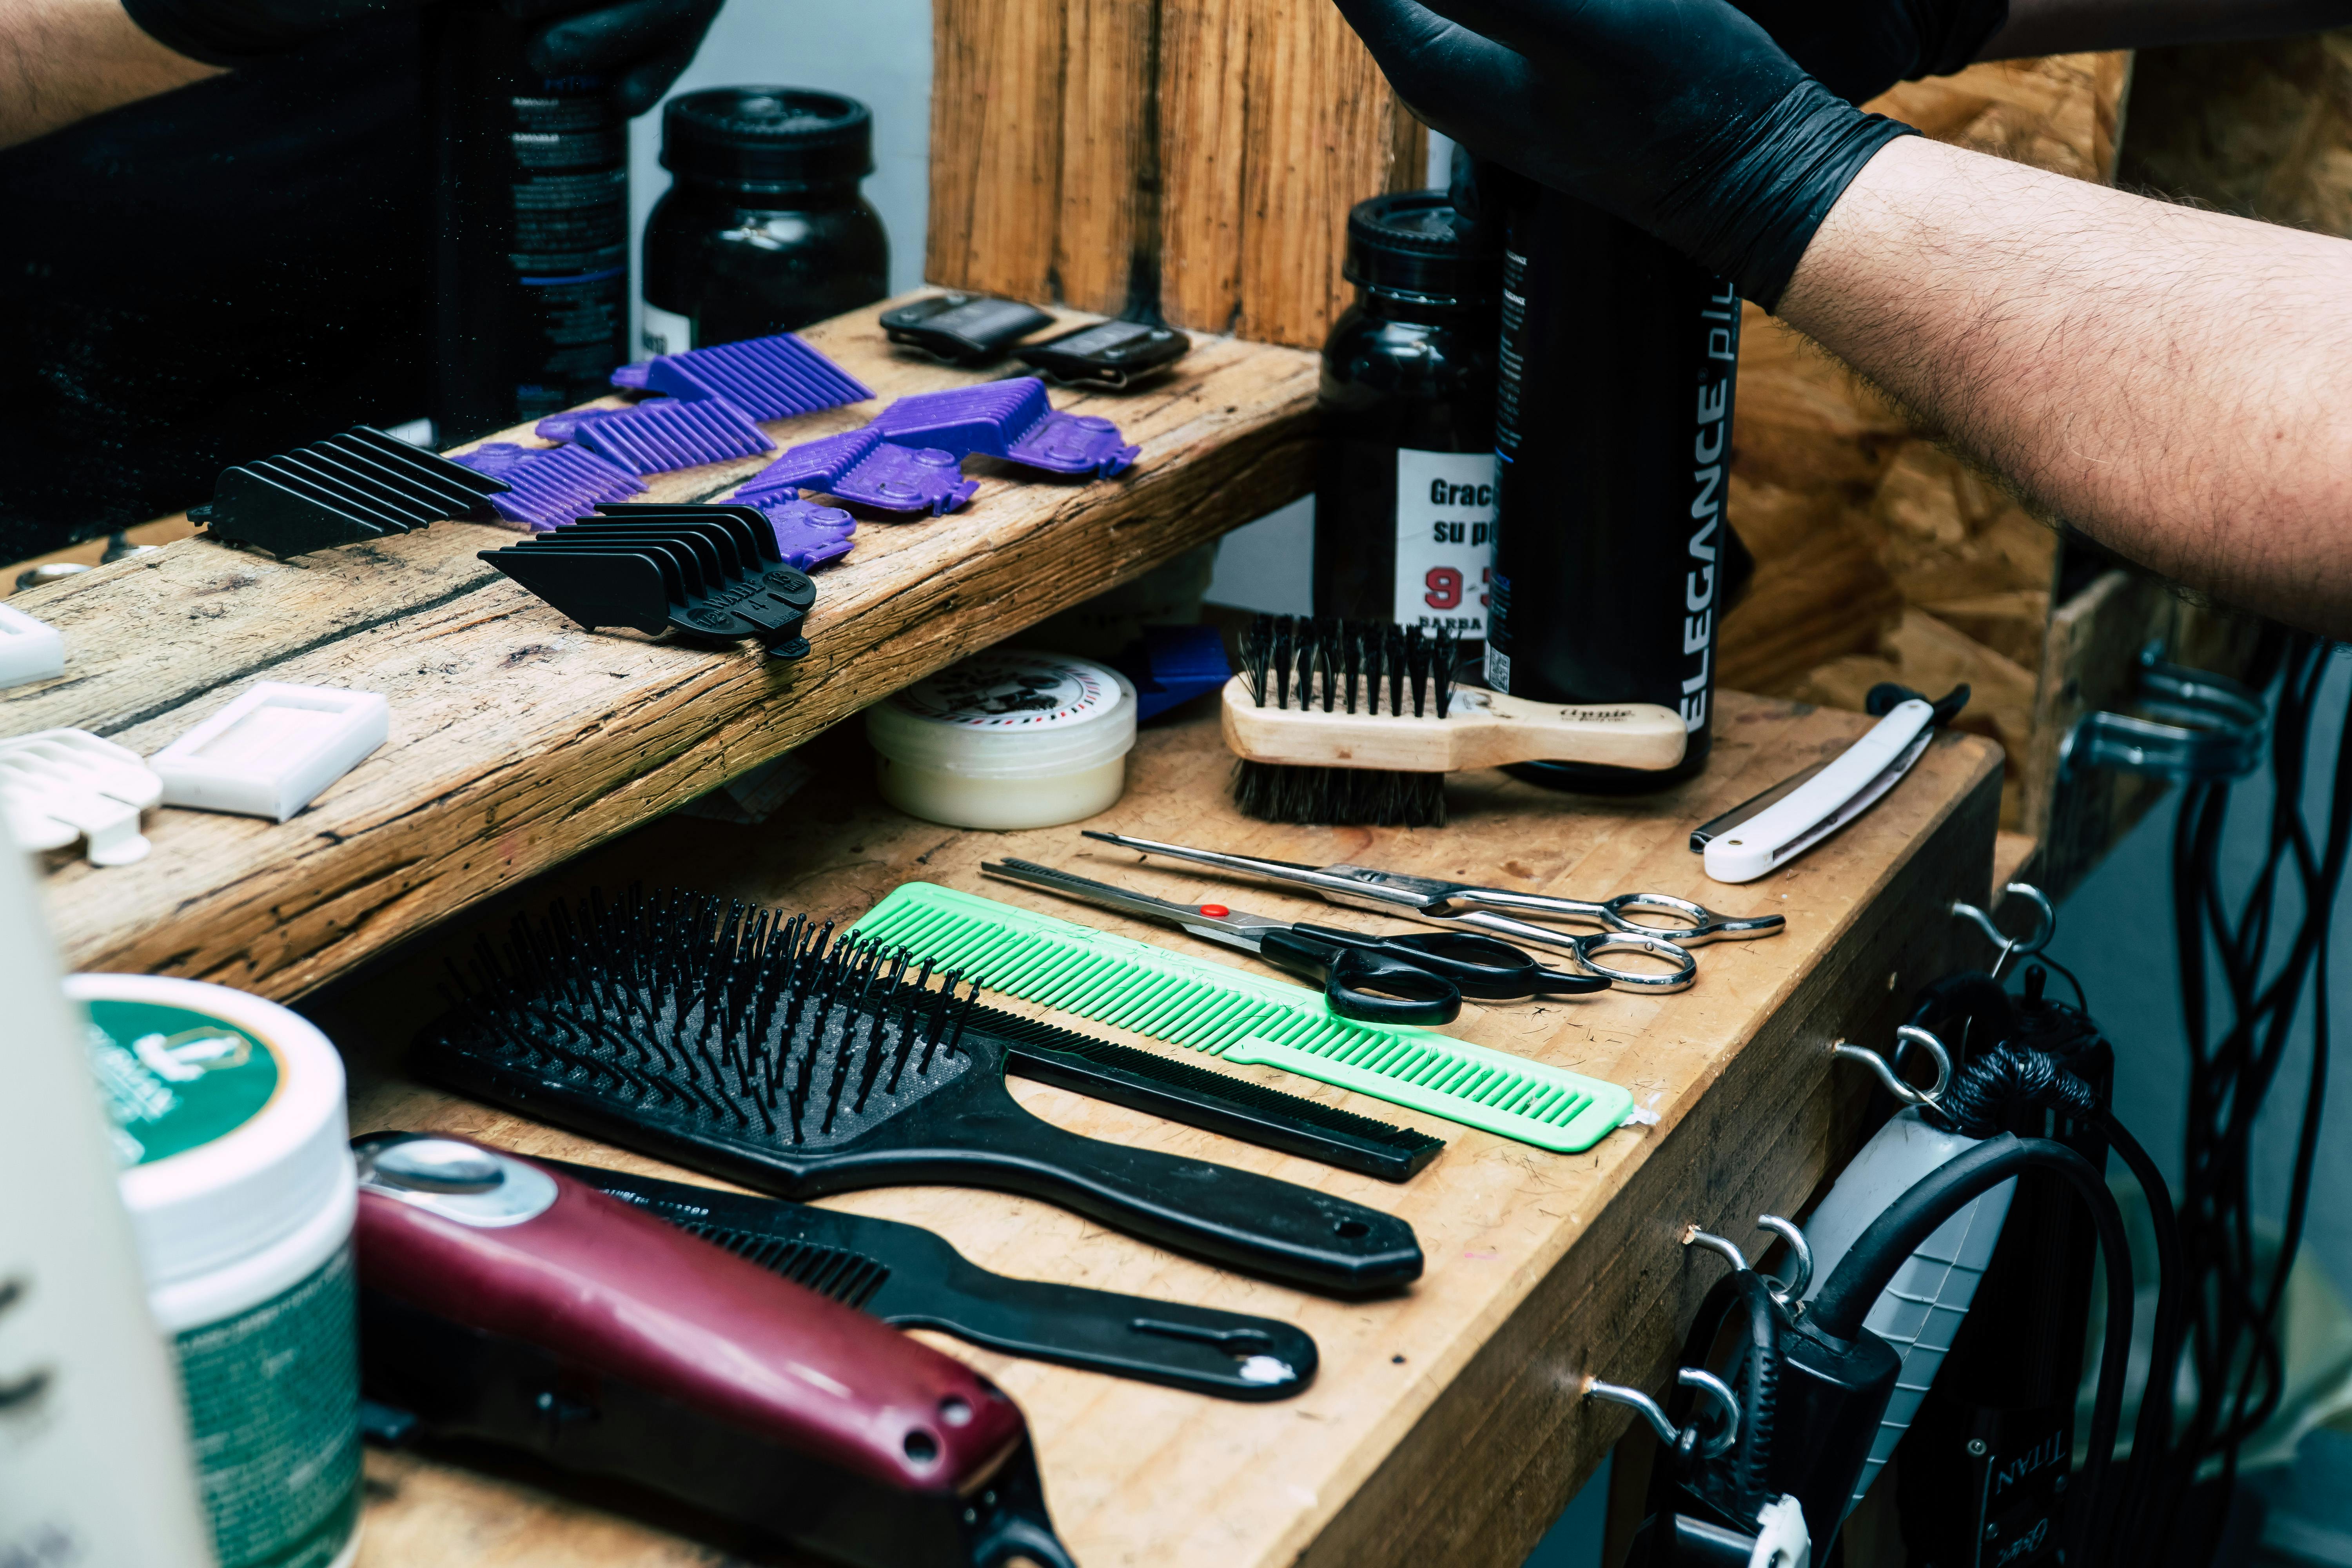
Step 2: Build the “3 anchors” kit (so you stop improvising)
A no-mess setup works when it’s the same every time. Use these three anchors and the rest becomes optional.
- Anchor 1, Catch layer: a towel (bathroom) or cape/towel (bedroom). The catch layer should be easy to shake into a bin.
- Anchor 2, Sweep tool: hand vac, lint roller, or a damp paper towel pass for fine hairs.
- Anchor 3, Visibility: a grooming mirror with even light and stable positioning, so you don’t chase shadows.
If you want a dedicated men’s grooming page to compare routines by use-case, this hub is a good reference: Men’s Grooming Mirrors.
Step 3: Set the light so your beard line stops “changing”

Most beard mistakes are shadow mistakes. You think the line is straight, then you step outside and it looks uneven. The fix is not “the brightest light possible”. It’s even, face-level light and a mirror angle that reduces glare.
Technique still matters, of course. Cleveland Clinic’s guidance emphasises warm water prep, shaving with the grain first, and keeping blades sharp. Source: Cleveland Clinic But you can’t follow good technique if you can’t see the grain direction clearly in the first place.
| What you’re doing | Lighting goal | Mirror positioning cue | Stop condition |
|---|---|---|---|
| Neckline + jawline edging | Flatten shadows under the chin | Set mirror around eye height, then tilt slightly until glare disappears | When the line looks consistent as you turn your head slowly |
| Cheek line tidy-up | See fine, flat hairs | Stand square to the light, not side-on | If you’re squinting, add light, don’t move closer |
| Moustache + corners | Precision without over-trimming | Use quick 7× checks, then return to 1× | If it looks tidy in 1× at arm’s length, you’re done |
Step 4: The 10-minute no-mess trim workflow
This is built for men who want a clean, believable result without turning grooming into a project.
- Minute 0–1: Lay your catch layer (towel in sink, or cape/towel over lap). Bin and sweep tool within reach.
- Minute 1–2: Comb beard down and out. You’ll see uneven density before you start cutting.
- Minute 2–5: Bulk trim (guard on). Keep strokes consistent and check symmetry every 30 seconds.
- Minute 5–7: Define cheek and neckline. Make one pass, step back, then decide if you truly need a second pass.
- Minute 7–9: Detail check: brief 7× for strays and corners, then back to 1× for the “normal distance” truth.
- Minute 9–10: Clean-up: shake catch layer into bin, quick vacuum/sweep, wipe surfaces.
Expert quote
“Razor blades tend to last for up to five to 10 shaves…”
If you’re prone to bumps or ingrown hairs, the American Academy of Dermatology’s guidance includes shaving in the direction hair grows and avoiding too many passes. Source: American Academy of Dermatology Better visibility makes it easier to follow that advice without “going back over” the same patch repeatedly.
Technique reference: controlled outline + tidy-up passes that reduce “over-correcting”.
Step 5: Fix the common “why does it look wonky?” moments
| Problem | Likely cause | Fix in under 60 seconds | Prevention next time |
|---|---|---|---|
| Neckline higher on one side | Trimmed under a shadow, then “matched” the wrong reference | Step back, even the other side minimally, then stop | Use face-level light and turn your head slowly during checks |
| Patchy cheek line | Going against grain on flat hairs | Comb down, re-trim lightly with the grain | Neutral, even light shows fine hairs without glare |
| Razor burn on the neck | Too many passes, pressure, dull blade | Cool rinse, moisturise, pause shaving the area | One with-the-grain pass first, change blades sooner |

⚡ PRO INSIGHT: Make decisions in 1× at arm’s length. Use 7× as a short confirmation tool for corners and strays, not as the place you design the whole shape.
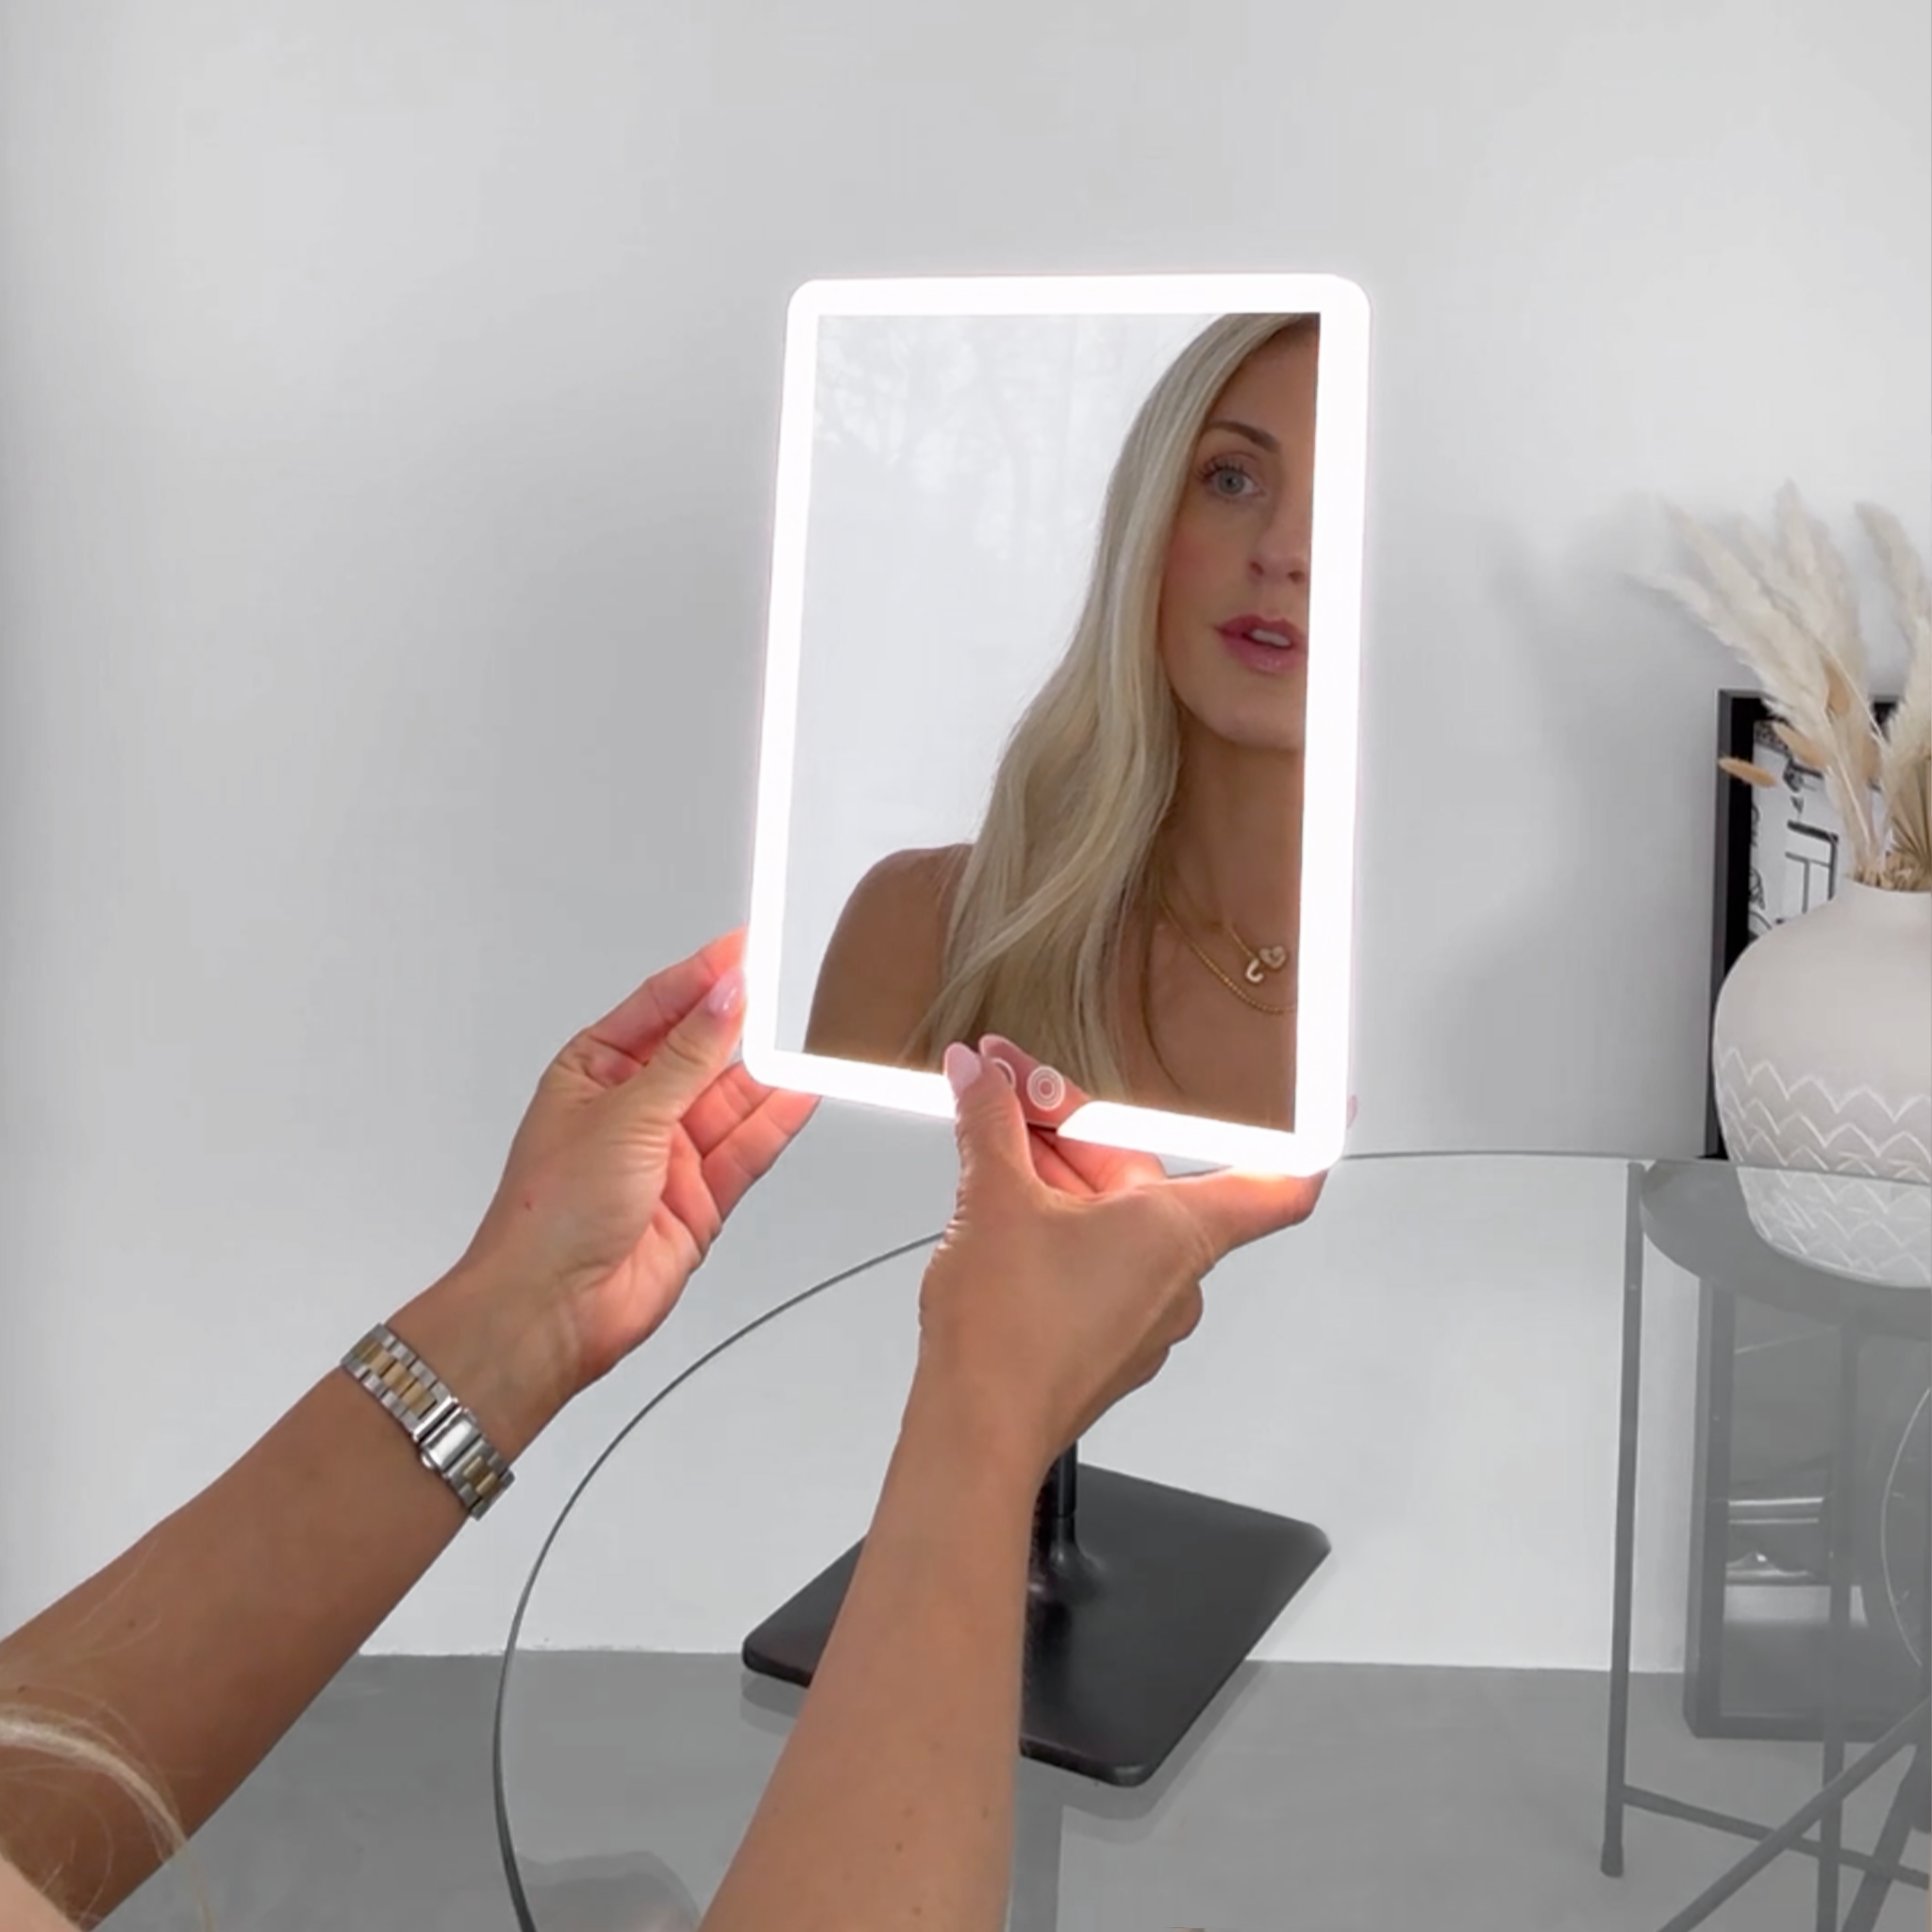
What to look for in a beard mirror (especially after 45)
A beard mirror is really a visibility system: light, angle, and stability.
- Even lighting at face level: helps you see your cheek line and neckline without lifting your chin and creating shadow.
- Stable base + adjustable tilt/rotation: stops the mirror moving while you work.
- Optional detail magnification: helpful for edging and strays, when used briefly.
- Easy to move: because the “best” station changes. Some weeks you want sink access, other weeks you want zero mess.
If you want one mirror that can live on a bathroom counter but also move to a bedroom station, ORBIT is built for that switch: a stable footprint, adjustable lighting, and a magnetic 7× mini that you can use for quick edging checks.
And because clean visibility depends on a clean surface, keep your mirror streak-free so your light stays true. Our quick care guide is here: Mirror Maintenance 101: LED Mirror Care.
A cleaner beard trim starts with better light
If you’re trimming in a darker bathroom, or moving your routine into the bedroom to avoid sink mess, ORBIT gives you stable positioning, adjustable light, and a quick 7× detail check for edging. It’s built for everyday grooming, not occasional “special effort”.
FAQs
Is a lighted mirror actually worth it for beard trimming?
If your beard line looks different in daylight than it did in your bathroom, that’s a lighting problem. Even, face-level light helps you trim once, not three times, and that usually means less irritation.
Should I trim my beard in the bathroom or the bedroom?
Bathroom is best if you like rinsing and wet shaving. Bedroom is best if you want zero sink mess and space to step back for a more realistic view. The best choice is the one you’ll repeat weekly without dreading clean-up.
What magnification is best for edging a beard line?
For most men, 7× is plenty for detail checks, but it should be brief. Do the main shape in 1× at arm’s length, then use 7× to confirm strays and corners.
How do I reduce razor bumps on my neck?
Use warm water and shaving cream, shave with the grain first, keep pressure light, and replace dull blades. Dermatology guidance also recommends avoiding too many passes. AAD tips here.
Related links
- Men’s Midlife Skincare Routine: A Simple Guide for 45+
- ORBIT Phantom Black: The Sleekest Mirror for Modern Homes
- Do I Need a 7X Magnifying Mirror? When It Helps + How to Use It
- Best Vanity Mirror with Lights for Your Dressing Table
- Cleveland Clinic: How to Shave (steps and tips)
- NIH: Your Aging Eyes (why you need more light)

Leave a comment
This site is protected by hCaptcha and the hCaptcha Privacy Policy and Terms of Service apply.