
Last updated: Wednesday 1 July 2026
LED mirrors make dirt obvious. Fingerprints, skincare residue, hairspray mist and setting powder can look invisible in normal room light, then suddenly appear as streaks when the LEDs switch on. That does not mean you need a stronger cleaner. It usually means you need less liquid, cleaner cloths and a better finishing step.
This refreshed guide keeps the original article’s practical intent but makes the answer faster: what is safe, what to avoid, how to clean around charging ports and how to stop a lighted mirror becoming cloudy, scratched or patchy over time. If you are still choosing where your mirror should live, read our vanity mirror with lights setup guide first, then use this page as the upkeep checklist.
In a hurry? The safe LED mirror care routine
⚡ PRO INSIGHT: If your mirror looks worse after cleaning, pause before reaching for a stronger spray. Most LED-lit streaks come from residue being moved around, not dirt that needs harsher chemicals.
Safe vs avoid: what to use on an LED mirror
General mirror-cleaning advice is not always safe for a lighted mirror. A plain bathroom mirror can tolerate more liquid than a rechargeable LED mirror with seams, touch controls and ports. Apple’s electronics-cleaning guidance is a useful safety baseline here: keep liquids away from openings and do not spray cleaning products directly onto the item. For lighted mirrors, that is the cautious habit to copy. Read Apple’s cleaning guidance.
The best method for cleaning an LED mirror
Step 1: Dry dust first
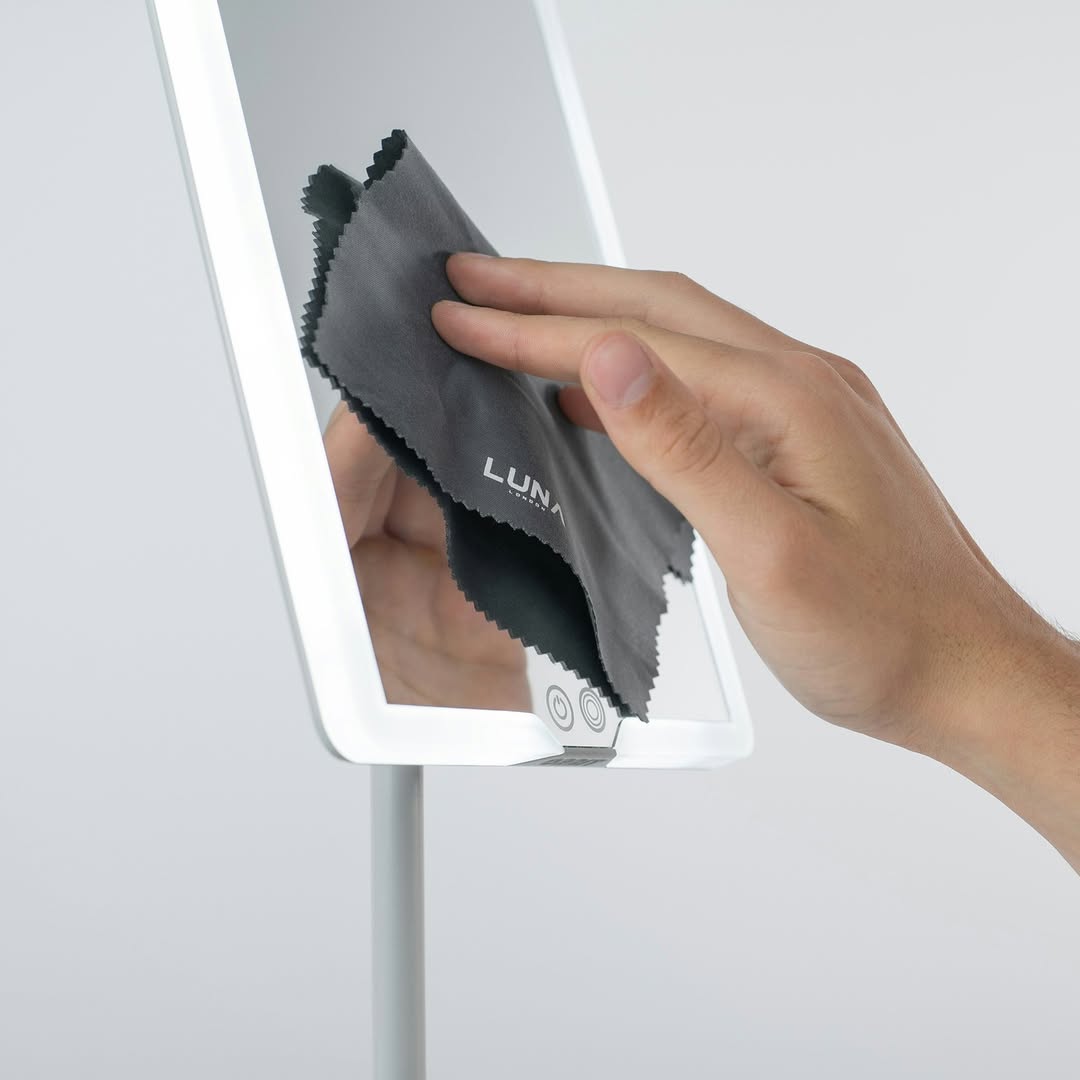
Start with a clean, dry microfibre cloth. Dust, setting powder, shaving residue and lint can scratch or smear if you wet the surface too early. Pay attention to the base, light strip, hinge line and any magnetic attachment area.
Step 2: Wipe with a lightly damp cloth
Dampen one section of the cloth with water, or use a gentle ammonia-free cleaner applied to the cloth. Work from top to bottom in straight lines or a loose S pattern. Avoid circular scrubbing because it tends to redeposit residue and can show up as swirls under LED light.
Real Simple’s 2026 mirror-cleaning advice backs the two-towel system and notes that dry buffing is often the forgotten step that prevents streaks. It also warns that dirty cloths and paper towels can make the surface look worse. Read the Real Simple mirror cleaning guide.
Step 3: Buff dry immediately
Use a second, dry microfibre cloth. Buff from several angles, not just straight on. LED lighting is directional, which is why a tiny film can show up more sharply than it would in soft room light. ENERGY STAR explains that LEDs emit light in a specific direction, which helps with control but also makes surface haze harder to ignore. Read ENERGY STAR’s LED lighting explainer.
Step 4: Detail the edges carefully
For seams, hinges and touch buttons, use a barely damp cotton bud, then dry immediately. Around charging ports, stay dry: use a soft brush or dry cotton bud and do not push anything sharp into the port. Wait until every area is fully dry before charging again.
“The ammonia will seep into the backing and cause the reflective coating to deteriorate.”
— Rhonda Wilson, quality lead cleaner at FreshSpace Cleaning, quoted in Southern Living (2025)

For daily mirror care, keep the setup simple
If your mirror lives on a dressing table, the easiest maintenance habit is keeping one clean microfibre cloth nearby. ORBIT suits home routines because the large lit face is easy to wipe down, while the 7x magnification add-on can be cleaned separately when detail work needs it.
See ORBIT care-friendly detailsA simple weekly care routine
The best LED mirror maintenance is boring. You are not trying to deep-clean the mirror every day, you are trying to stop residue building up until it becomes a cloudy film.
⚡ PRO INSIGHT: Keep beauty sprays at least an arm’s length away from your mirror. Hairspray, setting spray and dry shampoo leave the kind of fine mist that LED light exposes instantly.
Mirror care by routine: skincare, makeup, grooming and travel
If your mirror is mainly for skincare
Skincare residue is sneaky: cleanser splashes, moisturiser fingerprints and SPF haze all build gradually. A weekly clean keeps skin checks honest, especially if you compare texture or finish under the same lighting. For a related routine angle, read our LED mirror facial massage routine.
If your mirror is mainly for makeup
Makeup dust collects around bases, seams and touch controls, especially where brushes are tapped. If your goal is accurate colour, cleanliness is part of the lighting setup. For a deeper lighting comparison, read vanity mirror with lights vs ring light.
If your mirror is mainly for men’s grooming
Shaving and beard-line work create fine spray and soap residue that dries into haze. Do a dry buff after grooming, then a weekly two-cloth clean. If your routine is built around shaving lines, neck clean-up or precision checks, keep our men’s shaving mirror routine nearby.
If your mirror travels with you
Travel mirrors pick up fingerprints, lint and bag scuffs faster than home mirrors. Wipe the glass before it goes back into a sleeve or pouch, not after a week sitting loose beside makeup, keys and hair tools. For a lighter packing system, read Travel Light, Look Bright.

For travel mirrors, storage is part of cleaning
ECLIPSE works best when the problem is poor hotel, office or desk lighting. Keep it in its sleeve between uses so lint and makeup transfer do not rub against the glass in your bag.
Use ECLIPSE for travel lightingQuick troubleshooting: what is normal vs what needs attention
A product-based care guide, so you do not guess
Different mirrors collect residue in different places. The cleaning principle stays the same, but the habit should match how you use the mirror.
If your mirror is part of a workday kit, the fastest keep-it-clean habit is a 30-second dry buff before you leave home. That pairs well with The 5-Minute Office Refresh, because the whole point is fewer surprise smudges in harsh overhead lighting.
A clean mirror is a more accurate mirror
Clean glass does not make an LED mirror better by magic. It simply removes the film that changes what the light is showing you. If you rely on a mirror for makeup, grooming, skincare or contact lenses, maintenance is part of performance: clean surface, consistent angle, careful liquid use and a dry buff.
One last sceptical point: do not chase every tiny mark under magnification. A mirror should help you make better decisions, not push you into over-correcting. Use magnification for precise jobs, then return to the full-face view before deciding whether anything actually needs fixing. For more on this, read our magnifying mirror guide or our light-up mirror vs LED mirror comparison.
Choose by routine
The care rule is simple: match the mirror to how you actually use it
Home routines need a stable, wipeable setup. Travel routines need protection from lint and bag scuffs. Close-up checks need magnification that stays clean on both sides.
Before the FAQs, one practical note: cleaning cloths, sleeves and safe storage matter more if your mirror moves between rooms, bags or bathrooms. A clean surface stays cleaner when it is protected between uses.
FAQs
Can I use glass cleaner on an LED mirror?
Usually, yes, but use it sparingly and choose a gentle cleaner where possible. Put cleaner on a cloth, not directly on the mirror, and keep moisture away from seams, light strips, touch buttons and charging ports. Always finish by buffing dry with a second microfibre cloth.
Why does my LED mirror look streaky only when the lights are on?
LEDs reveal residue that normal room lighting can hide. Streaks are often leftover film, lint, oily cloth residue or moisture that was not buffed dry. Use the two-cloth method: one cloth to wipe, one dry cloth to finish.
How do I remove fingerprints from a lighted mirror?
Start dry with a clean microfibre cloth. If fingerprints remain, use a lightly damp section of the cloth, wipe gently, then buff dry immediately. Avoid pressing hard or using tissues, kitchen roll or abrasive pads.
What is the safest way to clean around charging ports and buttons?
Power off first. Dry dust the area, then use a dry cotton bud or soft brush around the charging port. For button edges, use a barely damp cotton bud only if needed, dry immediately and wait until everything is fully dry before charging again.
Do travel mirrors need different care?
Yes. Travel mirrors collect fingerprints, lint and makeup transfer faster because they move between bags, bathrooms and hotel rooms. Wipe before storing, then keep the mirror in its sleeve or pouch so grit does not rub against the glass.
Related links
- Vanity mirror with lights: dressing table setup guide
- Light-up mirror vs LED mirror: what actually matters before you buy
- Vanity mirror with lights vs ring light
- Men’s shaving mirror routine
- The 5-Minute Office Refresh with COMPACT 2.0
Sources
- Apple Support: how to clean your Apple products
- Real Simple: cleaning mistakes that lead to streaky mirrors
- Southern Living: things you should never clean with Windex
- ENERGY STAR: learn about LED lighting

Leave a comment
This site is protected by hCaptcha and the hCaptcha Privacy Policy and Terms of Service apply.