

Last updated: 15th April 2026
In a hurry? Here’s the short version:
- Check your makeup in daylight or daylight-balanced light, not just flattering bathroom light.
- Step back from the mirror before adding anything else.
- Fix edges, under-eyes, nostrils, chin, and hairline first.
- Press and smooth, do not keep layering.
- If you are heading outside, make SPF and lip protection part of the final check too.
The pre-leaving routine that catches what bathroom light hides
If your makeup looks polished at home and then slightly wrong in the lift, the office toilet, the car mirror, or daylight outside, that is usually not a product failure. It is a feedback failure. The light you used was too flattering, too overhead, too dim, or simply too inconsistent. That is why a proper final makeup check matters.
Professional artists do not just look closer and closer until they see a flaw. They do the opposite. They change the light, step back, and check the face the way the rest of the world will actually see it. That is the same logic behind fixing patchy foundation with better lighting and why makeup artists often focus on the tiny details that make or break a look, not on piling on more product at the end.
Think of this as your second check: the five-minute pass between “done” and “ready”. It is especially useful if you do your makeup in a bathroom, wear glasses or contacts, commute in daylight after getting ready indoors, or find that your under-eyes and blush look different every time you change rooms.

What usually changes between the mirror and real life
| Area | What tends to go wrong | Fastest fix |
|---|---|---|
| Hairline + jawline | Foundation looks seamless indoors, then obvious at the edges outside | Blend the border with a clean brush or sponge, do not add more base |
| Under-eyes | Concealer creases, gathers, or looks heavier than it felt at first | Re-smooth with fingertip or damp sponge, then only a tiny press of powder if needed |
| Cheeks | Blush or bronzer looks stronger in daylight than it did indoors | Diffuse the outer edge with whatever is left on your brush |
| Around nose + chin | Patchiness or product build-up becomes obvious once shadows change | Press lightly with a sponge, then leave it alone |
| Lips + teeth | Lip edge is uneven or product has transferred where you did not notice | Clean the edge, blot once, then reapply only where colour dropped |
⚡ PRO INSIGHT: The final check is not the moment to “improve” the whole look. It is the moment to catch what changed when the light changed. Most end-of-routine mistakes happen because people panic, see one crease or one patch, then start rebuilding the whole face.
The 5-minute final makeup check

Minute 1: Change the light, then step back
Before you touch anything, move to daylight, a window, or a daylight-balanced mirror mode. Then step back. Not six inches away, not 7x magnification, and not nose-to-glass inspection. Stand far enough back to see the whole face at once. This is where you notice imbalance: one cheek stronger than the other, powder sitting around the mouth, or a foundation edge that only appears once the shadows flatten out.
If your makeup tends to go wrong in bad light, this is also the point where it helps to read what bad lighting does to makeup decisions. A final check only works if the light is honest enough to show you the truth.
Minute 2: Scan the borders first
Look at the places where makeup stops, not just where it sits. Check the hairline, jawline, ears, nostrils, under the lower lip, and around the brows. These are the giveaway zones. If something looks obvious, blend the edge out rather than covering more of the face. Most of the time the product itself is fine. The transition is the problem.
This is also where a small amount of magnification helps. Use it briefly for brows, liner, lash roots, or lip edges. Then switch back out. The mistake is staying zoomed in so long that you start fixing skin nobody else was going to notice.
“It’s usually nothing a couple of swipes of a damp Beautyblender or a fingertip can’t fix.”
— Suzy Gerstein, Makeup Artist, Byrdie (2025)
Minute 3: Check under-eyes, around the nose, and the chin

These are the areas where people over-correct because they are dynamic, textured, and easy to misread under harsh or overhead light. If concealer has settled, re-smooth first. If foundation looks split around the nose, press it back into place before you even think about adding more. If the chin looks dry, step away from powder. Product buildup is usually what turns a tiny issue into an obvious one.
If creasing is the thing that keeps sabotaging your routine, this pairs well with a thinner, lower-placement concealer approach, which is far easier to correct in the final check than a thick bright triangle.
Minute 4: Fix only shine, texture, or imbalance
This is where restraint matters. A final check is for small adjustments: a tiny press of powder through the centre of the face, one softened blush edge, a fingertip smoothing the under-eye, a quick brow tidy, a blot on the lip. It is not the time to re-do contour, build extra coverage, or layer on more brightness “just in case”.
If you still feel tempted to pile on more, ask a blunt question: does this look wrong, or does it just look different now that the light is more truthful? Those are not the same thing.
Minute 5: Do the real-world test
Now do one check for where you are actually going. Daylight? Office overheads? Dinner? Train? This is the moment for a quick phone photo if you want one, especially if photographs are part of the day. Makeup artists often recommend checking how the look reads both in person and on camera before an event, rather than assuming the mirror tells the full story, which is why trial photos are such standard pro advice.
If you are stepping outside, make sun protection part of the routine too. The American Academy of Dermatology advises applying sunscreen to exposed skin and using at least SPF 30 on the lips, and the AMA’s dermatology guidance also stresses the areas people forget most often, including the ears, neck, and hands. In other words, the final check is not just about whether your blush is even. It is about whether your face is actually ready to leave the house.
Which light is best for the final check?
| Light | Best for | What to avoid |
|---|---|---|
| Natural or daylight-balanced | Final base check, undertone, blush strength, jawline blending | Assuming flattering bathroom light gave you the same answer |
| Cooler detail light | Brows, liner, lash roots, lip edges, stray hairs | Judging the whole face or adding more coverage |
| Warm light | A final preview for evening plans and softer environments | Shade-matching or deciding how much product you need |
This is the same reason so many people end up comparing a lighted mirror with a regular mirror or trying to work out whether a vanity mirror or ring light makes more sense for everyday makeup. The right setup is the one that lets you see your face clearly before you leave, not the one that looks most flattering to a camera.
⚡ PRO INSIGHT: If your final check keeps turning into a full re-do, your problem is usually consistency, not skill. One stable place to check your makeup every day beats switching between warm bathroom bulbs, window light, the phone camera, and the car visor mirror.
Who this routine helps most
This five-minute second check is especially useful for grown-up daily routines, not just big-event makeup. It helps if your skin is drier than it used to be, if under-eyes crease easily, if you get ready before sunrise, or if you want makeup that still looks sensible by mid-morning. It also helps if your instinct is always to add more when you feel tired or puffy. In that case, it is worth pairing this with a more realistic tired-face reset so you are fixing the cause, not simply disguising the symptom.
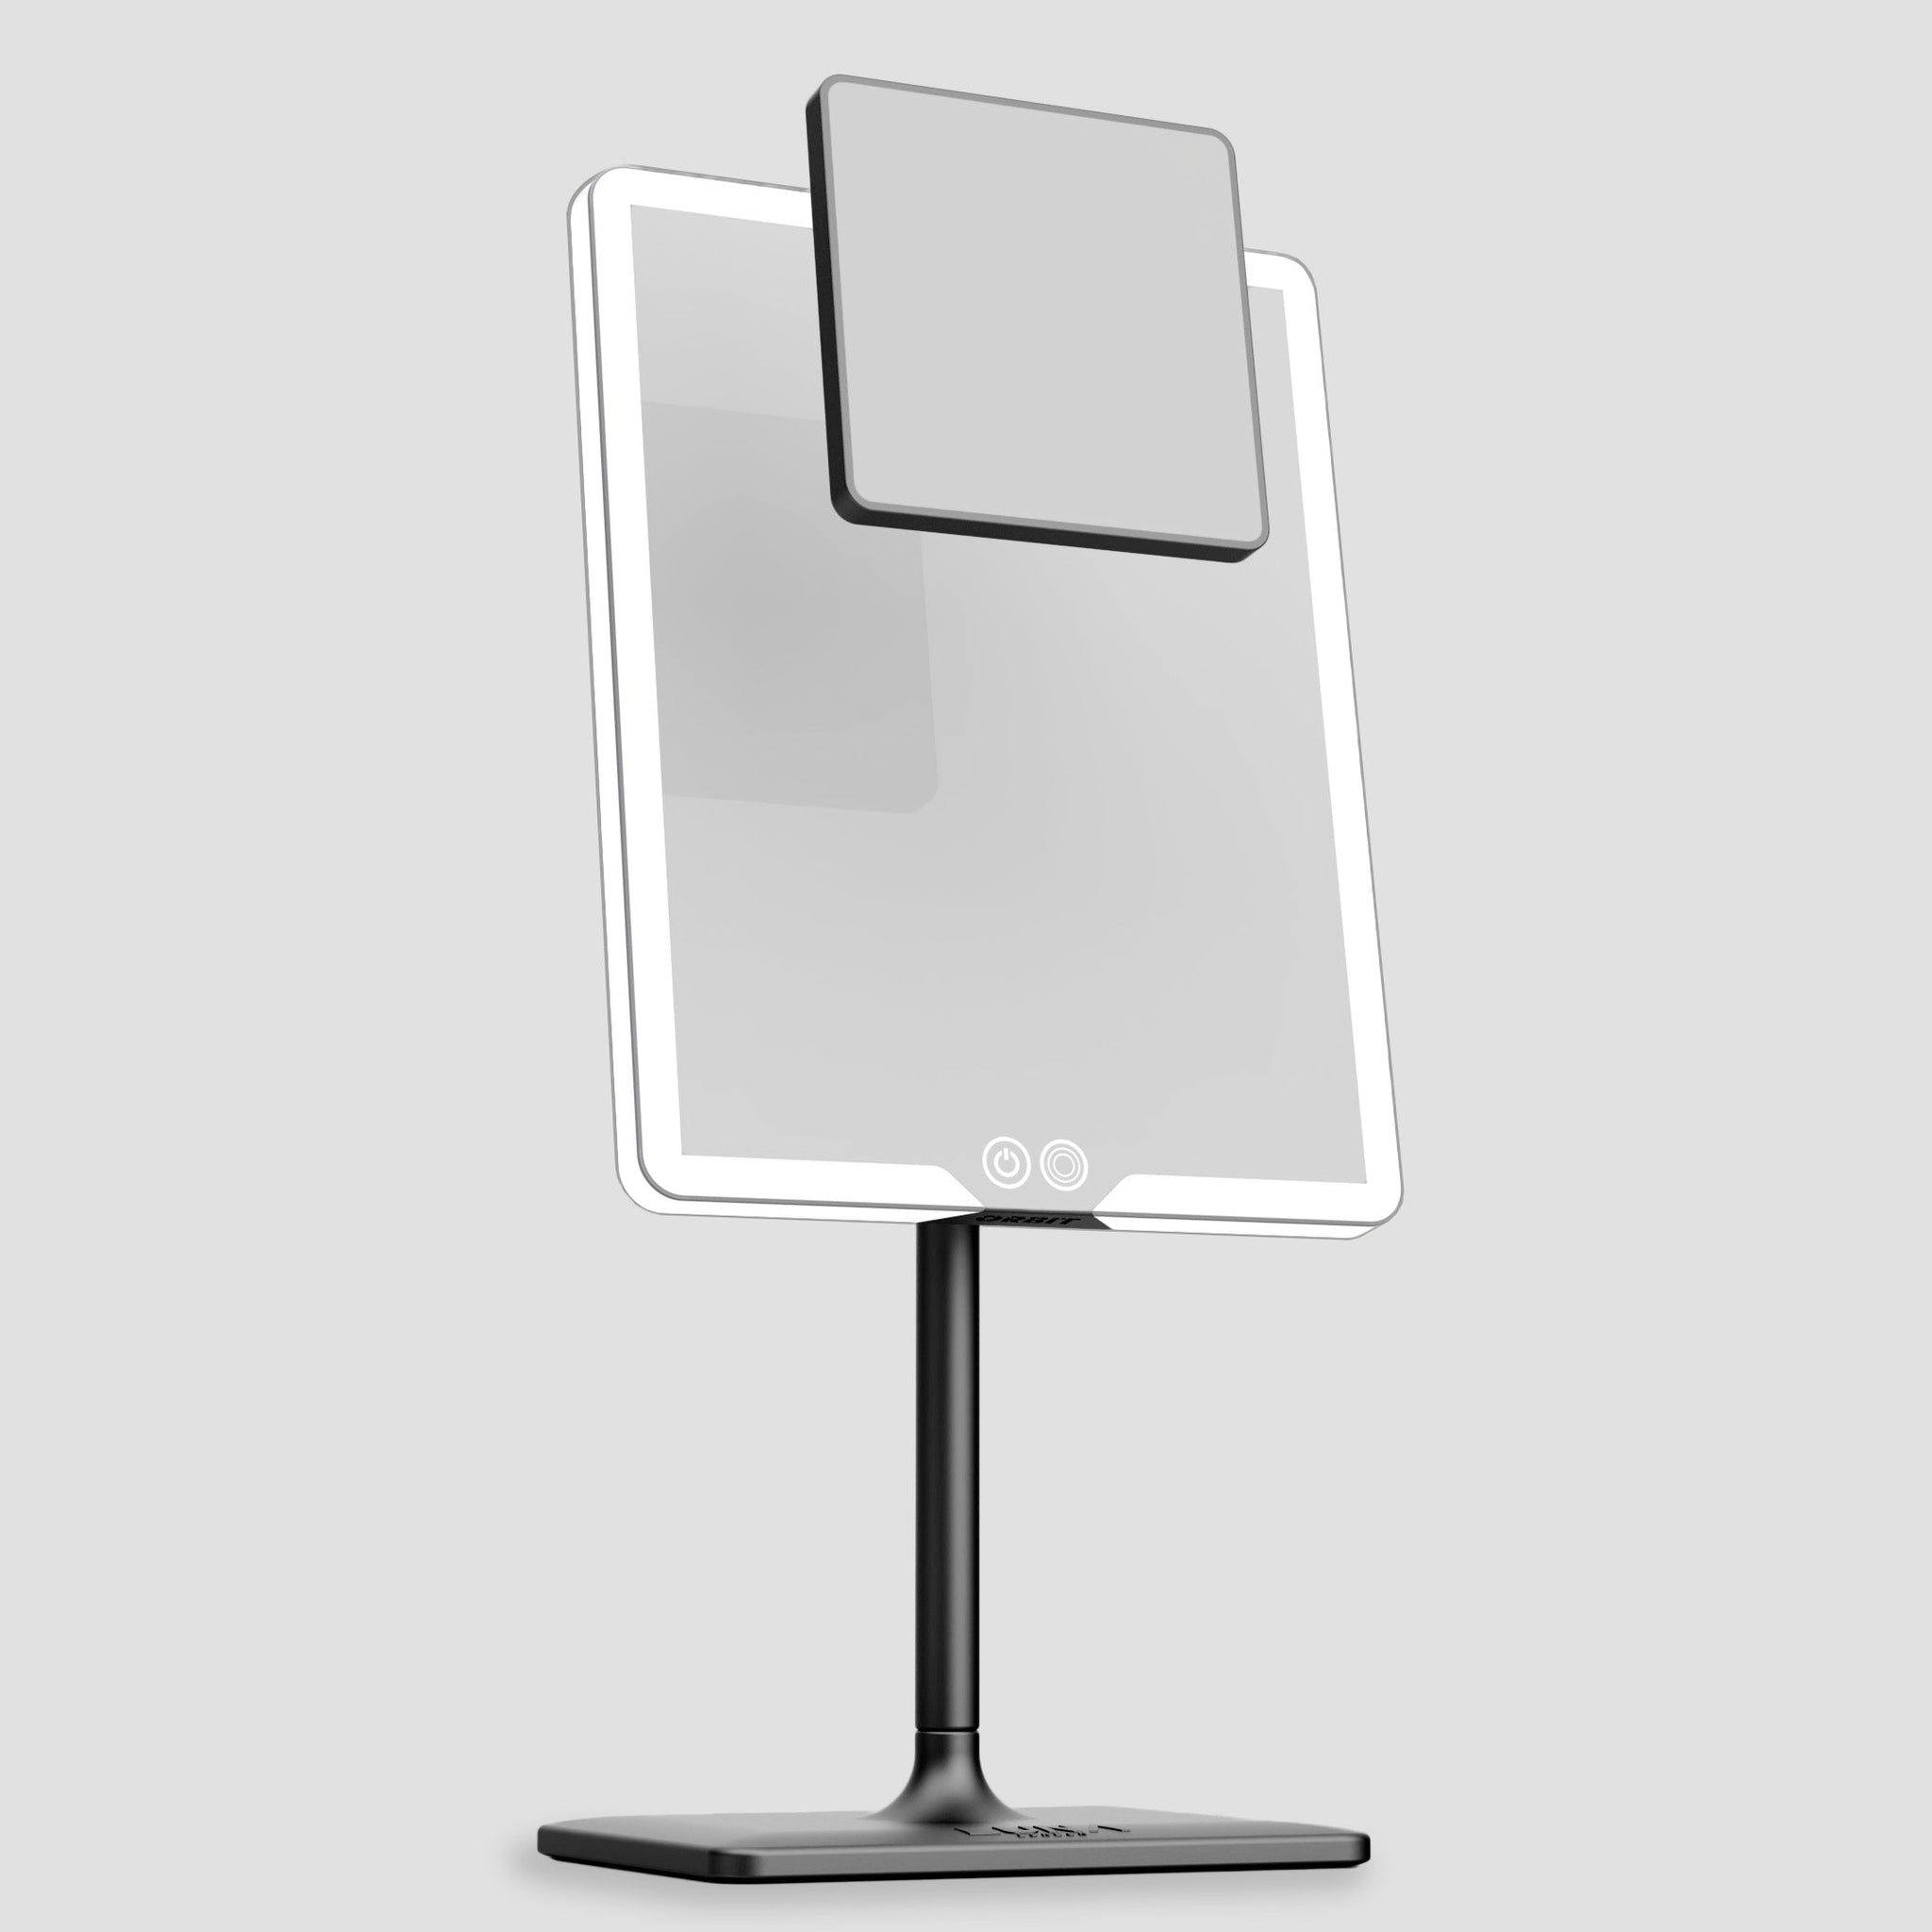
If you want to make the final check easier, ORBIT makes the most sense for a desk or dressing-table routine because you can check the full face, then use the 7x attachment briefly for detail. If you want a smaller backup for your handbag or office drawer, COMPACT 2.0 is the more practical throw-it-in-your-bag option. If your issue is mostly commuting, travel, or hotel lighting, ECLIPSE is the neater fold-flat option.
A steadier place to do your second check
If your makeup only goes wrong when the room changes, the answer is usually more consistent light, not more product. ORBIT gives you face-level lighting for the full-face check, then a brief 7x detail pass for the small corrections that actually matter.
Discover ORBIT light modes →FAQs
When should I do a final makeup check?
Do it right before you leave the house, after your makeup is finished but before you commit to the look. That timing matters because product has had a chance to settle, and you can still correct small issues without rebuilding everything.
Is daylight always better than bathroom light for a final makeup check?
For most people, yes. Daylight or daylight-balanced light is better for reading undertone, blending, and blush strength honestly. Bathroom light can be useful for getting ready, but it is often too flattering, too overhead, or too dim to be your final judge.
What should I fix in the final check, and what should I leave alone?
Fix edges, creasing, obvious shine, uneven blush, lip borders, and anything that only became visible when the light changed. Leave alone tiny texture, pores, and every detail you only noticed because you stared too long up close.
Related links
- ORBIT Phantom Black
- ECLIPSE Matte Black
- COMPACT 2.0 Matte Black
- Fix Patchy Foundation with Better Lighting
- How to Apply Concealer Without Creasing
- Bad Lighting Ruins Makeup Fast: The Easy Fixes That Help

Leave a comment
This site is protected by hCaptcha and the hCaptcha Privacy Policy and Terms of Service apply.