
Want cleaner false lash placement? This tutorial shows a reliable “7x precision” method for trimming, glue timing and band placement, plus the mirror setup that makes lash tweaks look even on both eyes.
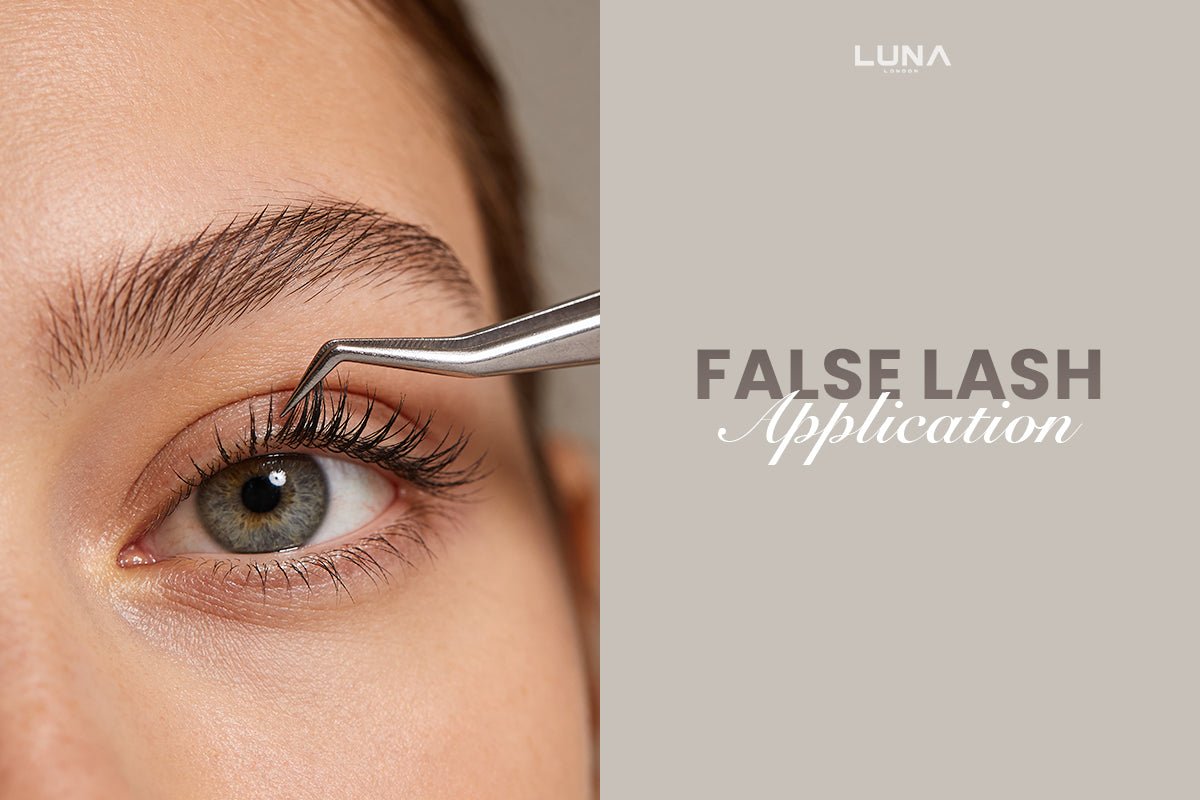
Master False Lash Application with “7x Precision” (Clean Band, No Lifting Corners)
Last updated: 4th February 2026
- Trim from the outer edge, then “pre-bend” the band around a brush handle.
- Paint a thin glue layer, wait until tacky, then place centre → outer → inner.
- Press the band into the lash roots with tweezers, then pinch lashes together (no rubbing).
- Check symmetry in 1x at arm’s length after you finish in 7x.
A magnifying mirror for lashes tutorial that actually fixes uneven placement
Let’s be blunt about the “7x zoom” idea: the detail helps, but magnification alone does not solve lash lifting. The fix is a repeatable sequence, plus light that doesn’t change while you work. If you’re applying at home, many people prefer 7x for the placement step, then switch to 1x to confirm the whole look is balanced.
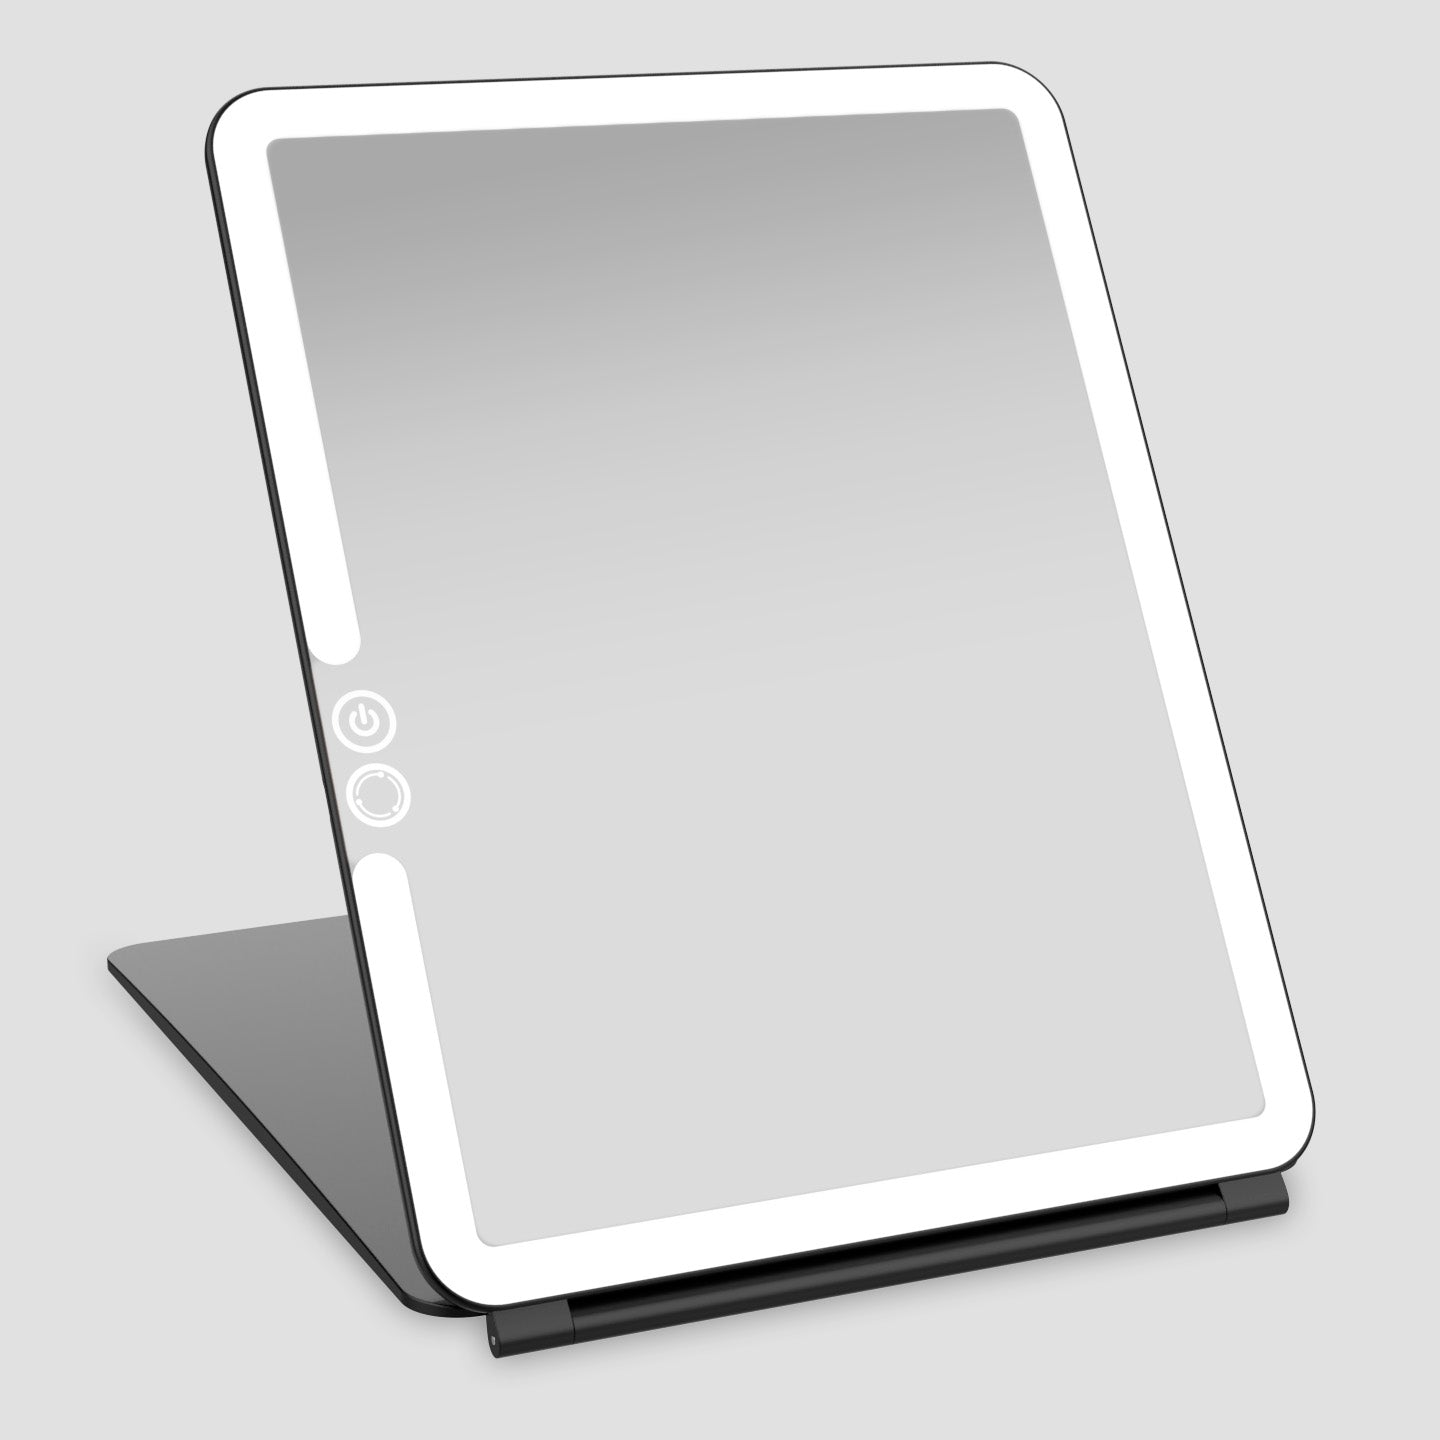
If you’re travelling or doing quick touch-ups, ECLIPSE is useful for a different reason: it keeps your lighting consistent so you can spot gaps and corner lift early, especially in hotel bathrooms or overhead lighting. (Worth noting: ECLIPSE is a lighted travel mirror, it is not a magnifying mirror.)
Step 0: Get the setup right (light, distance, tools)
Precision work around the eyes is unforgiving because the eyelid skin is extremely thin, often cited at around 0.5mm, so tiny amounts of irritation can feel big fast. Keep everything clean, avoid flooding the lash line with adhesive, and stop if you feel burning rather than mild tackiness.
For irritation and allergy patterns around the eyes, it helps to understand how contact reactions show up and why certain ingredients trigger them. See EyeWiki’s periocular dermatitis overview and the British Association of Dermatologists guide to contact dermatitis for a grounded explanation of symptoms and avoidance.
| What you need | Why it matters for lash placement | Common mistake |
|---|---|---|
| Strip or clusters | Choose based on how much control you want at the inner corner | Starting with a dramatic full strip “to practise” |
| Tweezers (angled is easiest) | Lets you press the band into the lash roots without poking your lid | Pinching too early while glue is still wet |
| A thin line of lash glue | Thin glue grips faster and looks cleaner at the band | A thick layer that never fully “sets” at the corners |
| Lighting you can trust | Stops you “over-fixing” one eye in bad overhead light | Applying in warm bathroom light, then leaving into daylight |
If you’re looking for a true 7x option, ORBIT (with its 7x mini attachment) and COMPACT 2.0 (built-in 7x/1x) are the better fit for magnification. If your keyword goal is “magnifying mirror for lashes”, that’s the honest alignment. ECLIPSE comes into its own when you need consistent lighting in a portable format for last checks and quick corner fixes.
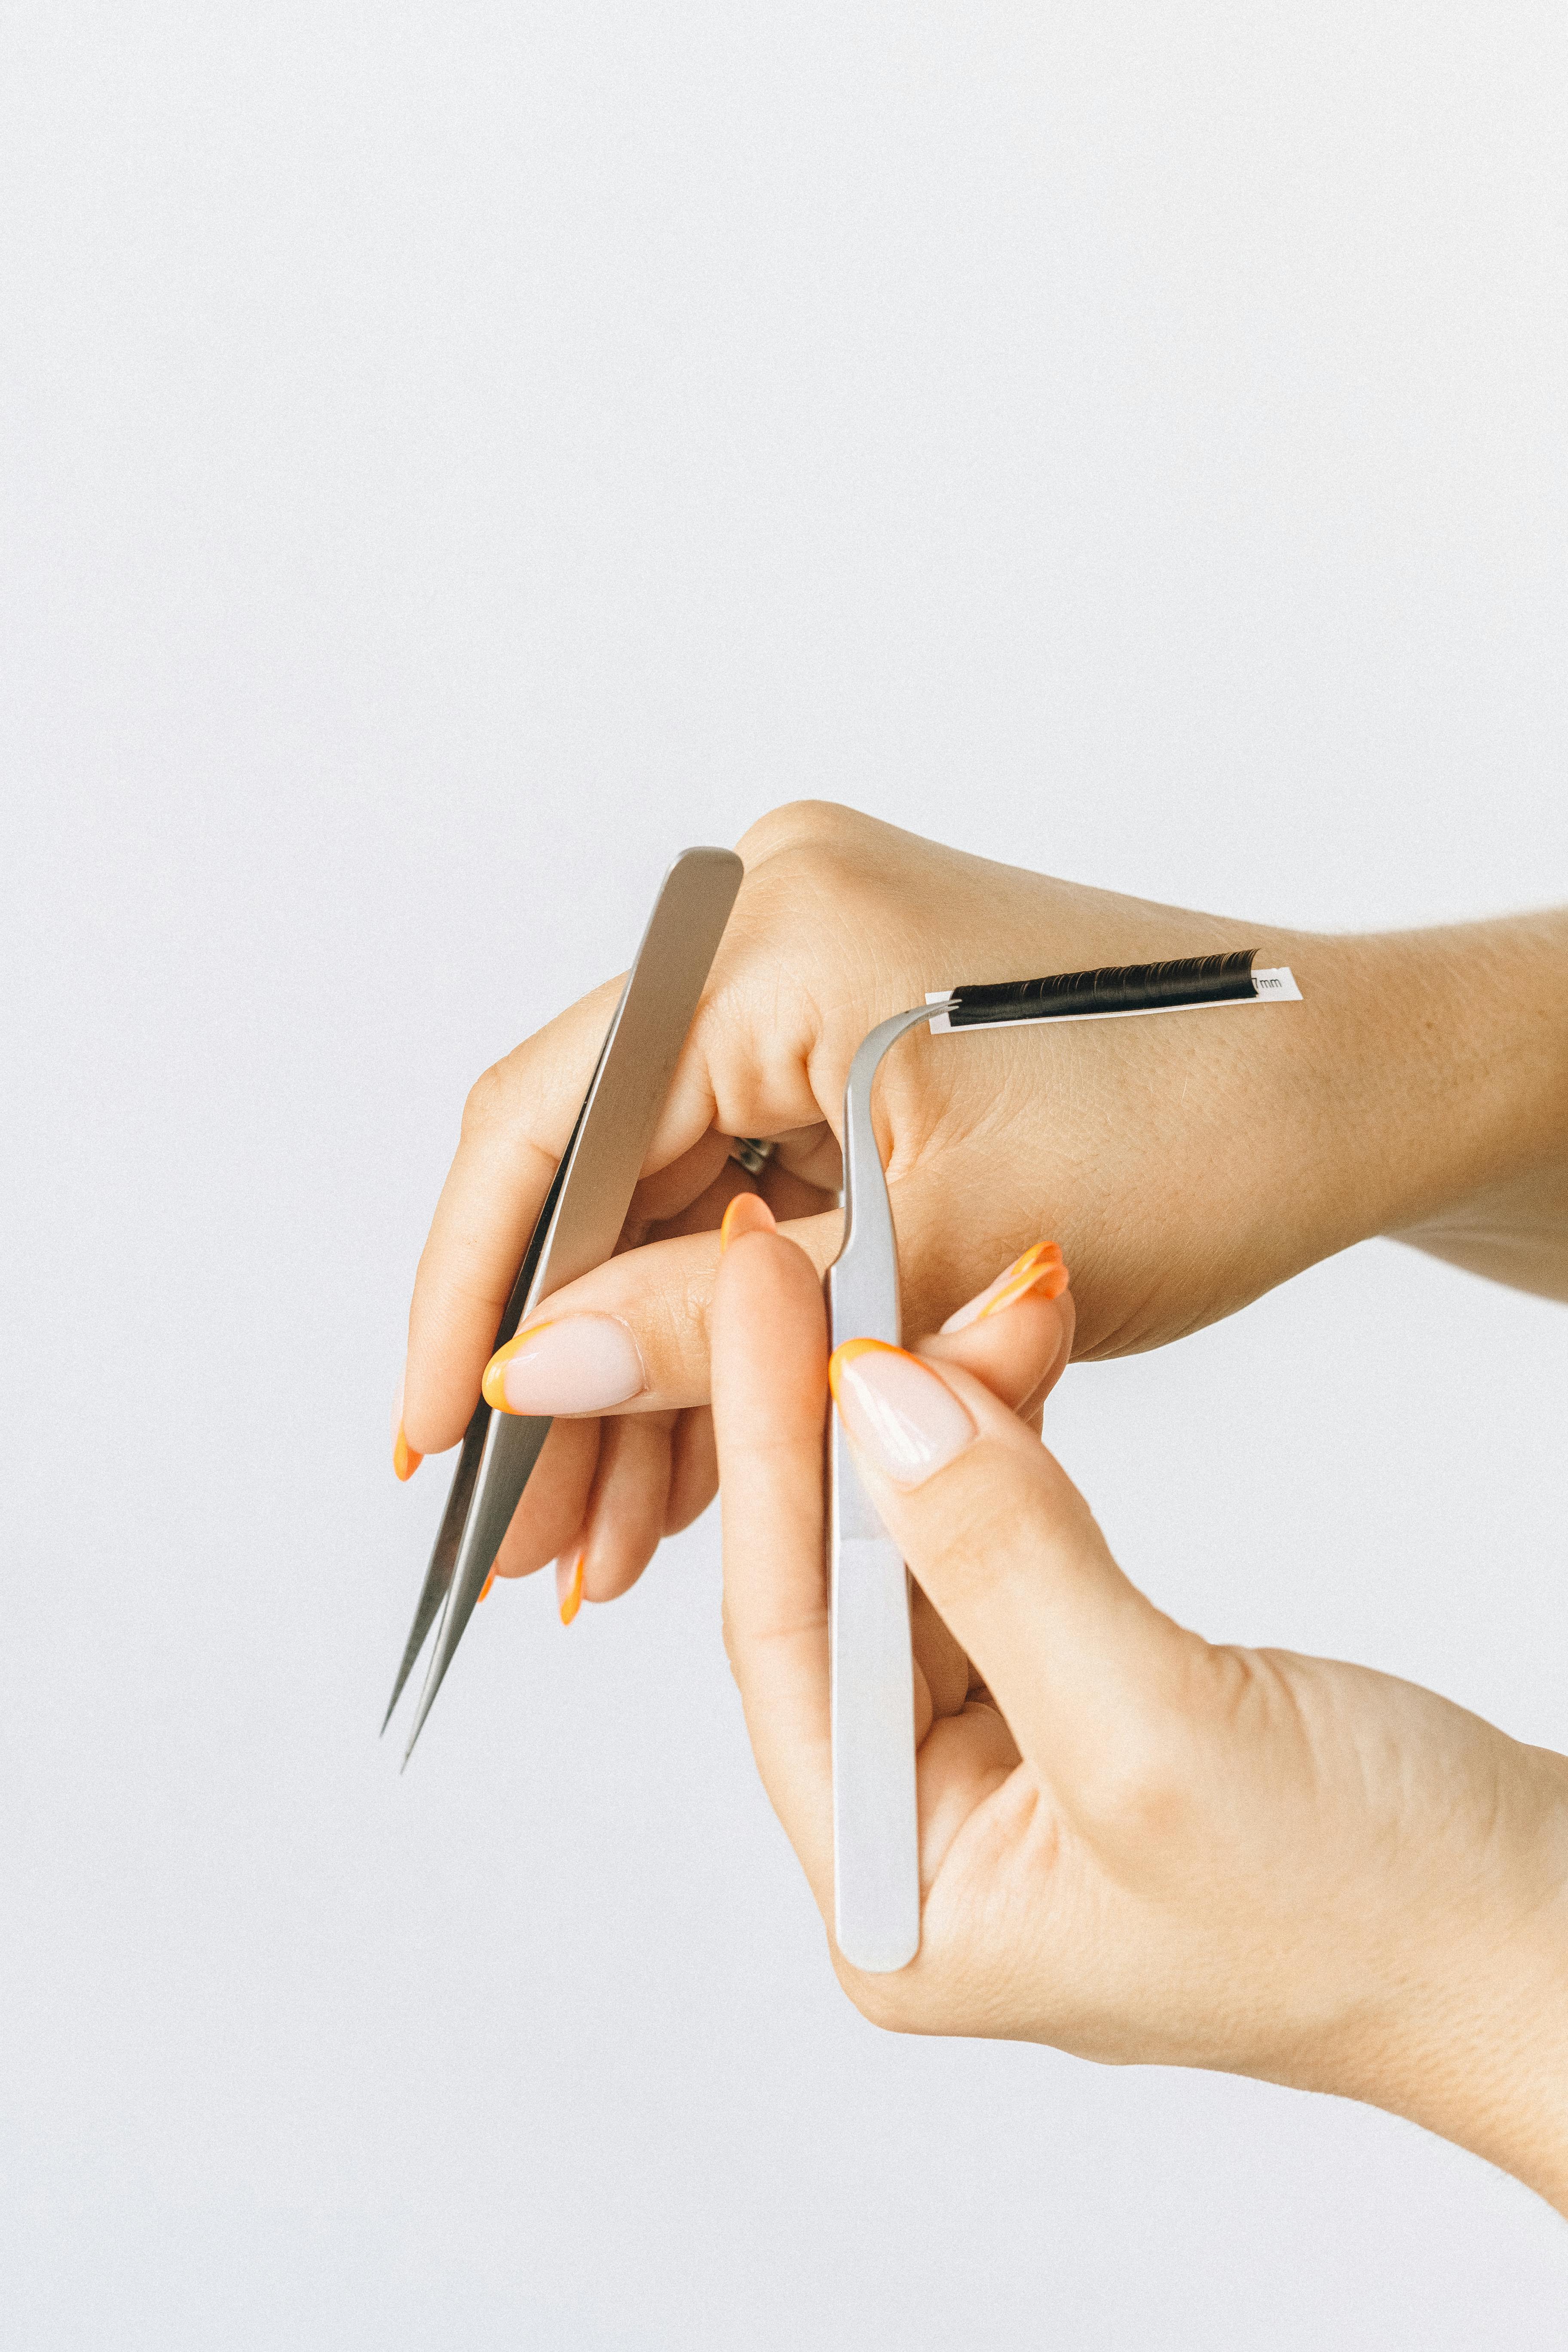
Step 1: Trim and pre-shape (this removes 80% of corner lift)
- Measure first. Place the strip on your lid (no glue) and mark where it ends.
- Trim from the outer edge. It preserves the tapered inner corner shape.
- Pre-bend the band. Wrap it around a brush handle for 15–20 seconds so it matches your eye curve.
“Proper trimming, especially with strip lashes, is essential.” – Lauren D’Amelio, celebrity makeup artist, via Marie Claire
Step 2: Glue timing (tacky beats wet, every time)
Paint a thin glue line across the band, then wait until it turns tacky. If you apply while it’s wet, the band slides, you over-correct, and the inner corner ends up too high. This is also where consistent lighting helps you see whether the band is sitting on lashes or on skin.
If you wear contact lenses, handle them before you start makeup, and keep water away from lenses and cases. The College of Optometrists’ lens safety guidance is a solid baseline for hygiene habits that reduce irritation risks around the eye area.
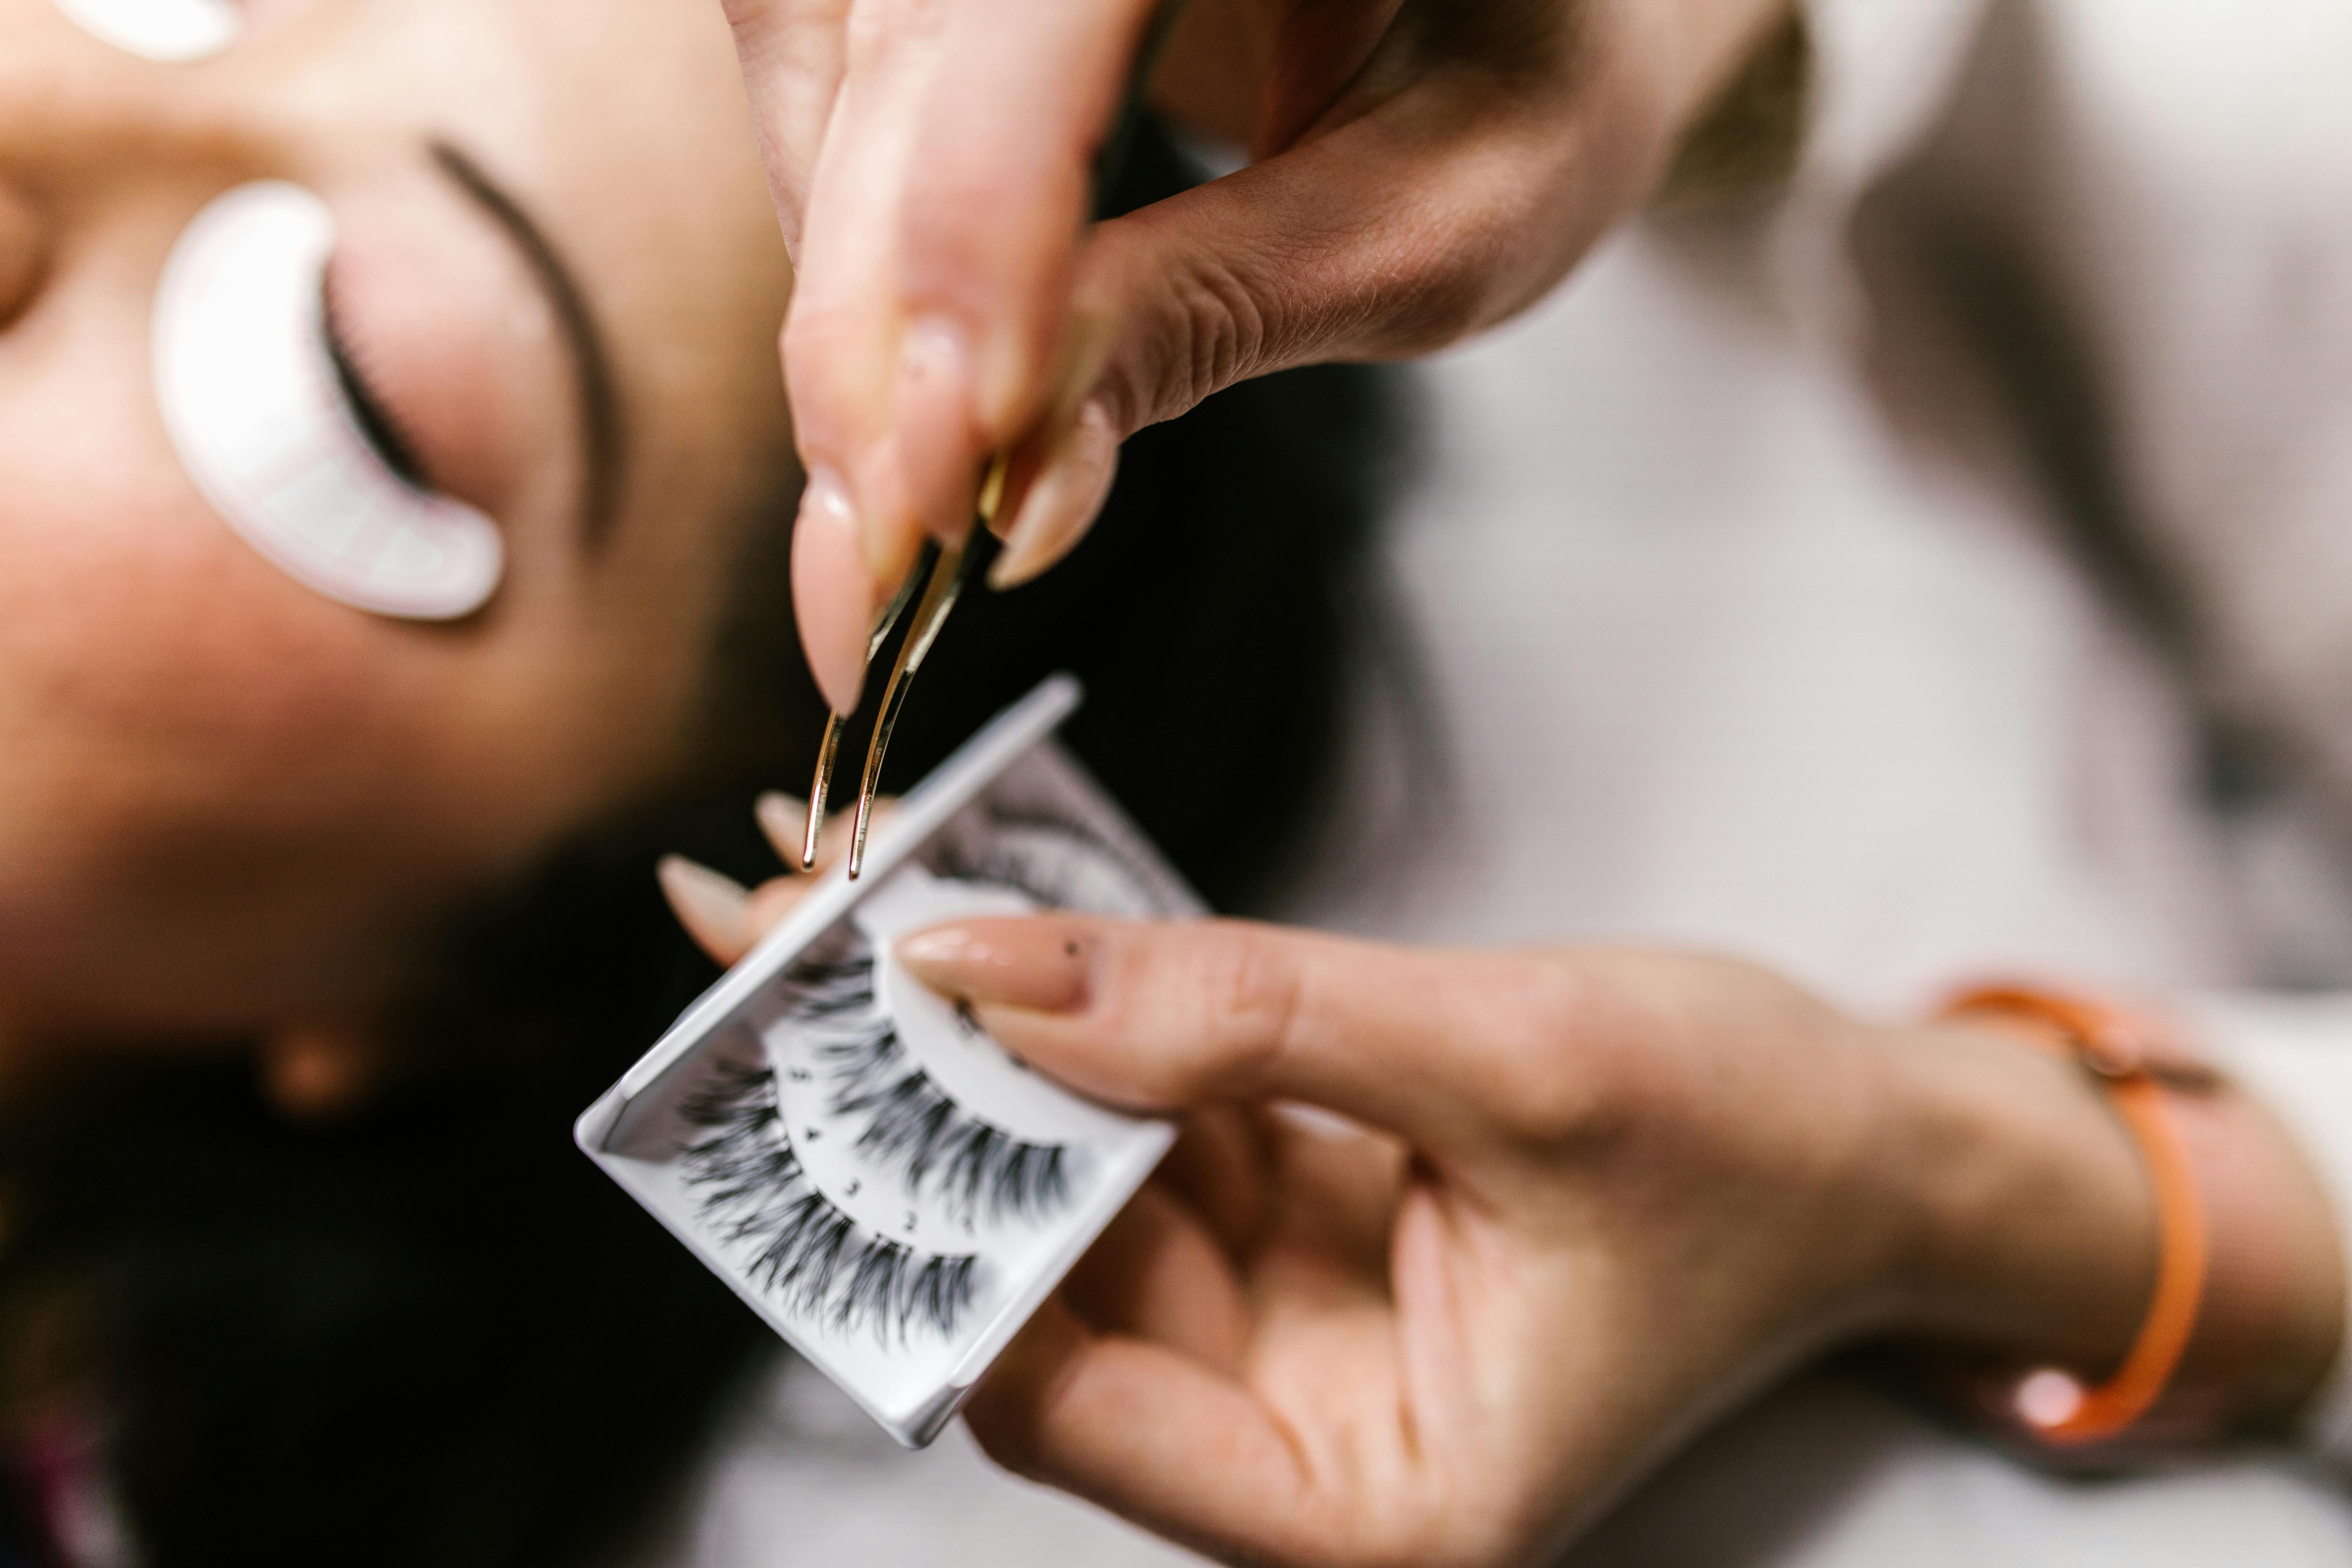
Step 3: Placement sequence (centre → outer → inner)
This sequence is the difference between “stuck on” and “blended in”. Use your magnifying mirror for lashes for the placement, then step back for the final judgement.
- Anchor the centre. Place the middle of the strip as close as possible to your lash roots.
- Set the outer corner. Press it down and slightly inward (towards the centre), not outward.
- Finish the inner corner last. This prevents that “floating comma” look near the tear duct.
Step 4: Press, pinch, then check in 1x
- Press: Use tweezers to press the band into the lash roots along the whole strip.
- Pinch: Gently pinch natural lashes and false lashes together (no rubbing).
- Check: Look in 1x from arm’s length for symmetry. If one eye looks “heavier”, it’s often a height difference, not the lash style.
Common problems and quick fixes (keep this table handy)
| Problem | Likely cause | Fast fix |
|---|---|---|
| Inner corner lifts | Glue too wet, or placed too close to tear duct | Wait tacky, place centre first, then inner 1mm back |
| Band shows (dark line) | Band sitting on skin, not lash roots | Press into roots with tweezers, then pinch lashes together |
| One eye looks higher | Placement height mismatch, not lash length | Re-seat centre anchor, then re-do outer corner only |
| Itchy, red lid line | Irritation or allergy to an ingredient, or too much glue | Remove lashes, cleanse gently, avoid triggers (see EyeWiki/BAD guidance) |
Video: watch the placement rhythm (then copy the sequence)
If you learn faster by watching, this is a clear, no-noise demo from a respected makeup artist. Focus on the order of placement and how little glue is used.
Which LUNA mirror setup suits lash work?
If you’re doing lashes regularly, a stable mirror setup matters more than most people admit. Use magnification for the placement, then switch to a normal view for symmetry. For lighting, aim for consistency so you’re not compensating for shadows.
| Need | Best match | Why | Here’s Our Favourite |
|---|---|---|---|
| True 7x magnification for placement | COMPACT 2.0 | 7x/1x built-in, ideal for tight lash line work and quick symmetry checks |
COMPACT 2.0 Best for a “magnifying mirror for lashes” routine |
| Hands-free tabletop stability | ORBIT | Stable base, plus optional 7x attachment for precision steps |
ORBIT Best for steady lash placement at home |
| Portable lighting for last checks and fixes | ECLIPSE | Consistent light in travel settings, helps spot gaps and corner lift |
ECLIPSE Best for travel lighting and quick touch-ups |
For more on getting lighting right (so lash bands do not “disappear” in one room and show up in another), see the warm vs cool vs natural light guide. If you’re deciding between a mirror setup and a ring light, this comparison helps set expectations: vanity mirror with lights vs ring light.
If you’re doing lash tweaks in hotel bathrooms, cars, or harsh overhead lighting, consistency beats guesswork. ECLIPSE gives you a stable light source for checking band placement, spotting gaps, and fixing corner lift before it sets.
FAQs
Is 7x magnification too much for false lash application?
It depends on your comfort. 7x can make placement more precise, but it can also make you over-correct. The simplest approach is 7x for placement and pressing, then 1x for symmetry.
How long should I wait after applying lash glue?
Wait until it feels tacky, not wet. Tacky glue grips where you place it, wet glue slides and makes the inner corner harder to control.
Why do my inner corners keep lifting?
Common causes are placing too close to the tear duct, applying while glue is still wet, or not pressing the band into the lash roots. Re-seat the centre first, then set the inner corner last.
What should I do if my eyelids get irritated after lashes?
Remove the lashes, cleanse gently, and avoid reapplying until the area settles. If irritation is persistent or severe, use authoritative guidance on contact reactions and consider professional advice (see the EyeWiki and BAD links above).
Can I use ECLIPSE as a magnifying mirror for lashes?
ECLIPSE is designed for portable lighting, not magnification. For true 7x magnification, ORBIT (with its 7x attachment) or COMPACT 2.0 (built-in 7x/1x) are better matches.

Leave a comment
This site is protected by hCaptcha and the hCaptcha Privacy Policy and Terms of Service apply.