
Last updated: 4 January 2026
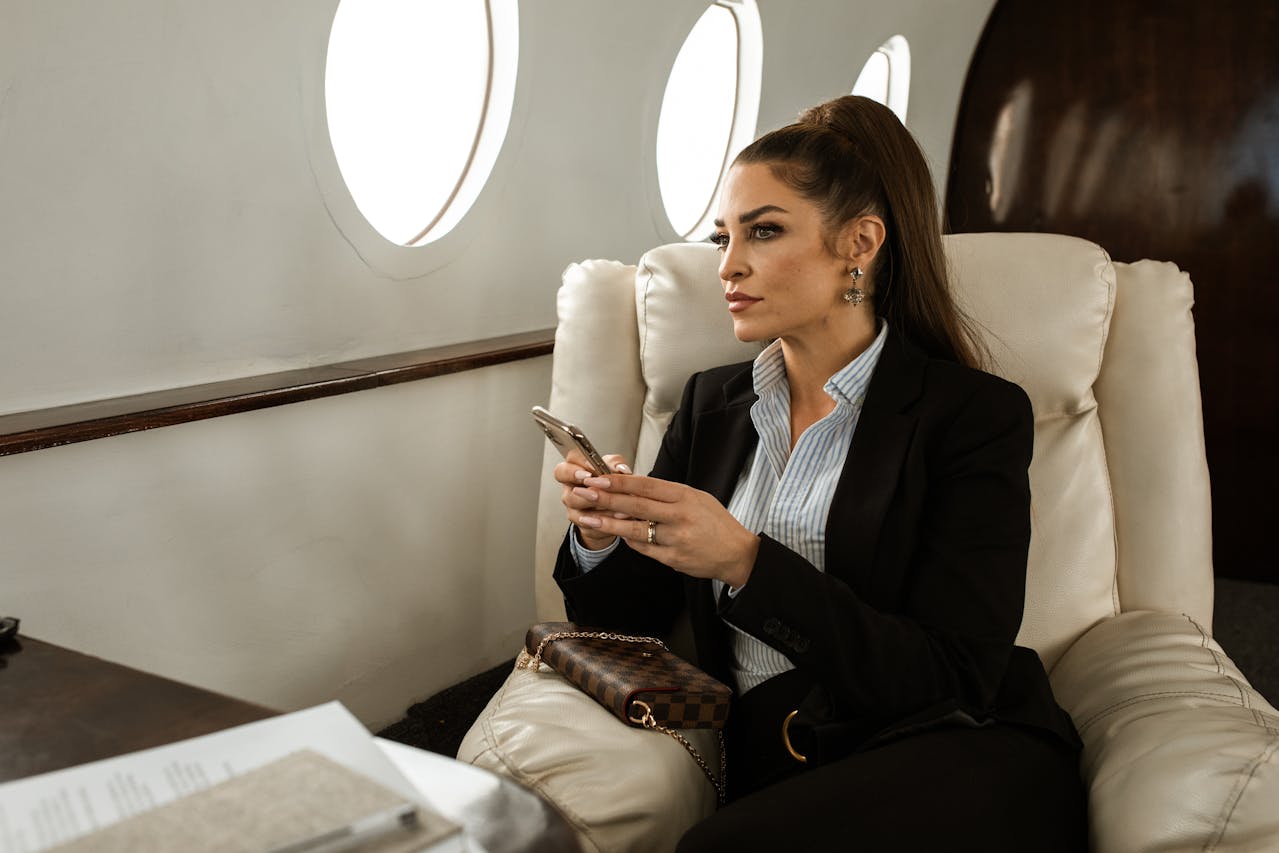
If you want to look fresh after a flight, stop relying on cabin bathrooms and hotel bulbs. The biggest “secret” is boring: consistent, face-level light (so you stop over-correcting) and a tiny kit built for dryness and touch-ups. A travel makeup mirror with a daylight mode makes the whole routine simpler because it shows you what’s actually going on.

- Why plane lighting makes you look more tired than you are
- What to pack for a long-haul “touch-up without redoing” routine
- How to use a travel makeup mirror to check colour, texture, and detail fast
- Which mirror features matter for carry-on travel (modes, magnification, battery)
The In-Flight Touch-Up System That Actually Works
1) Why plane lighting lies, and how it tricks your makeup decisions
Most people assume their makeup “broke” during the flight. Often it didn’t. What changed is the light: overhead cabin lighting throws shadows into under-eyes, mixed colour temperatures shift undertones, and tiny mirrors force you into awkward angles. Then you add more concealer or powder, and that extra product is what creates the heavy, cracked look you were trying to fix.
Before you touch your face, do a reality check in better light. If you have a portable LED mirror, hold it at face level so the light hits you from the front. If you don’t, stand near a window or use even, neutral lighting in the terminal. This is the same problem explained in Fix Patchy Foundation with Better Lighting, travel just makes it more extreme.
| What you see | What is actually happening | Fast fix (no full redo) |
|---|---|---|
| Foundation looks patchy near nose and mouth | Dryness + friction + harsh overhead shadows | Press in a tiny amount of moisturiser, then tap concealer only on the edges that lifted |
| Under-eyes suddenly look darker | Top-down lighting creates a shadow that reads as “darkness” | Re-check under face-level light before adding any product |
| Everything looks matte and textured | Dry air + powder clinging to dehydration | Skip powder, mist lightly, blot the T-zone only |
| Blush or bronzer looks uneven | Warm lighting changes how pigment reads on your skin | Check in daylight or neutral mode before adding more |
⚡ PRO INSIGHT: The goal is not brighter light, it is more honest light. If you match your base under warm cabin bulbs, you are gambling. A quick guide to warm vs cool vs natural is here: Best LED Light Settings for Makeup.
2) Travel rules that quietly sabotage your beauty kit
If your kit is built around full-size liquids, you are setting yourself up to improvise at security. UK hand luggage rules still restrict liquids, gels, and pastes, so your safest move is to switch to solids where you can (balm instead of liquid, stick products instead of bottles), and decant essentials into travel sizes. Start with the official guidance on UK hand luggage restrictions, then double-check your departure airport guidance, for example Heathrow security and baggage.
Now build a kit that assumes you will have:
- Limited space: you might be touching up in a seat, not a bathroom.
- Dry conditions: powder and heavy layers punish you more in-flight.
- Bad mirrors: you need your own light source to make good decisions.

3) The “minimum viable” long-haul kit (what to pack, and why)
If you want flawless-in-flight results, your kit should focus on texture control and targeted correction, not full glam. That means a few multi-use products, plus one tool that lets you see clearly. If you have ever struggled with dryness and over-powdering, you will recognise the logic from How to Prevent Cakey Makeup With Better Lighting: thin layers, better checks, fewer “fixes”.
| Item | Why it earns a spot | How to use it on a plane |
|---|---|---|
| Hydrating moisturiser or barrier balm (travel size) | Prevents cracking and separation where skin dries first | Press into corners of nose, around mouth, under one eye, then wait 20 seconds |
| Blotting papers | Removes shine without adding product weight | Blot before any touch-up, especially the T-zone |
| Concealer (mini tube or stick) | Targeted correction without redoing foundation | Tap only where edges lifted or redness shows through |
| Cream blush or tinted balm | Instant “awake” signal, no powder build-up | Two taps high on the cheek, blend edges with fingers |
| Brow gel or pencil | Gives structure fast when you feel puffy or tired | One pass, then stop. Over-filling brows reads harsh in daylight |
| Lip balm + one forgiving lip colour | Cabin air dries lips quickly | Balm first, then a tint you can apply without a perfect line |
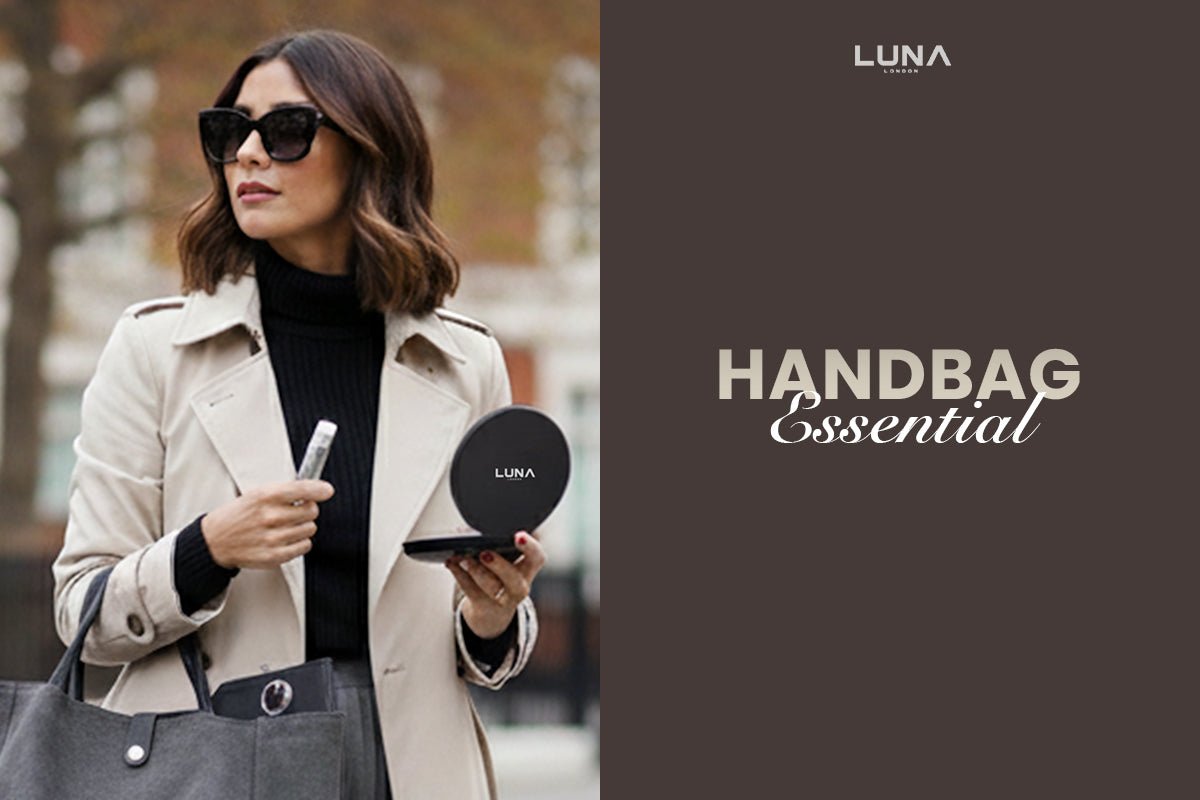
| Travel makeup mirror (LED + practical magnification) | Stops bad lighting from making you over-correct | Use neutral/daylight to check base colour, magnification for detail only |
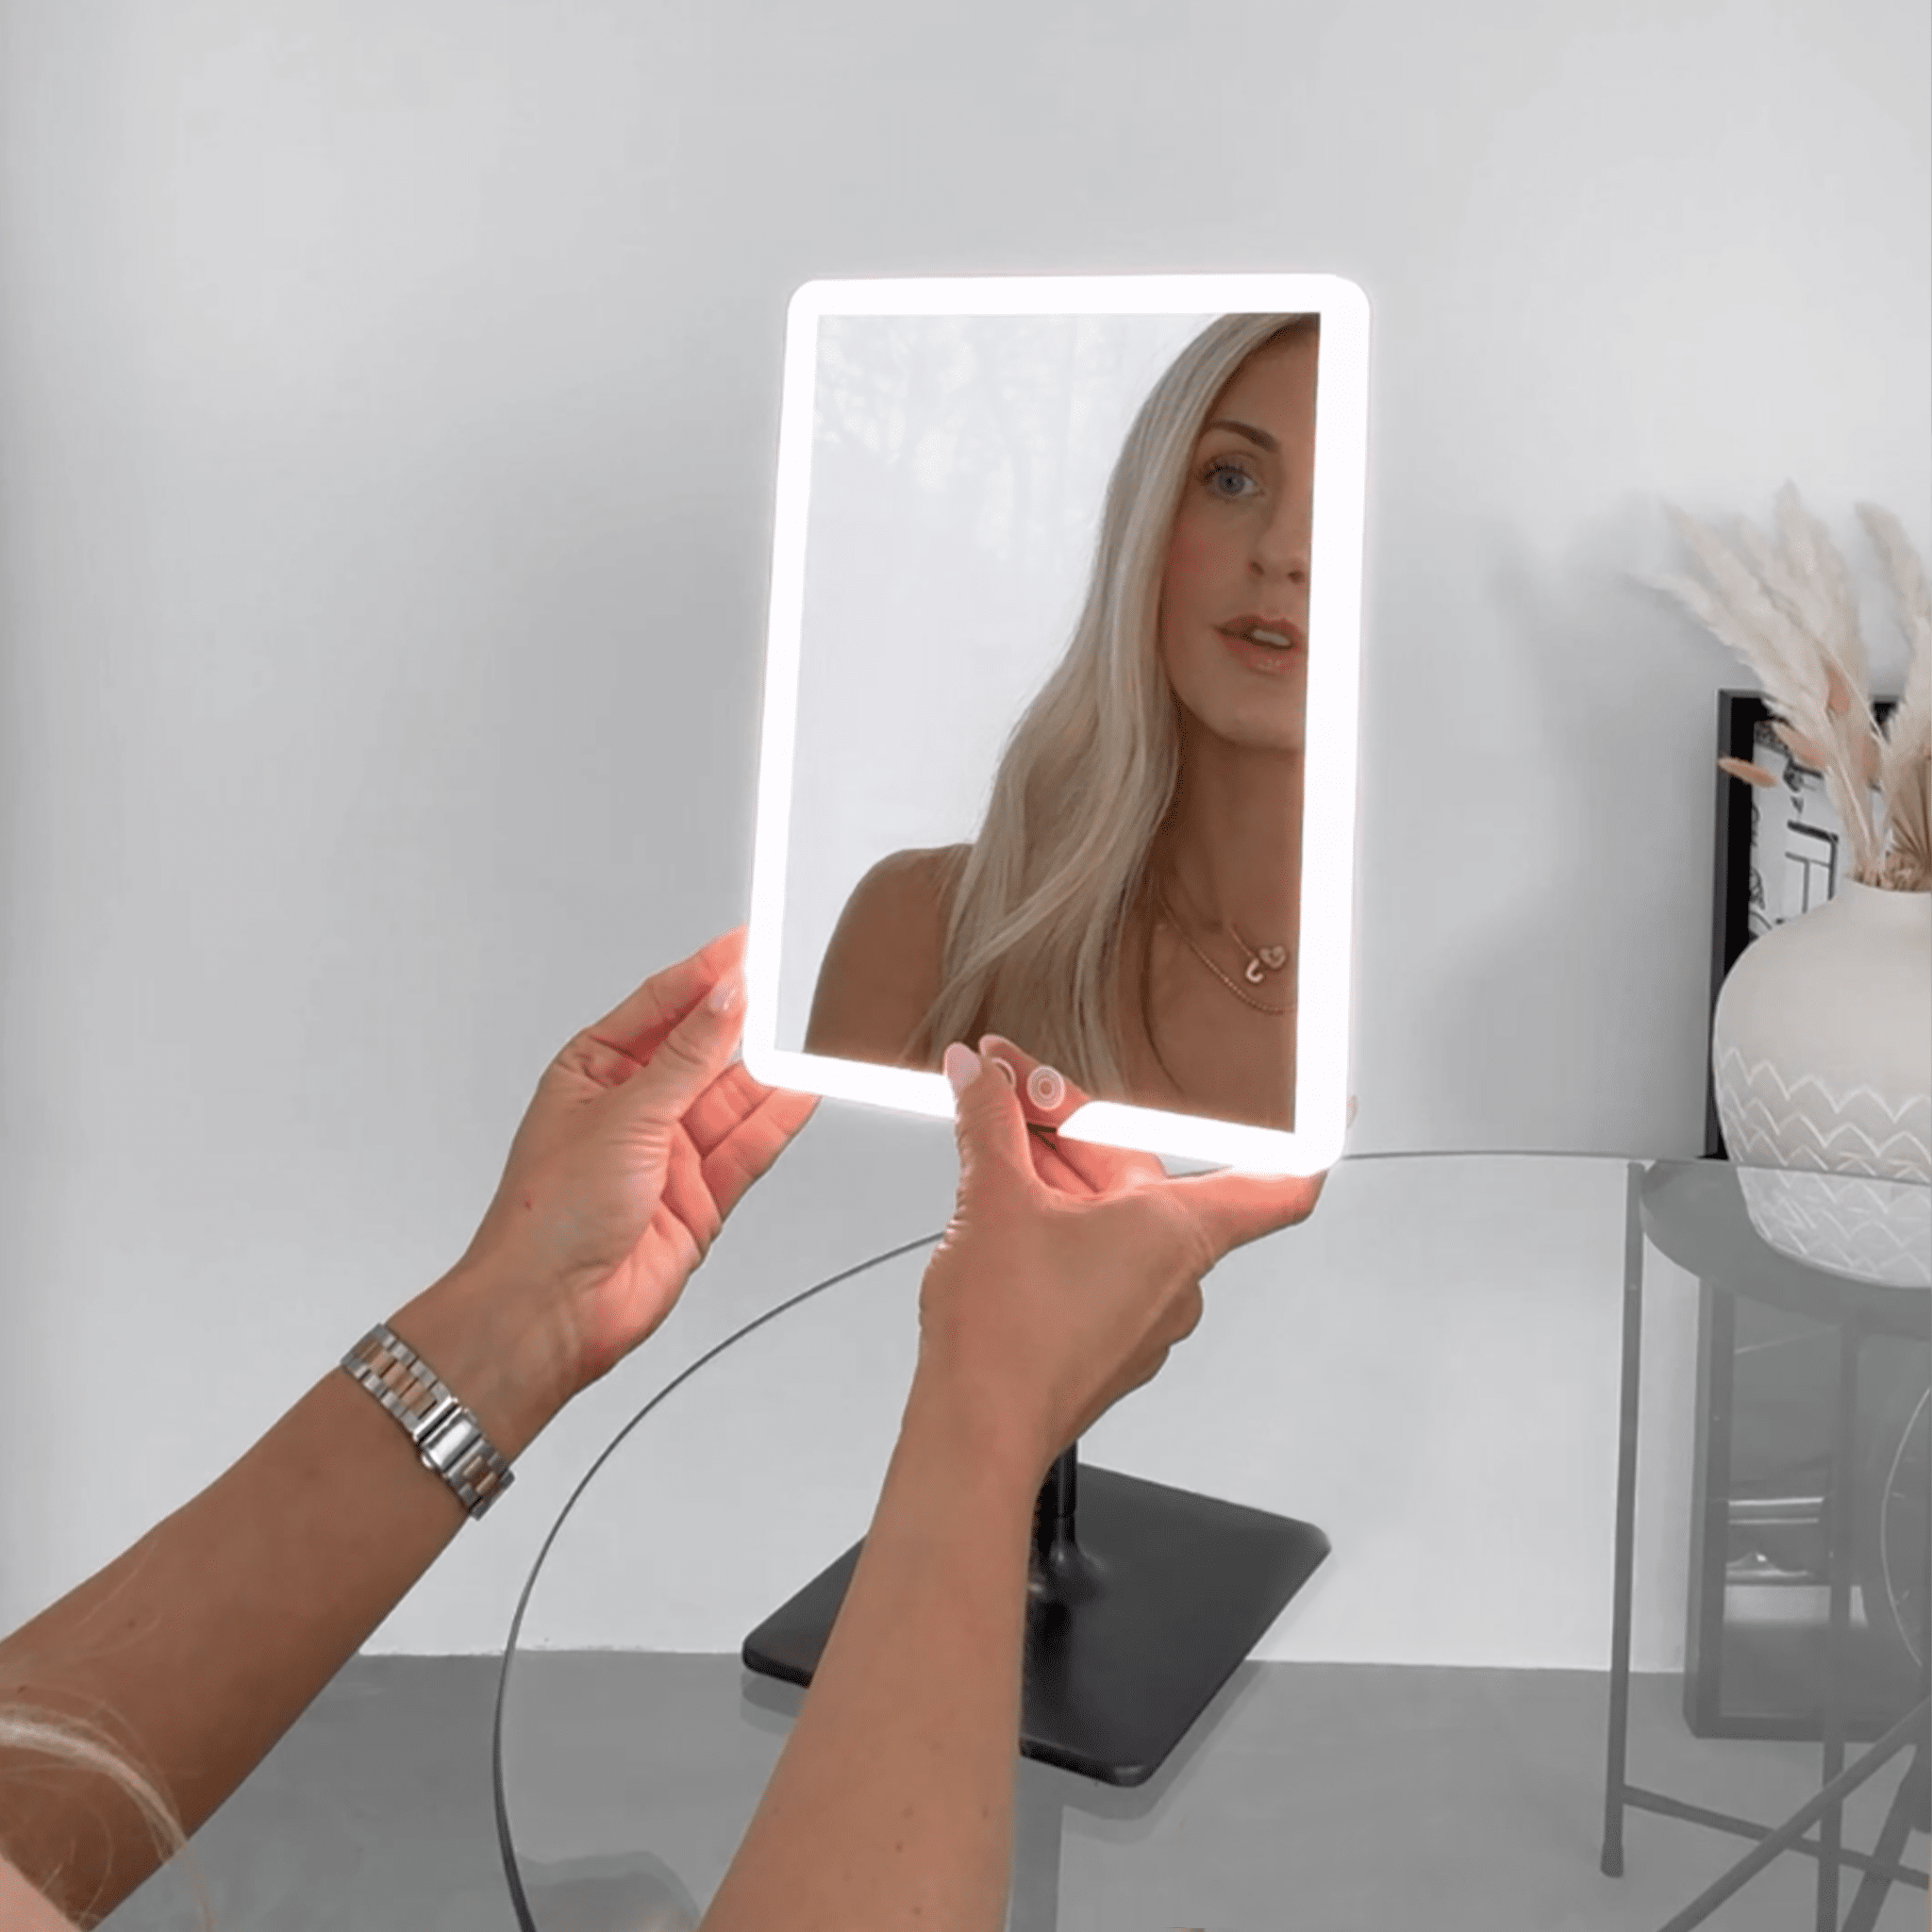
4) What makes a travel makeup mirror genuinely useful (not just “cute”)
A mirror is only as good as the light it gives you. The point of a travel makeup mirror is not that it’s portable. It’s that it gives you a consistent reference so you can make fewer, smarter changes. If you travel for work, do early flights, or land straight into meetings, this is one of the rare tools that reduces decision fatigue.
Use this checklist when choosing:
- Daylight or neutral mode for colour accuracy (foundation, concealer, redness)
- Warm mode for a quick “restaurant lighting” preview (optional, not your baseline)
- Magnification that helps with precision (brows, liner, contact lenses) without creating panic
- Rechargeable power so you are not hunting for batteries mid-trip
- A protective sleeve because scratches and fingerprints scatter light
| Option | Best for | Trade-offs | Here’s Our Favourite |
|---|---|---|---|
| Phone front camera | Quick symmetry checks | Distorts up close, depends on ambient light | Use only as a backup |
| Basic compact mirror (no light) | Lip checks in bright daylight | Unreliable in dim cabins and bathrooms | Only if you travel ultra-light |
| LED compact mirror (single tone) | Touch-ups anywhere | If the light is too cool or too warm, colour checks can be off | Look for multiple modes |
| Portable LED mirror with modes + magnification | Colour-true checks + precision fixes | Costs more, needs charging | COMPACT 2.0 for carry-on touch-ups (daylight, warm, neutral, plus 1×/7×) |
Expert take: Consultant Dermatologist Dr Justine Hextall points out the real issue with flying is dehydration and barrier disruption, which is why piling on more makeup usually backfires.
“Essentially the recycled air in the cabin is incredibly drying.”
5) The 90-second landing routine (the order matters)
The goal is not to look “done”. It is to look like you slept, even if you didn’t. That means you fix texture first, then tone, then definition. If you start with concealer, you usually end up chasing dryness and shadows.
- Hydrate the edges. Press a tiny amount of moisturiser or balm into the corners of your nose, around your mouth, and under one eye. Wait 20 seconds.
- Blot, do not powder. Blot the T-zone so you remove shine without adding weight.
- Spot-correct. Tap concealer only where you see separation or redness. Stop earlier than feels natural.
- Add one “life” product. Cream blush or tinted balm, two taps, blend edges.
- Define one feature. Brows are usually the biggest return on effort. One pass, then done.
- Final check in honest light. Neutral or daylight mode for colour, then warm mode only if you want a quick preview.
Why does this work? Because flights are genuinely drying environments, and low humidity can make skin feel tight and makeup behave differently, especially on longer journeys. Research on cabin environments has documented very low relative humidity during flights and associated discomfort, which aligns with the “less powder, more strategic hydration” approach. See this IJERPH paper for an overview of cabin environment factors.
⚡ PRO INSIGHT: If you feel the urge to “fix everything” mid-flight, pause and change the light before you change the product. Bad lighting is the original problem. Don’t let it talk you into a heavy-handed solution.
6) A quick travel makeup video you can copy without overthinking it
Keep this simple: watch once for the order of operations, then adapt it to your minimal kit so you’re not trying to recreate a full bathroom routine mid-journey.
7) Batteries and packing: the one mistake that causes airport stress
Most portable LED mirrors use lithium batteries. The practical rule of thumb is simple: keep battery-powered devices and any spares in your cabin bag, protect them from damage, and don’t assume checked luggage is the right place. Before you fly, check the UK Civil Aviation Authority guidance on items allowed in baggage, especially if you carry multiple rechargeable devices.
If your mirror is rechargeable (like COMPACT 2.0), charge it the night before, pack it in its sleeve, and keep the cable in the same pouch so you are not rummaging at the gate. If you want a simple care routine that keeps your light clean and bright, bookmark LED Mirror Maintenance 101.

8) Hotel bathroom lighting: a simple hack that saves your first night
The worst touch-up environment is often not the plane, it’s the hotel bathroom. Overhead spotlights create shadows and distortion. If you arrive and your makeup looks “wrong”, don’t panic and redo everything. Move your mirror to face level, use your own consistent light, and check again. If the colour looks fine under neutral light, it’s the room lighting that’s the issue, not your face.
If you want a deeper breakdown of how bad lighting causes common makeup mistakes, this guide is the cleanest reference: 5 Makeup Mistakes People Make Under Bad Lighting.

A travel routine should not depend on random hotel bulbs
COMPACT 2.0 is designed for carry-on touch-ups: three light modes (including daylight), 1× and 7× magnification, and a protective sleeve so you can check colour and detail anywhere, from a seatback tray to a dim arrivals bathroom.
FAQs
Can I take an LED travel makeup mirror in hand luggage?
In most cases yes, but rules vary by airline and destination. Check the UK Civil Aviation Authority guidance for battery-powered items, and keep rechargeable devices in your cabin bag.
What light setting is best for makeup on a plane?
Use a neutral or daylight mode for colour checks, then switch to warm mode only if you want a quick “evening lighting” preview.
How do I stop my foundation separating during a long-haul flight?
Hydrate first, blot instead of powdering, and spot-correct only where needed. For deeper detail, see How to Prevent Cakey Makeup With Better Lighting.
Is magnification helpful, or does it make you overthink?
Magnification is useful for precision fixes (brows, liner, contact lenses). Do your final overall check in 1× so you don’t over-correct.
What should I pack if airport liquid rules are strict?
Prioritise solids (balm, stick blush, powder products) and decant essentials into travel sizes that meet UK hand luggage restrictions.
When is the best time to do an in-flight touch-up?
Aim for 30–60 minutes before landing. You’ll look fresher on arrival, and you avoid repeatedly layering product throughout the flight.
Related links
- Jet-Set Ready: The Best Travel Makeup Mirrors for 2025
- Everyday Lighting Mistakes That Make You Look More Tired
- Compact Mirror Light Essentials: Quick Touch-Ups
- LED Mirror vs Natural Light: Best for Skincare Checks
- UK hand luggage restrictions
- UK CAA: items allowed in baggage
Leave a comment
This site is protected by hCaptcha and the hCaptcha Privacy Policy and Terms of Service apply.